If you’re in the hosting business, your main focus is, obviously, selling servers. That’s your bread and butter.
But if you do it right, you can grow your revenue per sale by up to 5% simply by bundling a server with a pre-installed control panel (something your clients will ask for anyway). That’s because no matter how tech-savvy your audience is, most of them won’t want to run everything from a command line. They’ll want something graphical and simple. And that’s where you step in, offering a server with a control panel already set up.
In this guide, we’ll show you how to do it so it actually sells. We’ll use ispmanager as our example. However, these steps apply to pretty much any control panel.
The Role of Control Panels in the Web Hosting Business
First off, why would you need a control panel if you’re selling servers? There are two main reasons.
If you offer shared hosting or a fully managed VPS, you need a control panel to handle all the usual tasks: accounts, domains, SSL certificates, backups, and more. This keeps things running smoothly for your clients.
On the other hand, many of your clients will want to take control themselves, especially with VPS or VDS plans. Without a control panel, that means dealing with the command line, which, let’s be honest, most people don’t want to do.
So, whether it’s shared hosting or a managed VPS, you’ll be acting as a user of the control panel. But if you’re offering a VPS or VDS with a control panel, you become its seller. Then, your main focus is selling as many licenses as possible to make more profit.
Explore our 5 top picks for VPS hosting control panels
And that’s exactly what we’ll discuss next: how to make money by bundling a control panel with your VPS or VDS.
Why Bundle Your VPS with ispmanager?
The next section is a checklist that will walk you through bundling ispmanager with your VPS or VDS. Going through all the steps will help you make your first sale right away. Just a few remarks before you get to it.
First, even though we focus on ispmanager in the checklist, the steps work pretty much the same no matter the control panel you want to add to your setup.
Second, offering ispmanager for VPS/VDS setups does make sense because:
- It’s lightweight — its minimum hardware requirements are just 1 GB of RAM and 20 GB of disk space.
- The interface is clean and simple so it’s easy to use, even for someone who’s never managed a web project before.
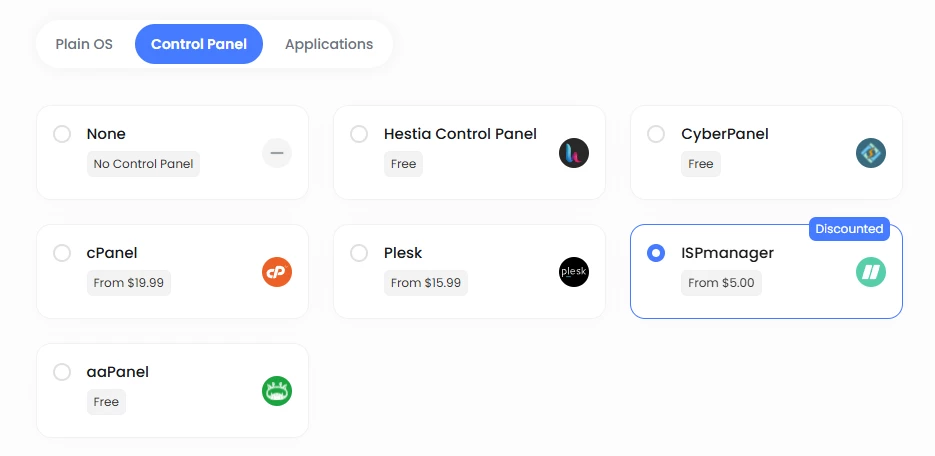
- It’s 2–3 times cheaper than the big players like Plesk or cPanel. So if you offer all three, you cover more customer profiles and budgets.
Check our control panel comparisons:
Basically, bundling ispmanager helps you reach more clients and make more sales.
7 Steps to Start Earning by Bundling Your VPS with ispmanager: A Quick Checklist
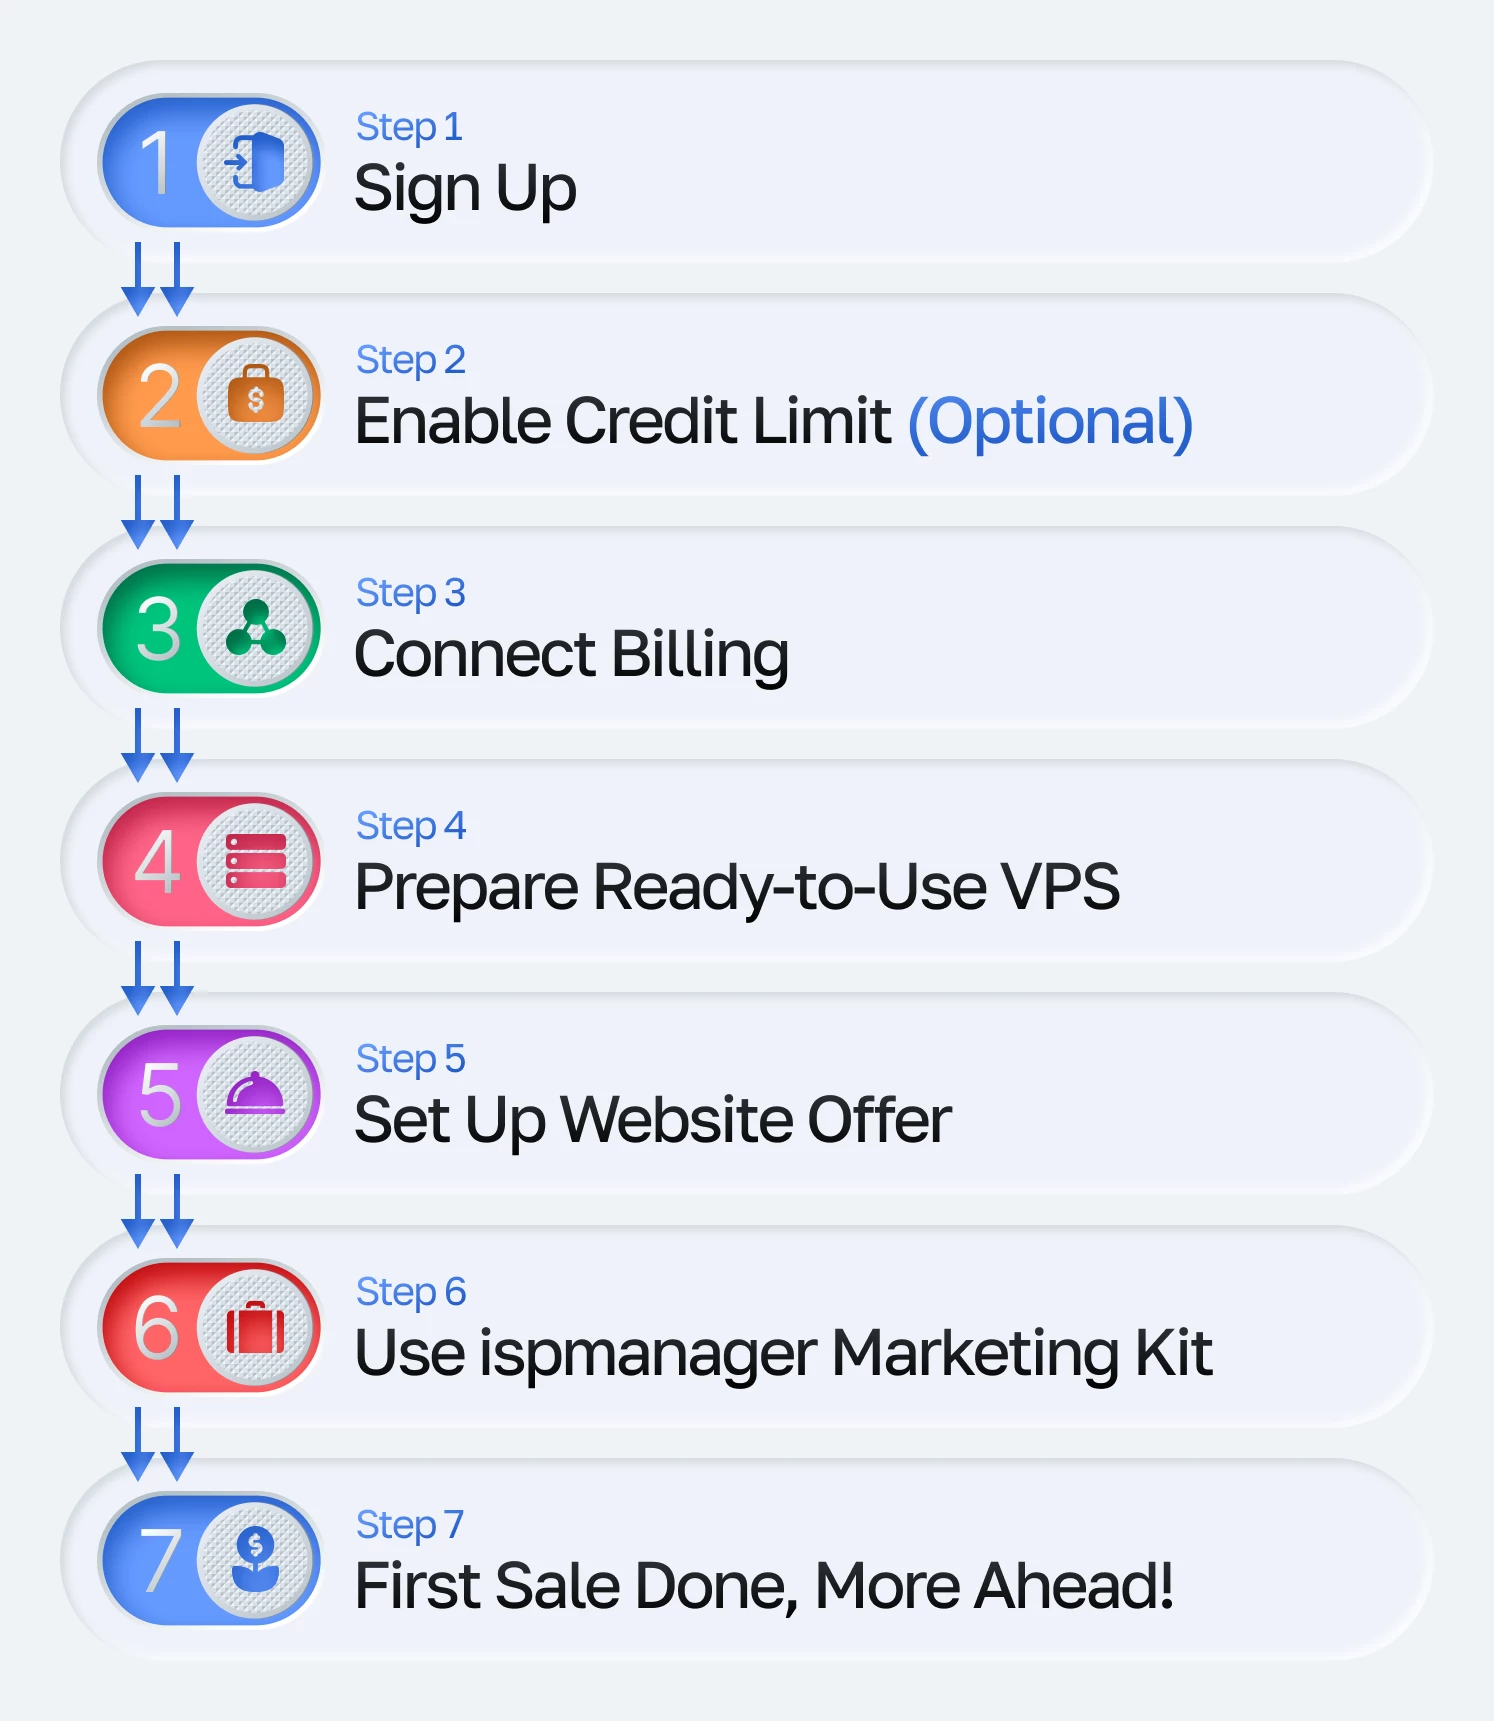
Here’s a quick web hoster’s guide for earning a profit with ispmanager.
Step 1. Get your partner account — we’ll set it up for you
Just send us your name and email — we’ll create your partner account and activate everything for you in minutes.
Once you're in, you can:
- Integrate ispmanager into your VPS/VDS hosting offer;
- Start ordering licenses right away — even with zero balance;
- Access partner discounts up to 60%.
Step 2. (Optional) Set a credit limit
Want to sell first, pay later? You can request a credit limit (e.g., $200) so licenses will be billed after sale.
To qualify:
- Bundle ispmanager with your VPS or cloud plans;
- Make sure that plan activation is fully automated (see Step 4).
Your website also needs a landing page with the ispmanager offer (no extra work here, we provide ready-made templates in Figma and pdf formats).
Step 3. Integrate ispmanager into your billing system
Once integration is set up, licenses will be issued automatically.
Most partners just plug ispmanager into:
- BILLmanager (fully automated);
- WHMCS & HostBill (via our official modules).
Or, if you’ve got your own custom option, we’ll help you set it up via API. Don’t worry, you won’t be on your own here. We’ll guide you through the setup so it’ll work smoothly with your platform.
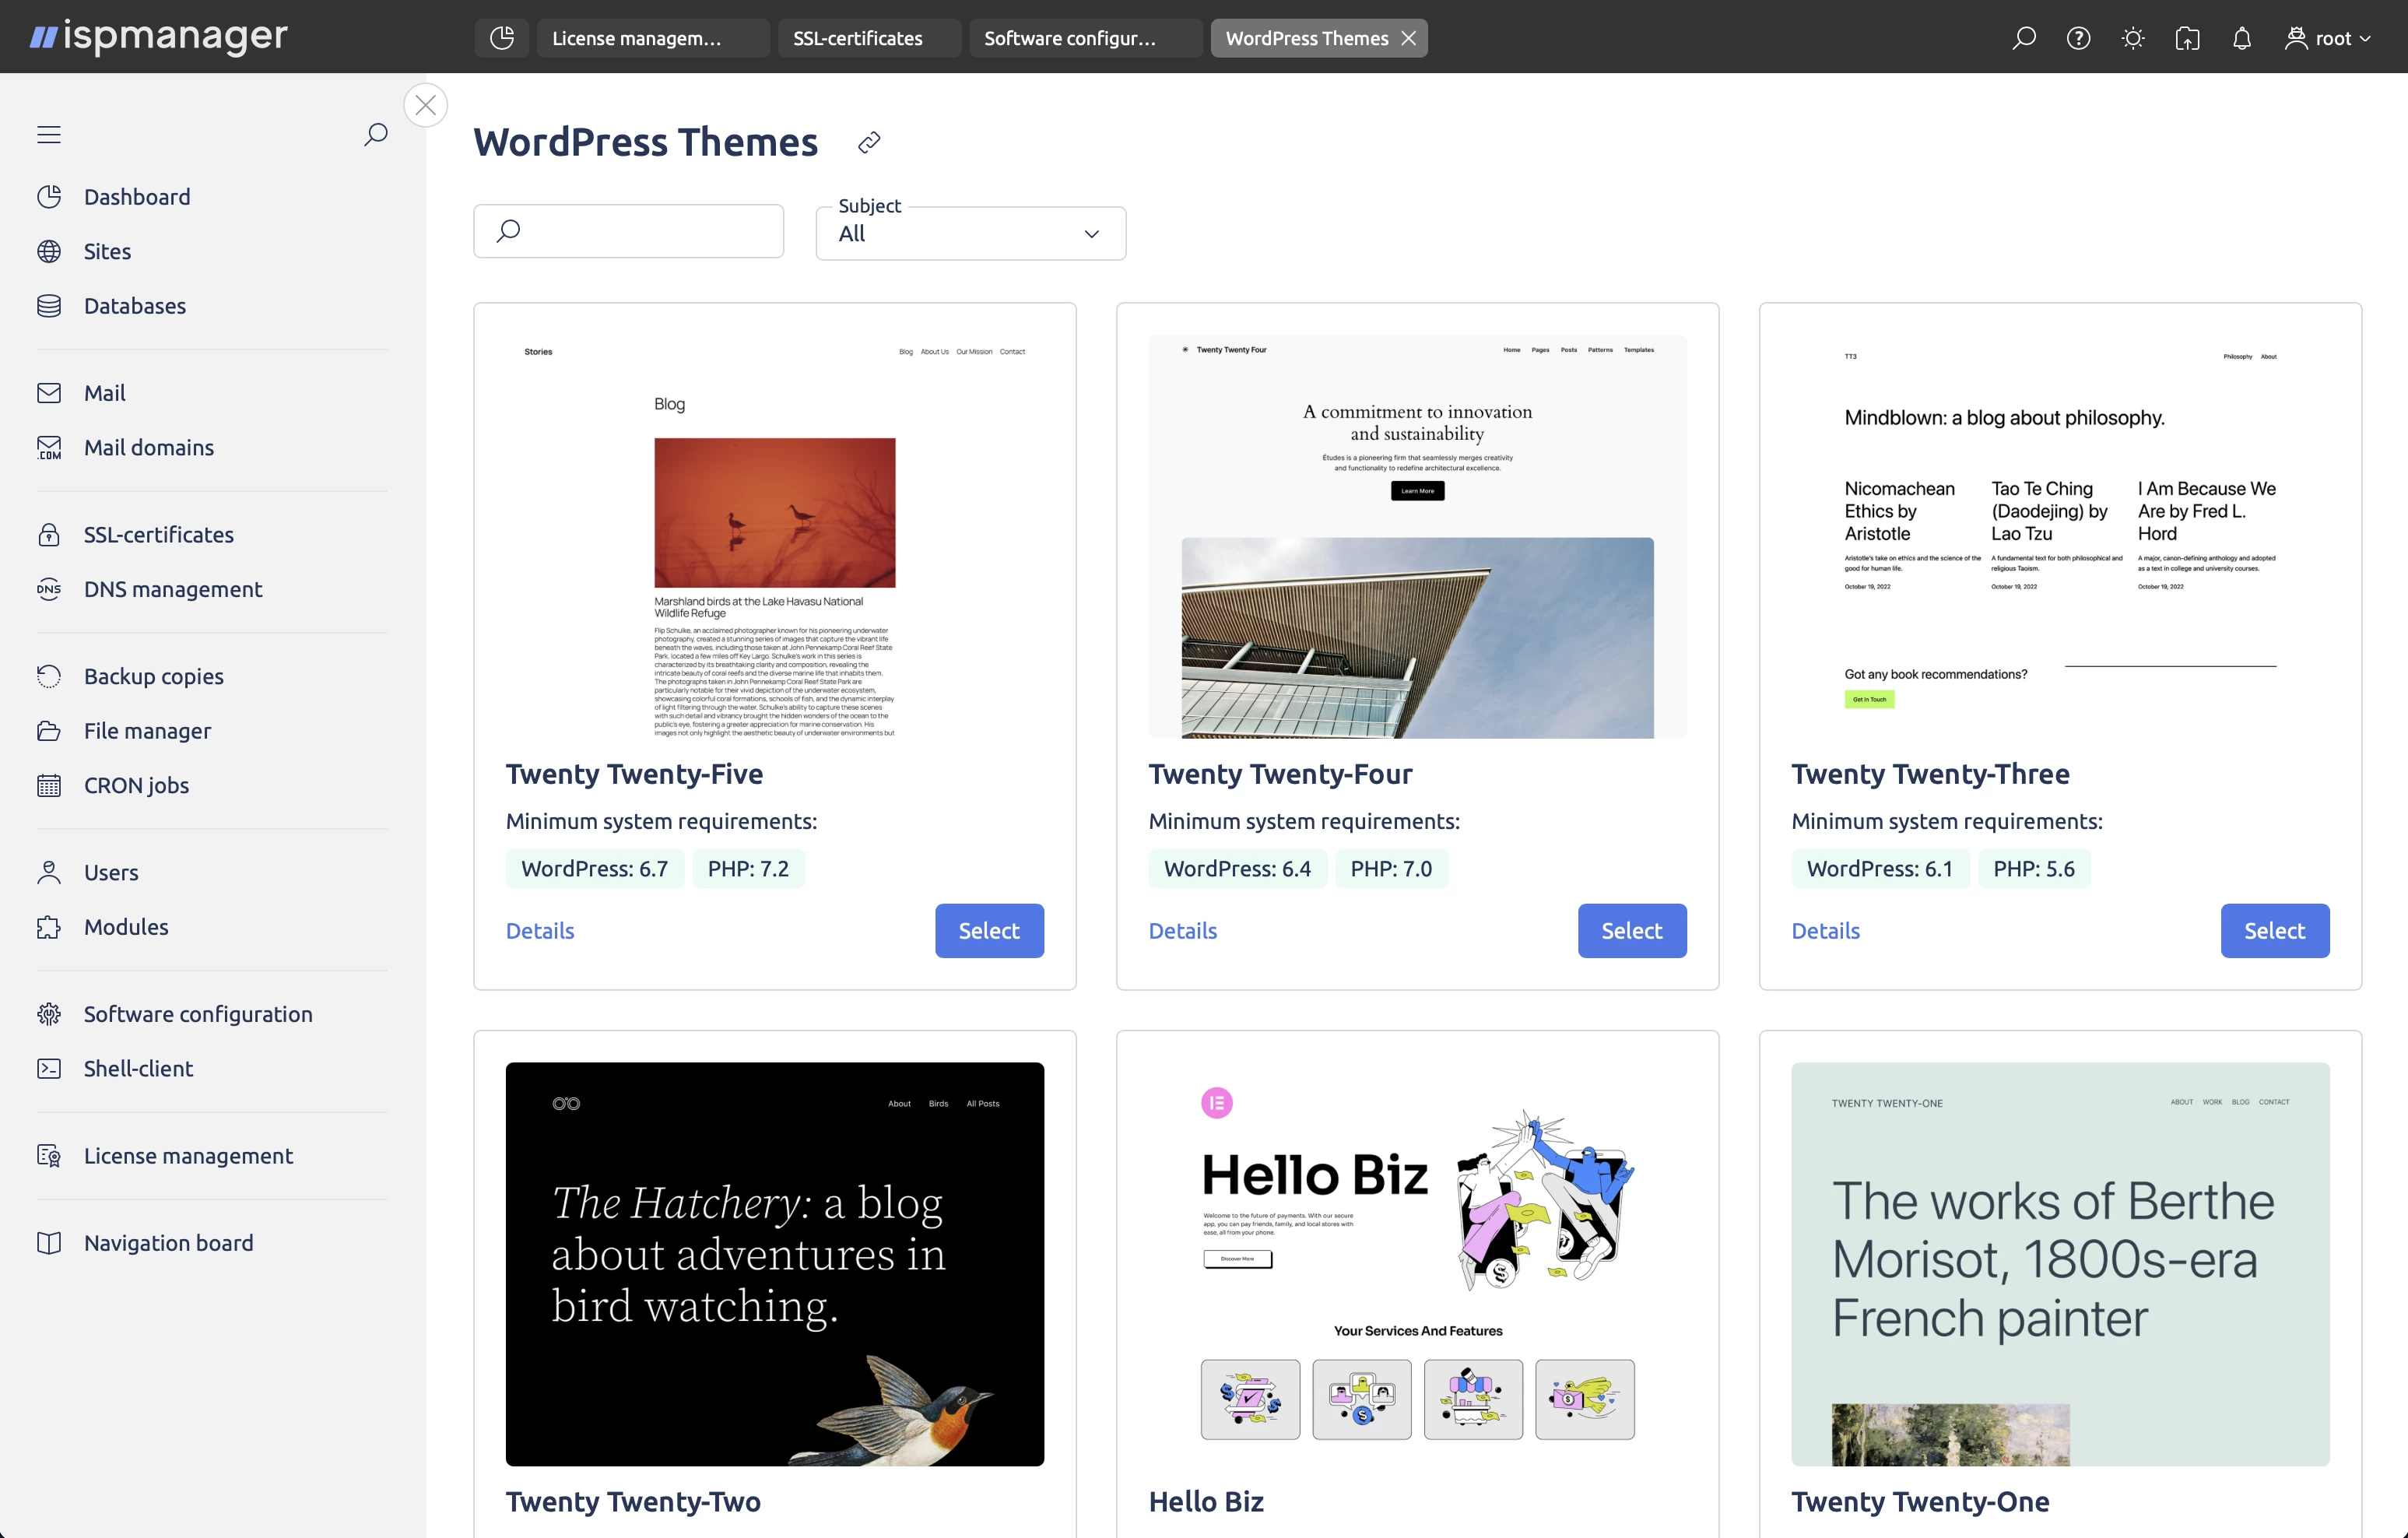
Step 4. Prepare a VPS with ispmanager pre-Installed
Sure, you can sell ispmanager without pre-installing it but having a ready-to-go VPS template raises conversion rates by up to 25–30%.
Without it, clients have to install the panel themselves. That means more steps, more questions, more friction.
The ideal client experience (in terms of resulting in a sale) is this:
They land on your site → pick a VPS → choose ispmanager → pay → get a server that’s already up and running with the panel.
That’s the kind of flow that sells, so that’s exactly what we need, right?
Step 5. Add ispmanager to your website
The next step is to increase the panel’s visibility and make it easy to order:
- Add it to your VPS configurator;
- And/or offer it as a standalone service;
- Add a landing page describing ispmanager (no worries, we’ve got templates that you can customize and publish).
Step 6. Plug in our marketing tools (we did the boring part😉)
So the panel’s visible, it’s time to make it appealing. You won’t have to write a word — our marketing team has it all ready for you:
- A pre-built landing page;
- Newsletter templates;
- Blog & social media posts;
- Special deals and more.
Just plug and play.
Step 7. Make your first sale and scale it
Made your first sale? 🎉Big congrats! Now, keep growing:
- Sell more, pay less (up to 60% off licenses);
- Sell add-ons like BitNinja for extra revenue;
- Get 10% extra discount (e.g., for default ispmanager installation on your servers).

Your clients get a fully set-up server with ispmanager activated from the start. No extra steps for them. You increase your average revenue per client by around 4–5% through control panel sales. A simple flow that works for both sides.
Wrap Up
So, you see, a control panel is a helpful extra for your clients and a steady revenue stream for you.
The trick is to follow the checklist above step by step, no skipping. It’s not that much work, but each point removes friction for your clients and increases your chances of making the sale.
Do it once, set it up right, and it’ll keep working in the background, bringing you more sales month after month.