Plug-in example. How to add icons to custom menu items
This article describes how to add an icon to custom menu items. If the user has not added custom menu items, see the documentation.
Please note!
It is not possible to customize icons for submenu items.
Follow the steps below:
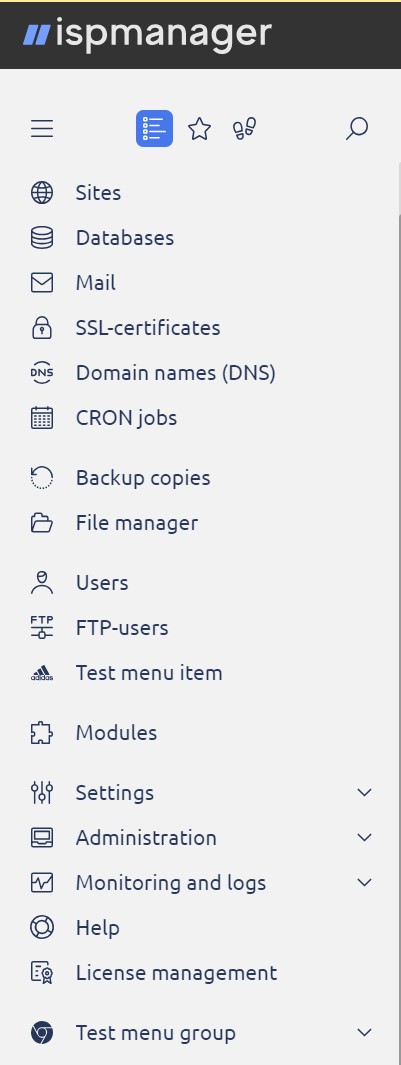
- Open the Main menu;
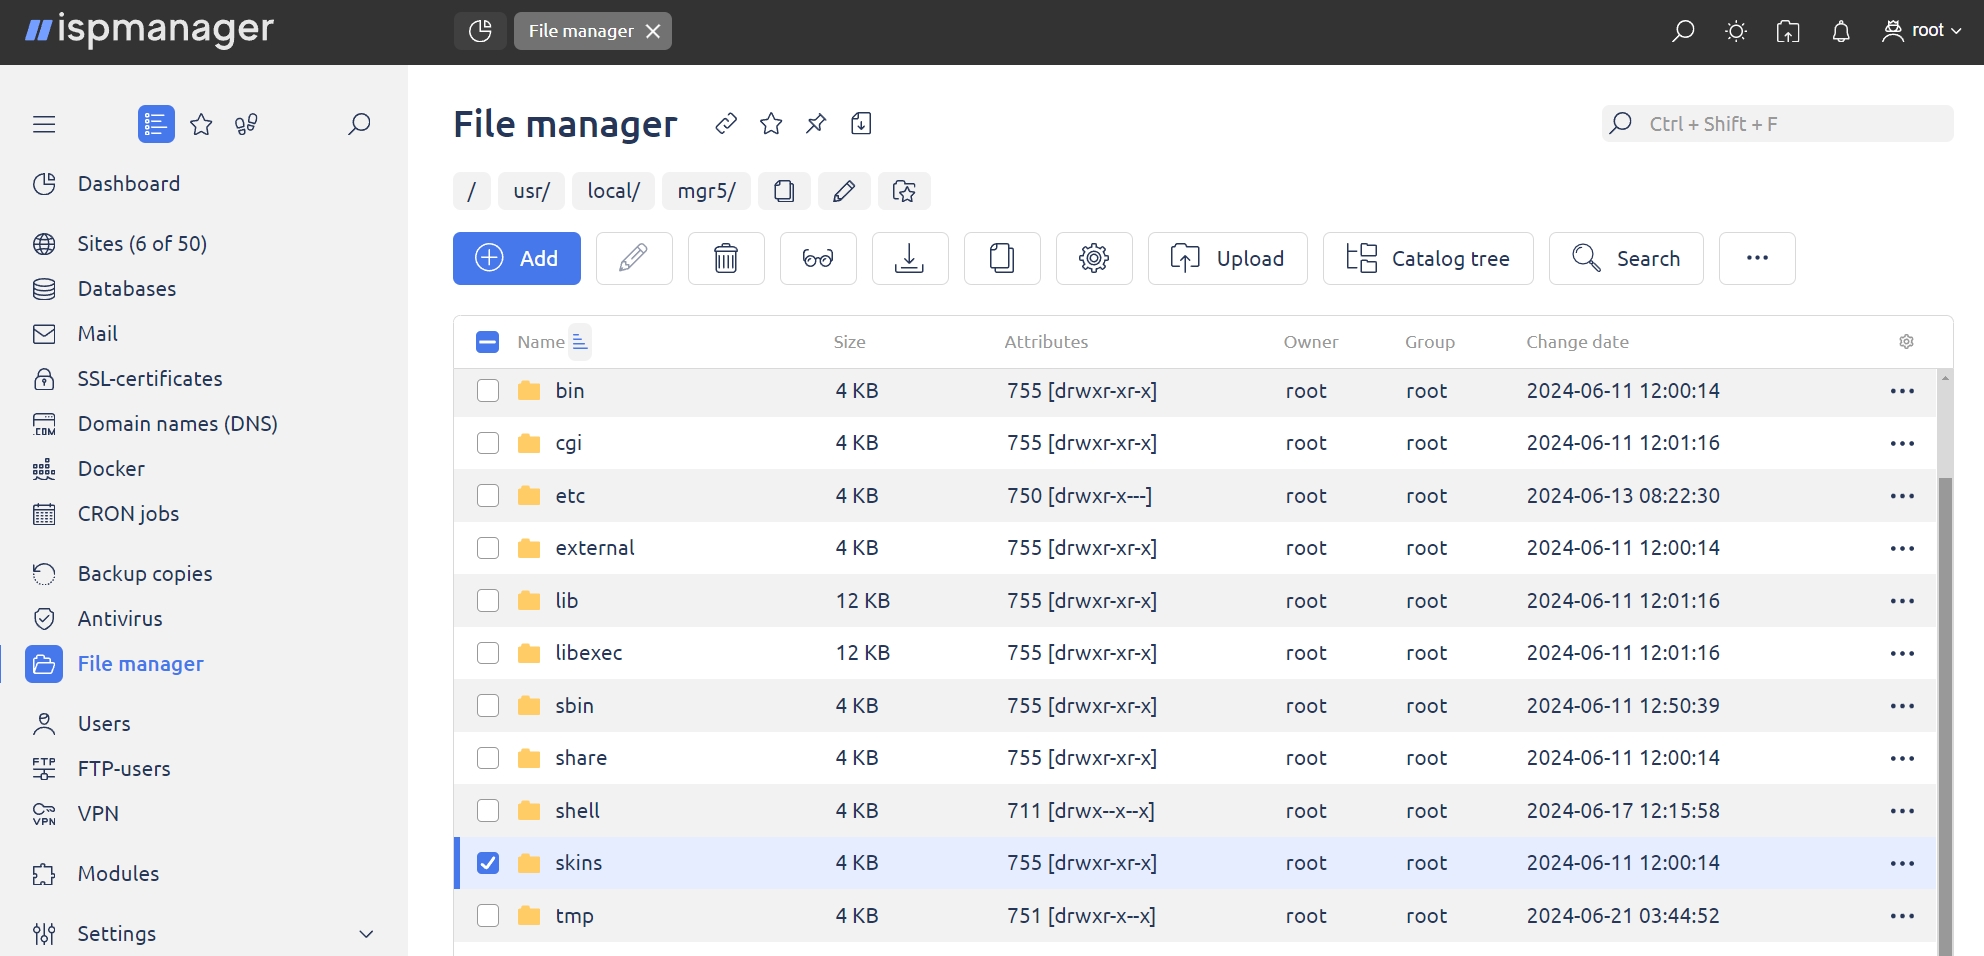
- Navigate to the File manager;
- Navigate to /usr/local/mgr5/skins folder.
Please note!
It is recommended to create a subfolder. In our example /usr/local/mgr5/skins/icons subfolder will be used.
4. Open the /usr/local/mgr5/skins/icons subfolder;
5. Click the Upload button to upload images;
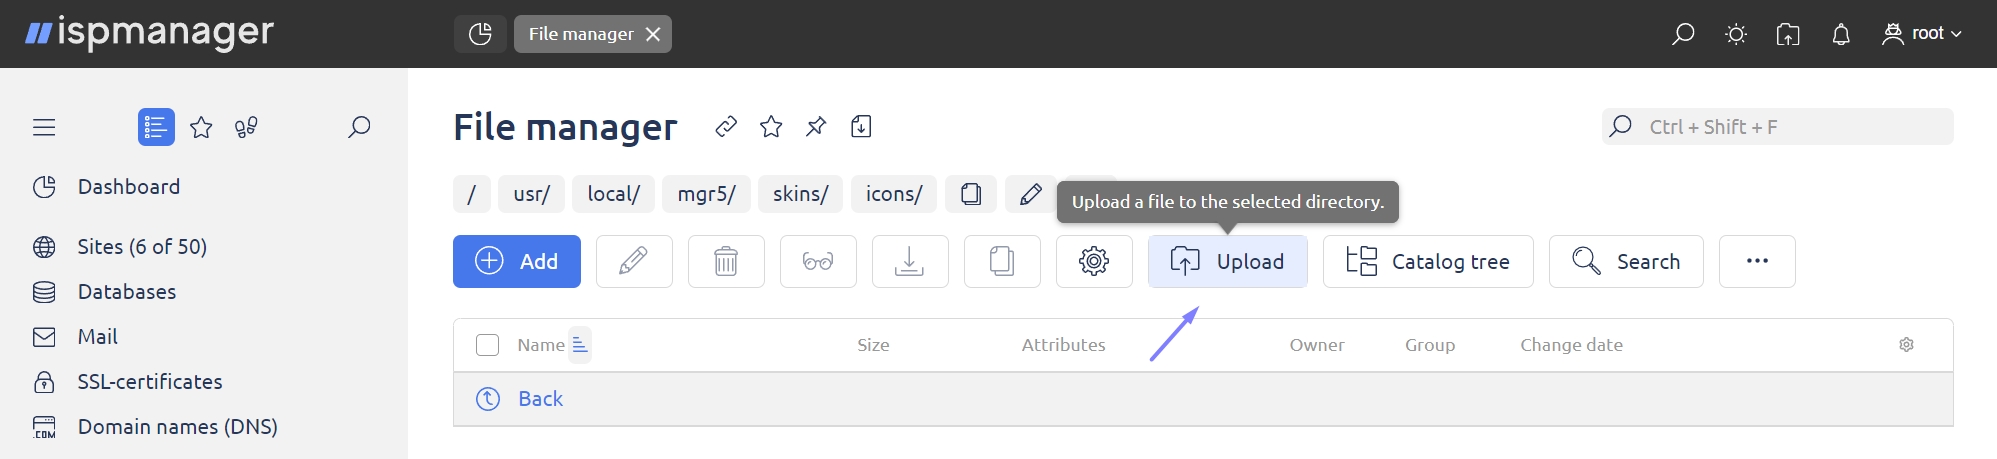
Image requirements
- images must be in SVG format. A transparent background is required;
- if the background is not transparent, the image will be set to a single color corresponding to the default icon color;
- svg files with animation are not supported, the icon will be static;
- icons should be 15x15 pixels in size.
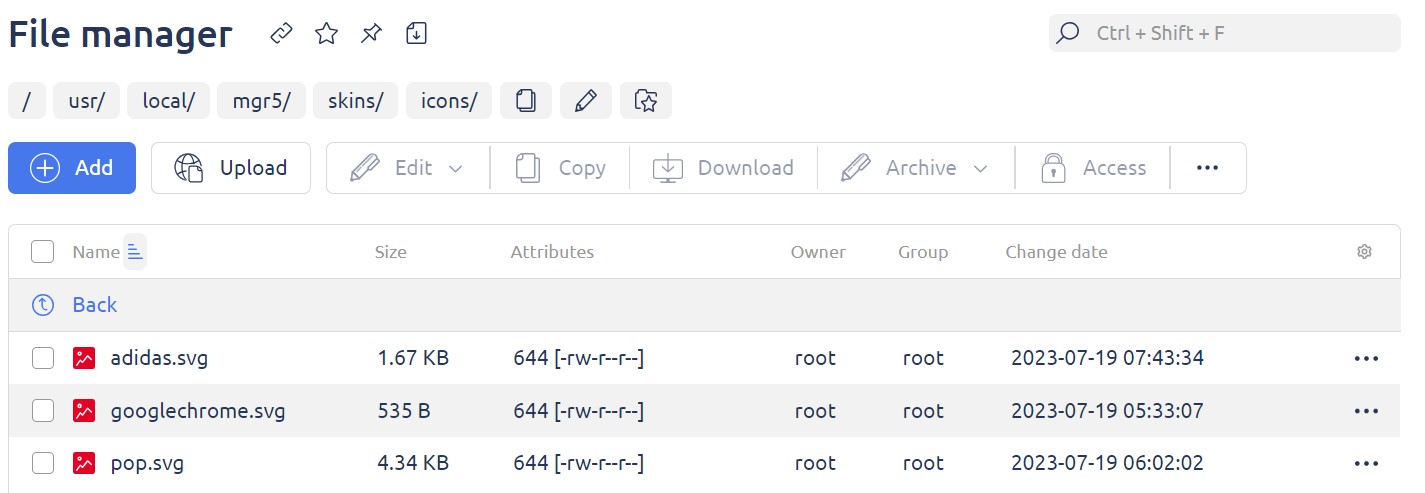
6. Choose the upload source, add the desired images and click the Upload button;

Example of properly uploaded images:
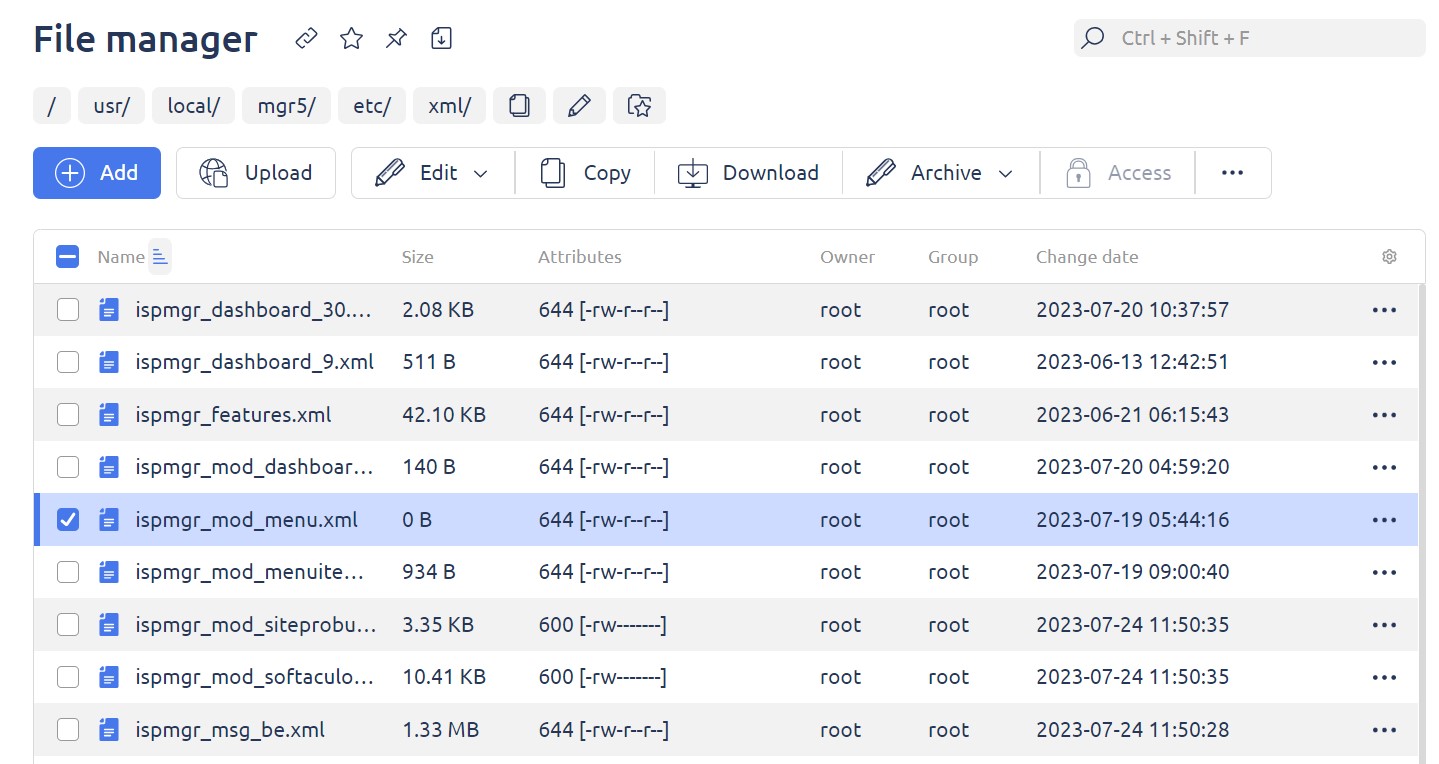
7. Navigate to the File manager;
8. Open the ispmgr_mod_menu.xml file. If it has not been created before, see the instruction;
9. Click Open.
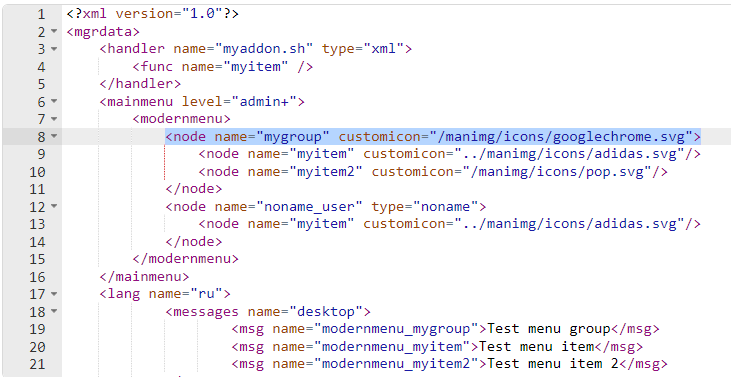
10. Enter the data in the following format:
<node name="testmenuitem" customicon="/manimg/icons/googlechrome.svg" />- node name - the name of the menu item for which you want to change the icon.
- "/manimg/icons/googlechrome.svg" /> - path to the image.
In ispmanager Lite/Pro/Host, starting from version 6.111.0, when adding a customicon attribute to the <node> element of the first level, the icon is set for the the group of items on the page “Navigation board”. When adding the attribute to the <node> element of the second level, the icon will be displayed in the left menu for the corresponding item.
The path in the file system /usr/local/mgr5/skins corresponds to the path https://hostname:port_number/manimg. The /skins directory is converted to the /manimg directory.
Example of a correctly edited string:
The menu item icon will be changed.