Deploying WordPress on a site with ispmanager 6
WordPress is a free and open-source content management system (hereinafter CMS) that allows you to create and manage websites.
Ispmanager 6 offers extensive features for creating and managing a website with WordPress. This article discusses several ways to install it.
The following PHP and DBMS requirements must be met for WordPress to work:
- PHP version 7.4 or higher.
- MySQL version 5.7 or higher, or MariaDB 10.3 or higher.
Instructions
Quick website creation with a ready-made theme
To quickly create a WordPress website in ispmanager 6, in the Sites section, hover over the Create a site button and select WordPress from the drop-down menu.
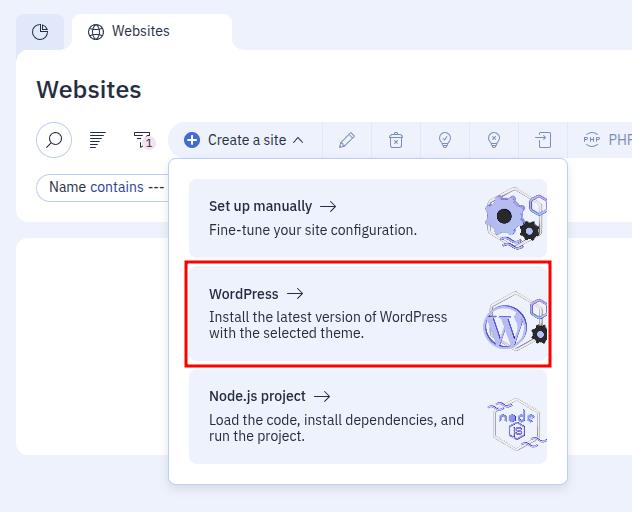
Next, select a suitable theme from the list in the window that opens by clicking Select.
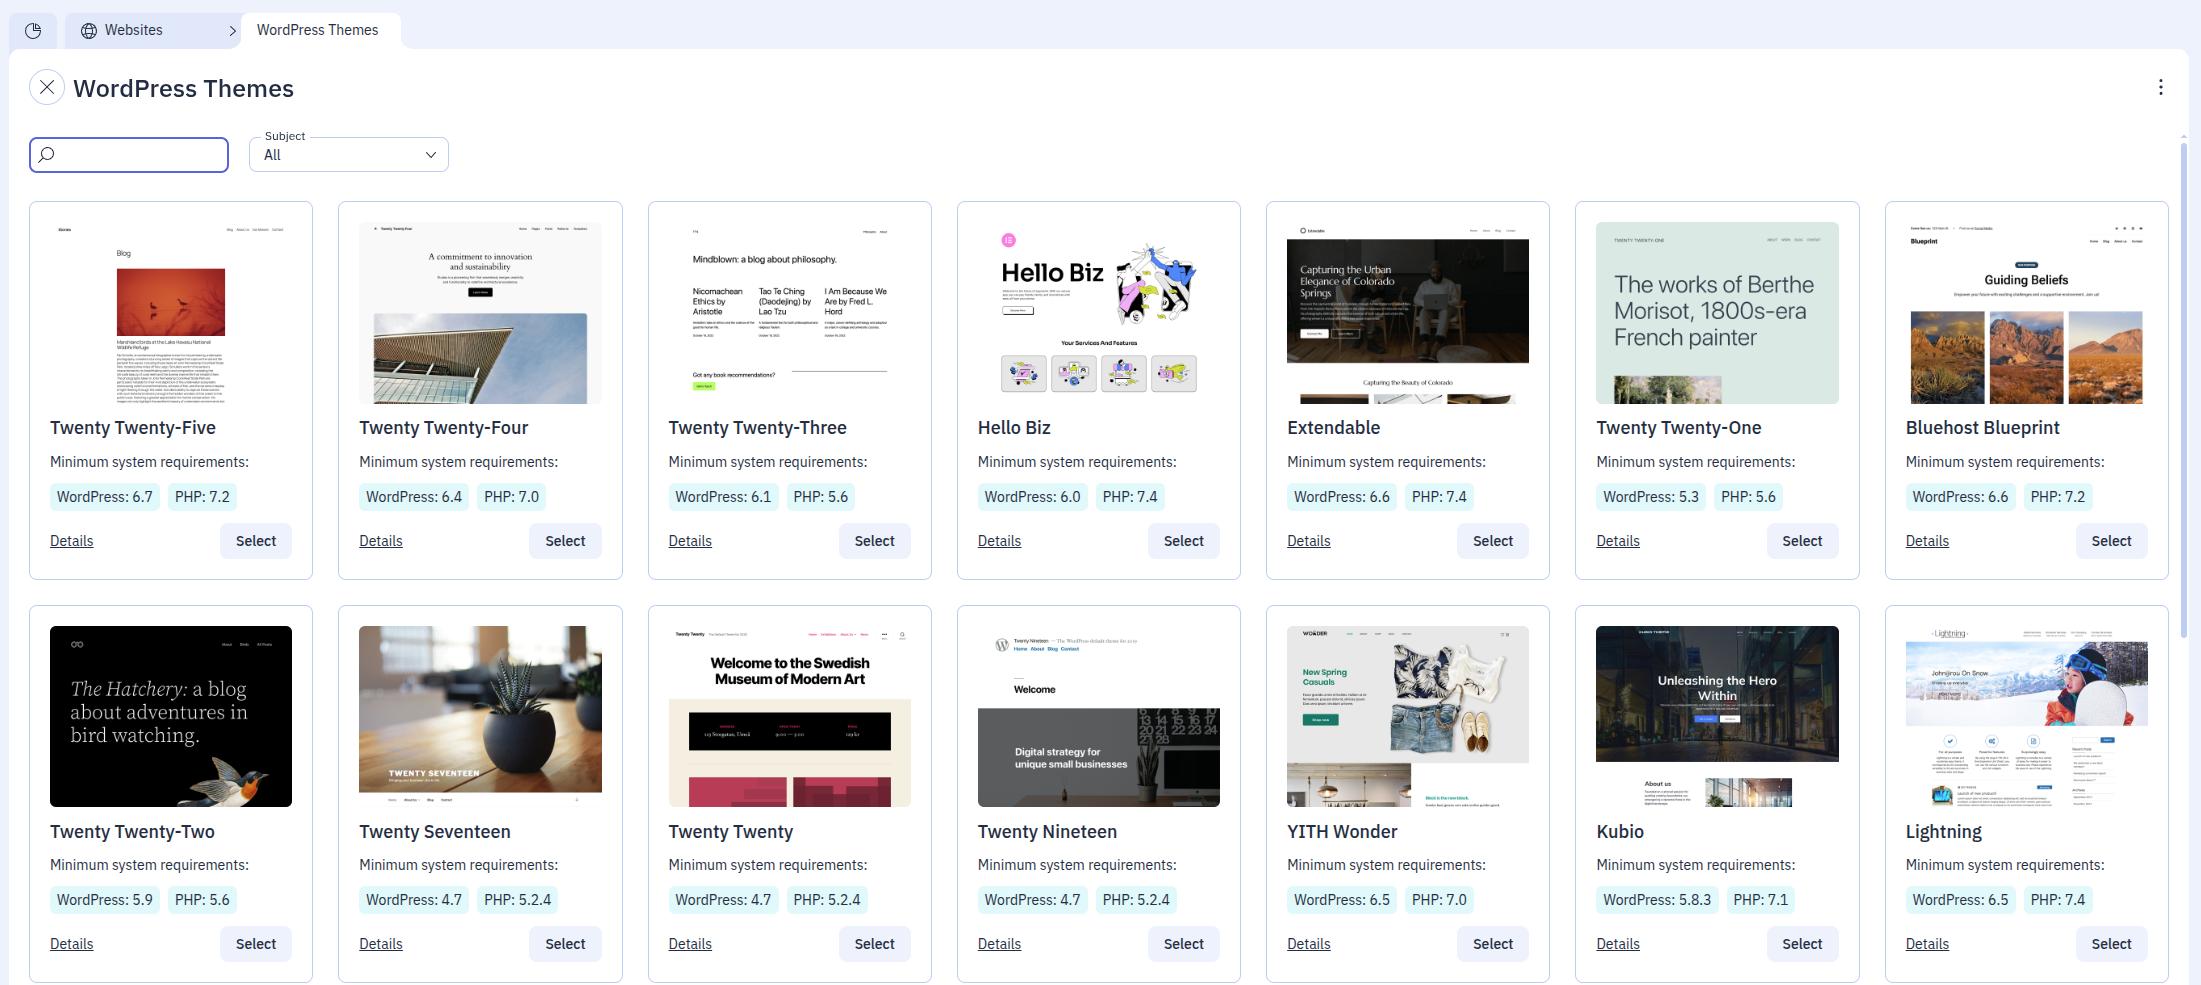
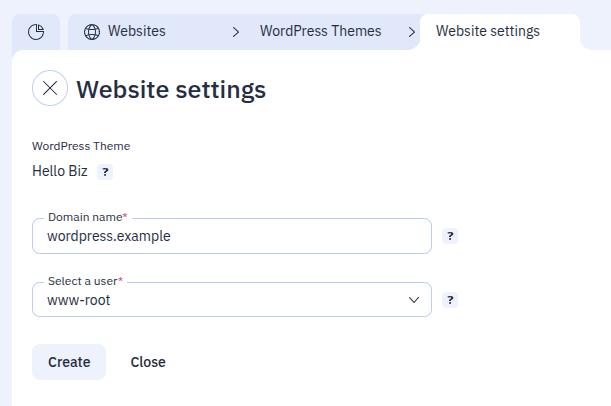
Once the theme is selected, enter a site name and select the owner if you are creating the site as the panel administrator. To create a WordPress website with the selected theme and the website database, click Create.
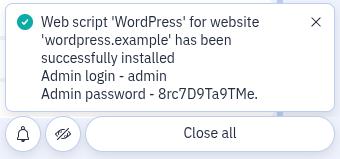
Once the site is created, the panel notifications will display all the necessary information for managing WordPress and the database.
Automatic installation during site creation
When creating a new site in ispmanager 6, select «WordPress» in the CMS field.
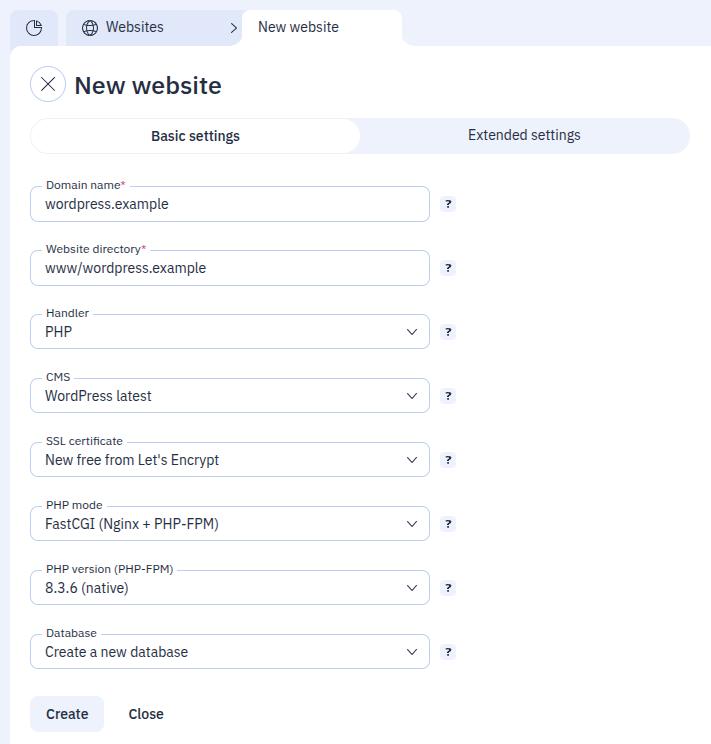
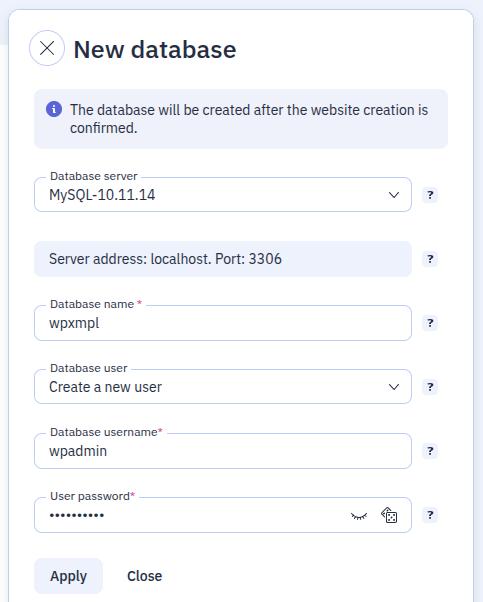
In the Databases field, select Create a new database. When creating the database, specify its name, user, and password.
If all the site creation fields are filled in, click the Create button and wait for the site creation to finish.
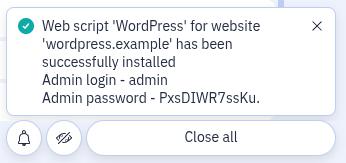
Once finished, you will see a notification with the details to connect to your WordPress admin panel.
The installation script automatically specifies the necessary data to connect to the database in wp-config.php.
You can log in to the admin panel at http://SITE_NAME/wp-admin/.
If you get a DNS error, ensure you have an A-record with the correct IP address for your domain.
Installation on a previously created site
If you want to install WordPress on a site already created in ispmanager 6, you can do so with a web script. Go to Sites, select your site, and click CMS.
In the tab that opens, select «WordPress» and click Install. Then, fill in the required data, accept the license agreement, and confirm the installation.
Be sure to clear the root directory of the site of files before installation.
Downloading your own distribution for installation
Alternatively, you can install the CMS manually for an existing website.
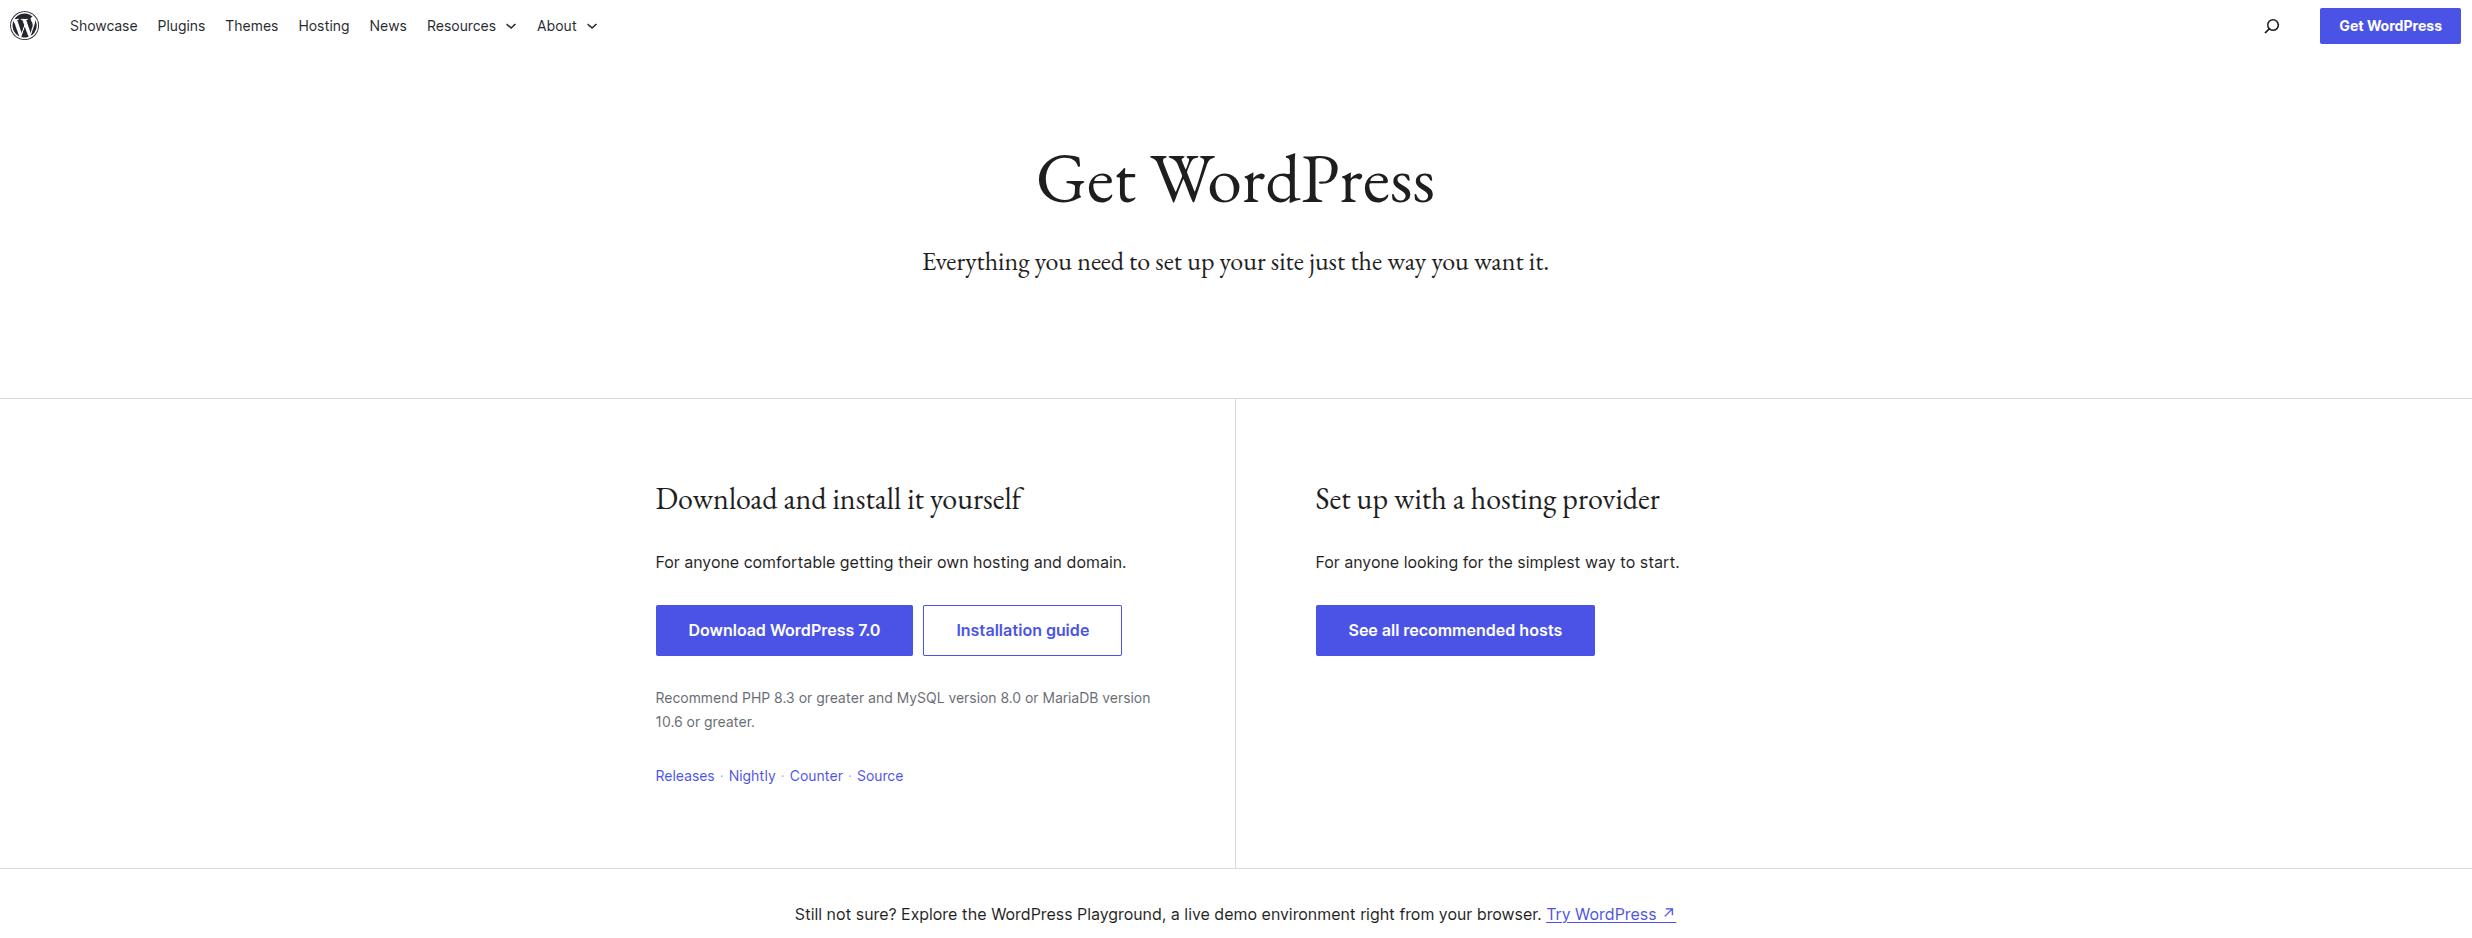
Go to the official WordPress website and download the distribution.
Go to the Sites section of ispmanager 6, select the required site, and click on the Site Files button in the toolbar.

Click Download and select the archive with the WordPress distribution from your computer's local disk.
Now, unzip the files. Select the archive, click Archive in the toolbar, then Extract in the drop-down list. Once the process is complete, you will have the directory wordpress.
Be sure to clear the root directory of the site of files before uploading the archive.
For the site to open correctly, we need to move the files to the main root directory of the site. Go to the folder wordpress, select all files, and click Copy. Then, select the site directory and Copy.
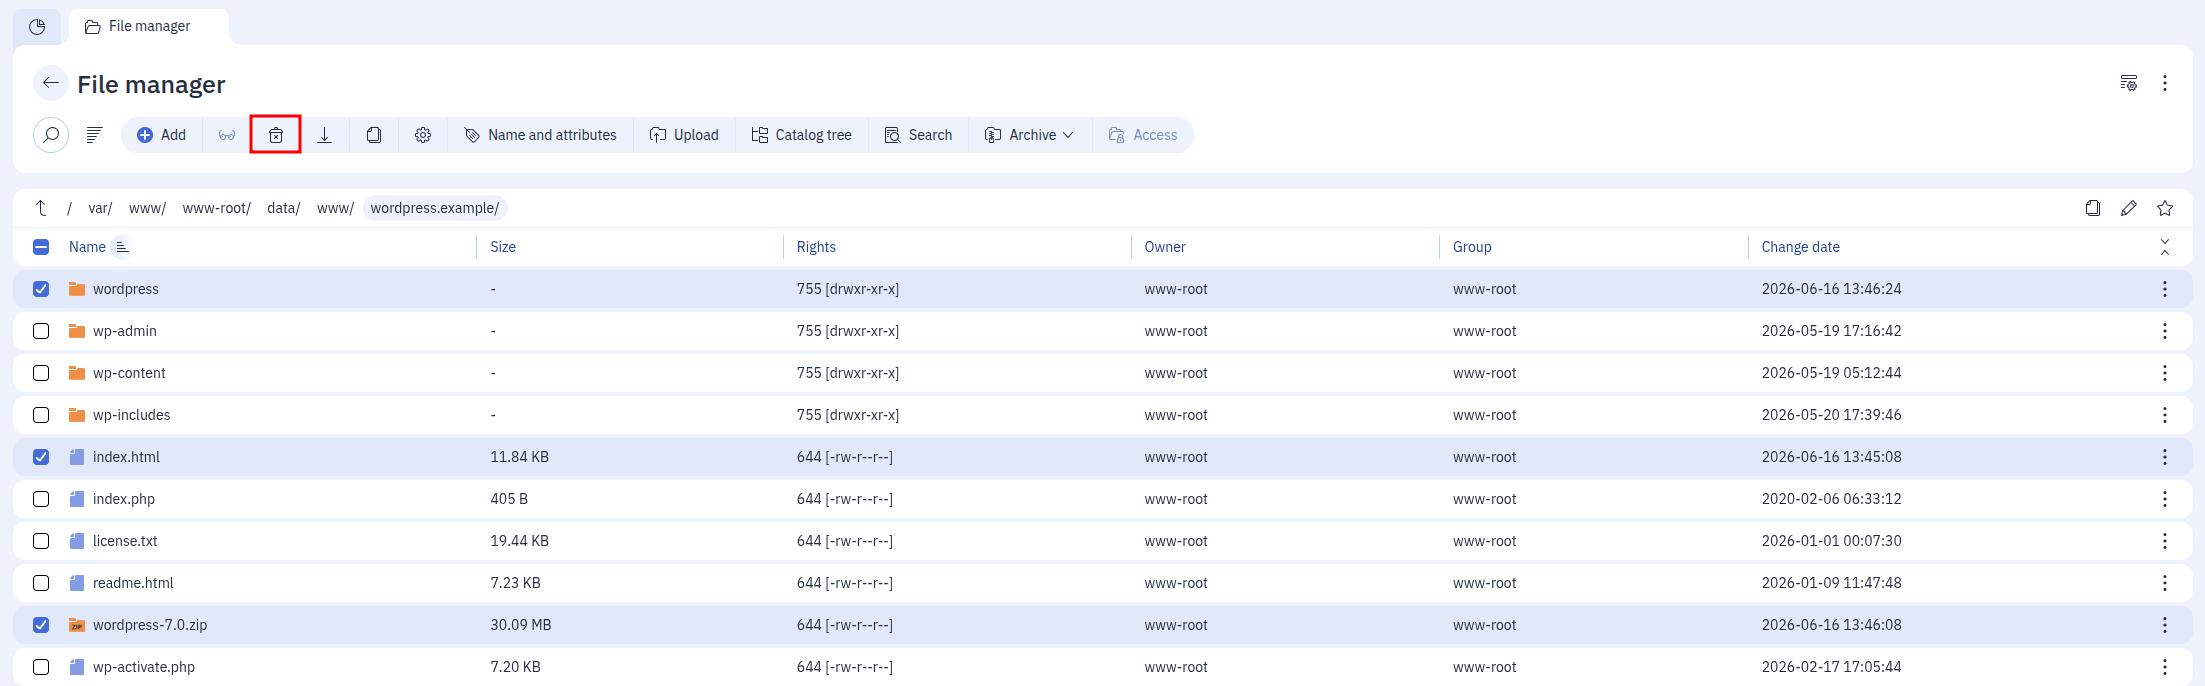
After the process is complete, you can delete the archive and the folder wordpress to free some disk space – you won't need them again.
It is also recommended to delete the standard file index.html and leave only index.php which was created by WordPress.
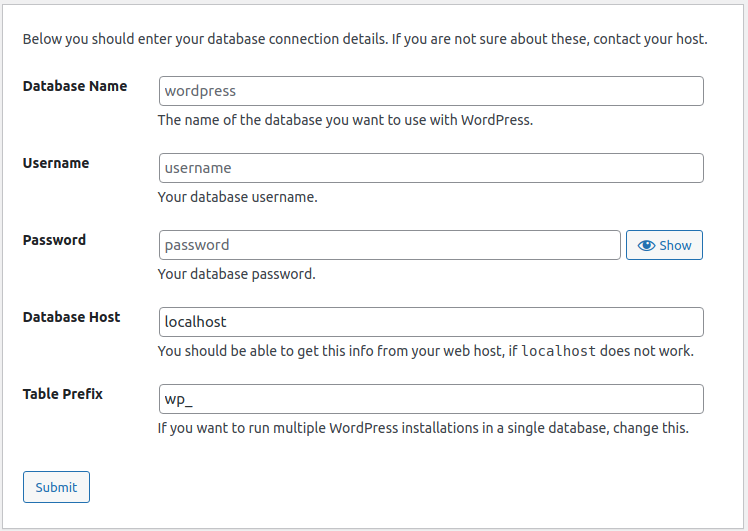
Then, go to the site to install and customize the CMS. During the installation process, you need to specify the data of your database, which must be created beforehand.
Next, specify the name of your site, user name, and password (we recommend saving your password) to access the admin panel.
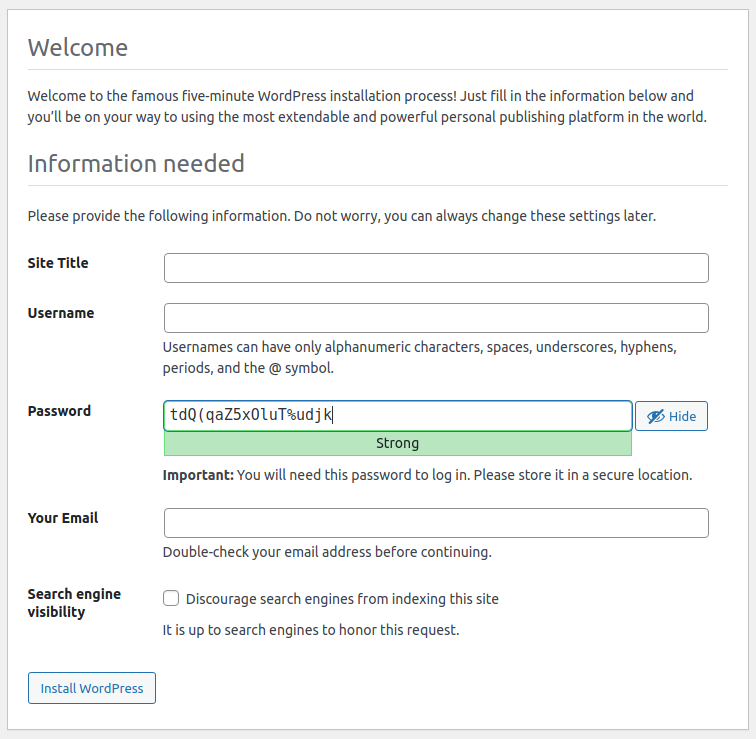
Click Install WordPress and wait for the installation to complete.