Step 3. Test order of ispmanager license in BILLmanager
To verify that ispmanager 6 lite, pro, and host tariffs are available to clients and that orders are processed correctly, perform a test order:
- Log in to BILLmanager as an administrator at https://YOUR_DOMAIN/billmgr.
If you do not have a test client account in BILLmanager, create one.
How to create a client account in BILLmanager- Follow the billing URL specified in the provider settings.
- On the authorization form, click Register.
- In the registration form, enter the following details:
- Name — client’s full name
- Email address — login for client authorization in BILLmanager
- Password — password for client authorization in BILLmanager
- Re-enter the password — client password confirmation
- Country — client’s country of registration in BILLmanager
- Click Register.
Proceed to the client area.
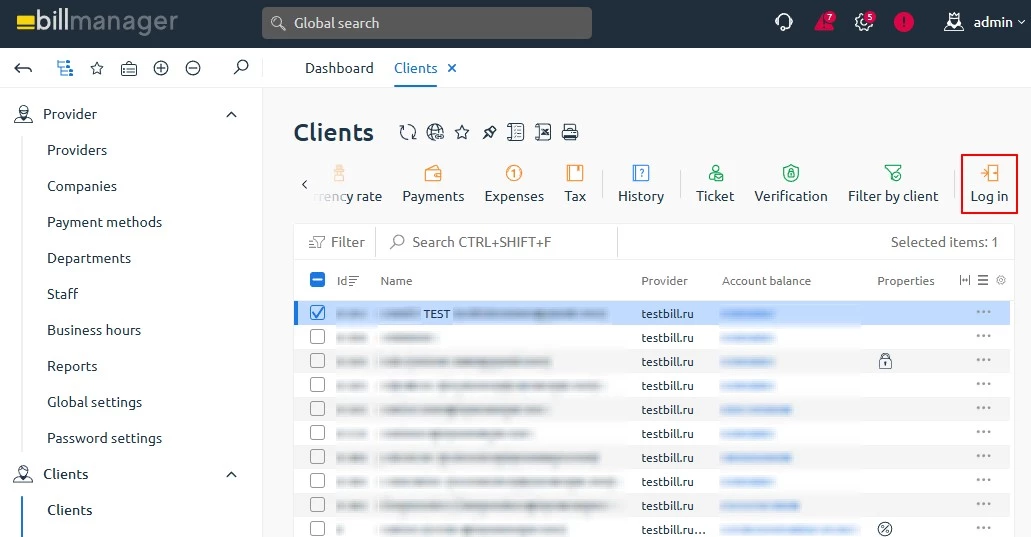
How to access the client area in BILLmanager- Go to Clients → Clients.
- In the list, select the previously created client.
On the toolbar, click Log in.

You will be automatically redirected to the client area.
In the client area, order a license.
How to order a license in BILLmanager- Go to Licenses → Licenses.
- On the toolbar, click Order.
- Specify the order period and click Select.
- In the License section, click Order.
- Enter the license registration details:
- License name — the license name displayed in the BILLmanager interface
- IP Address — server address required for automatic license activation
- Confirm the selected billing period.
- Enable Auto-renewal for tje paid service if necessary.
Click Enable or Pay.
Details- Enable — available when ordering a free service.
- Pay — available when ordering a paid service.
Select and set up the required payment method. Additional payer data verification may be required (for legal entities).
Payer data verification- Recipient — company receiving the payment.
- Bank name — bank receiving the payment.
- BIC — bank identification code.
- Checking account — settlement account number.
- Correspondent account — correspondent account number.
A payer can be created separately or during the license order in Client → Payers.
- Review the order details and complete the payment.
- If successful, a notification will appear: The service is ready for use. To view and manage the license, go to Licenses → Licenses (available to both clients and administrators).
- The license status will automatically change to Processing (opening). Wait for BILLmanager confirmation for the status to change to Active.
If necessary, delete the test order.
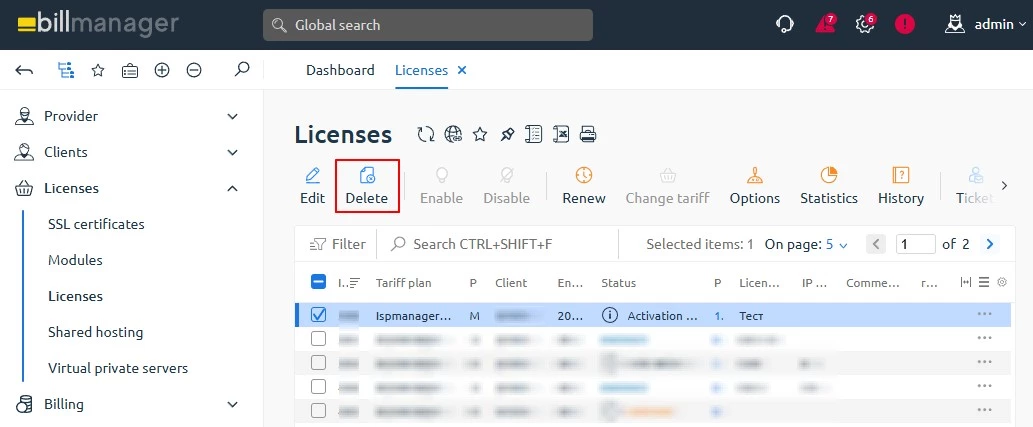
How to delete a test order in BILLmanager- In the BILLmanager navigation area, go to Licenses → Licenses.
- Select the previously created license.
On the toolbar, click Delete.

- Confirm license deletion.