Blackwall (BotGuard) GateKeeper
GateKeeper is not available for installation on the territory of the Russian Federation and the Republic of Belarus.
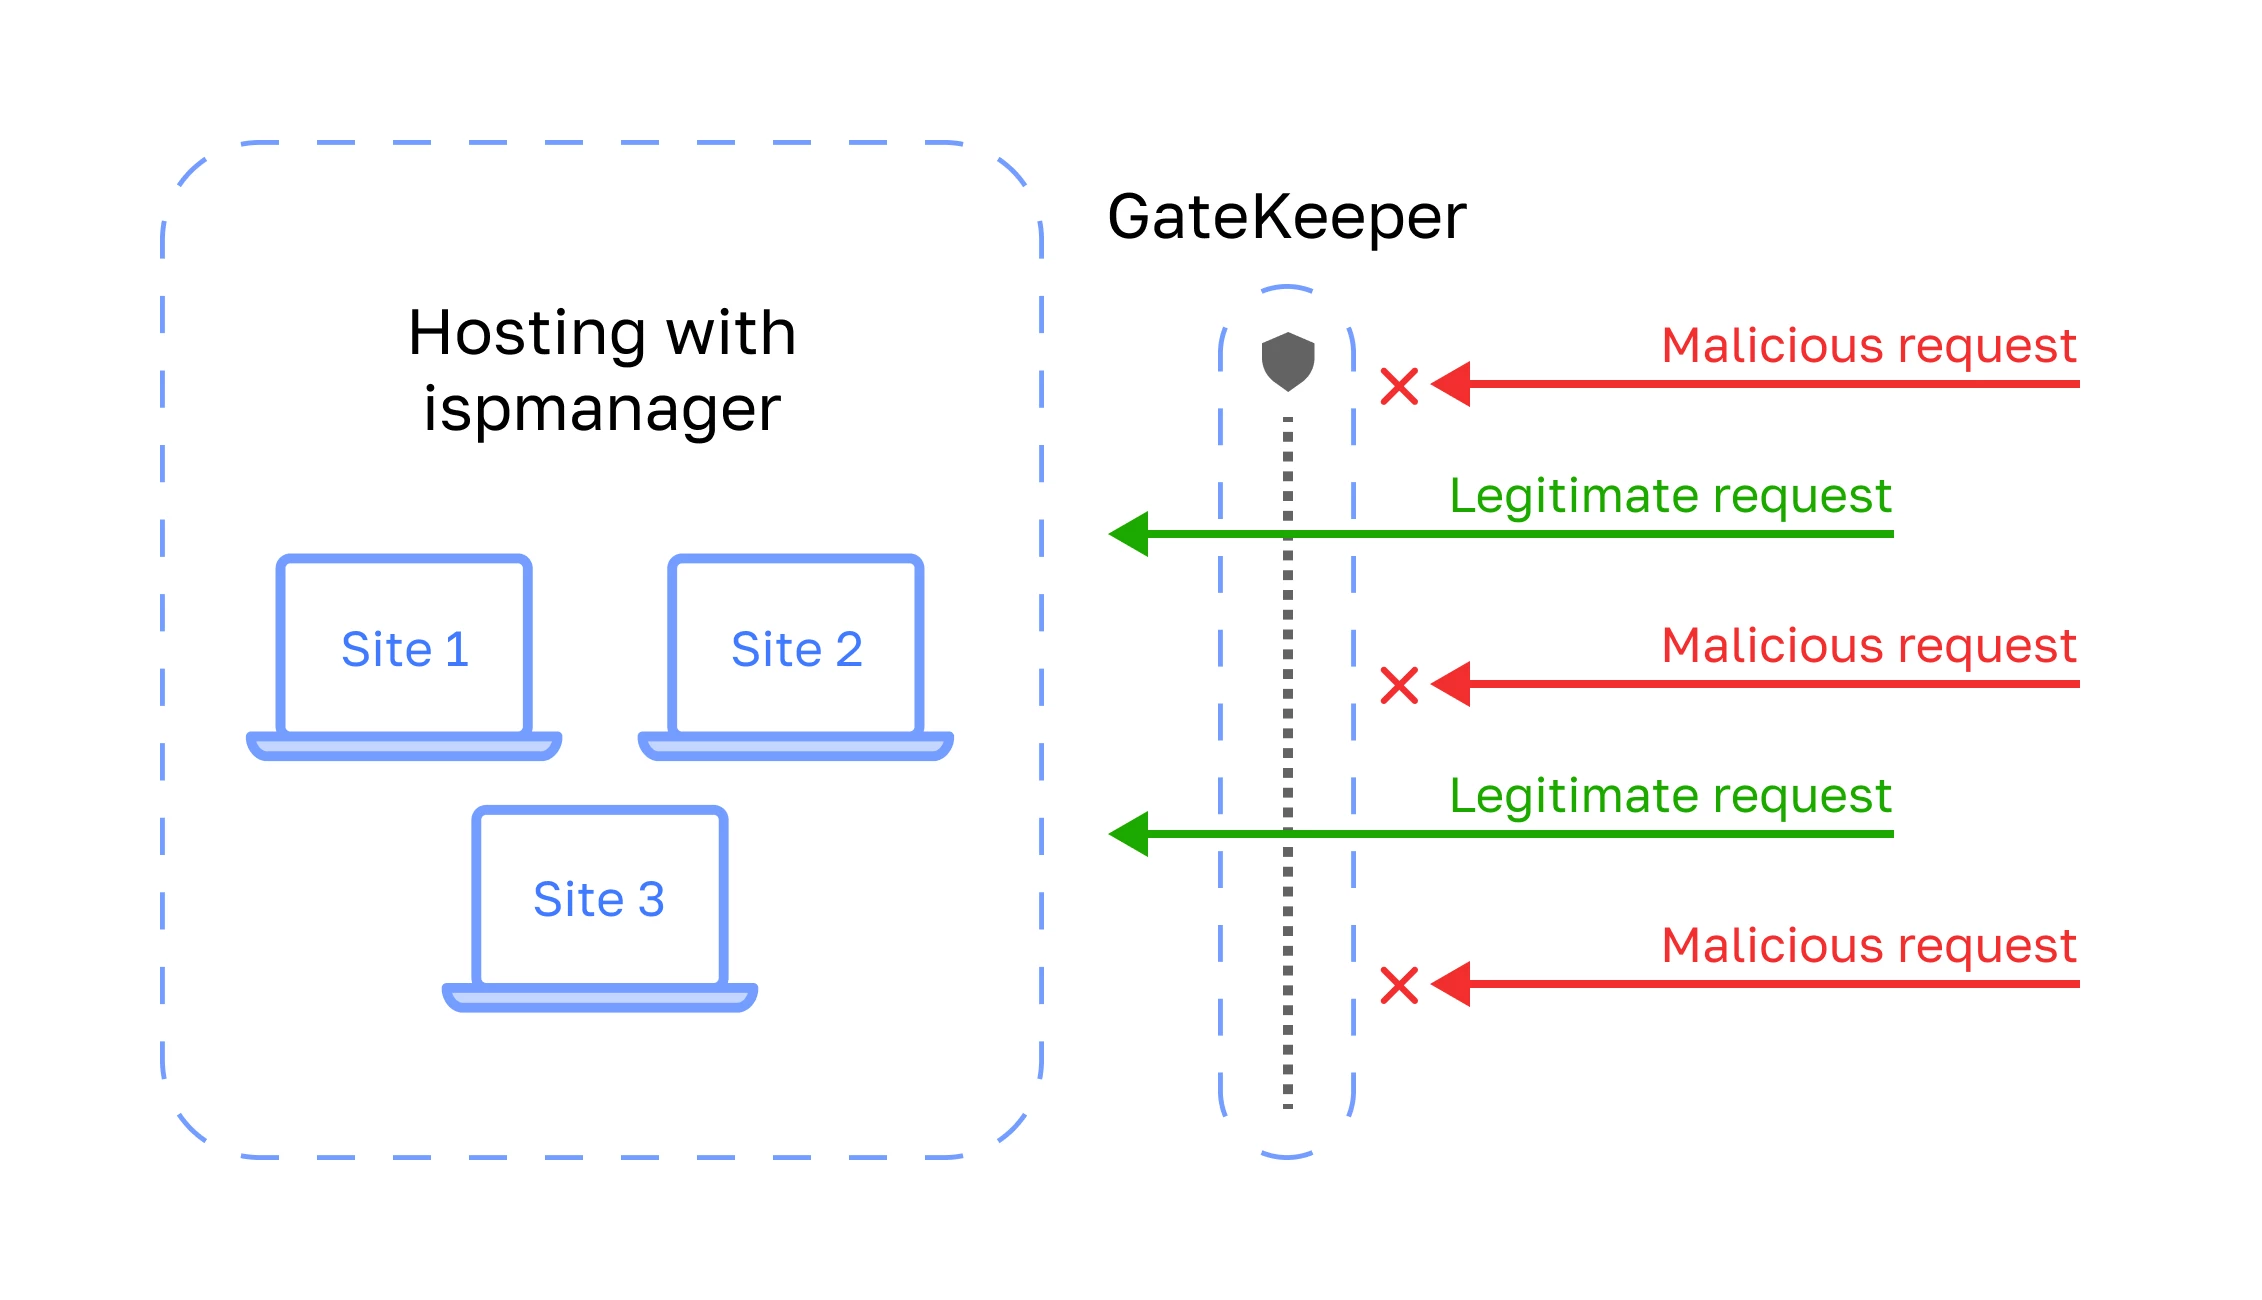
GateKeeper is a Blackwall (BotGuard) solution for hosting providers that protects websites from malicious traffic.
Operation principle
GateKeeper is a reverse proxy server with filtering capabilities. It is installed on a separate server and receives requests to hosting users' websites. Requests are filtered based on behavioral, statistical, and signature analysis and preset rules: safe requests are forwarded to the hosting web server for processing, while malicious ones are blocked. This reduces the load on the hosting system and increases its reliability.
GateKeeper protects against:
- application-level DDoS attacks
- malicious bots
- malicious scripts
- SQL injections, etc.
For more information about GateKeeper, please refer to the official Blackwall website.
GateKeeper module features
| Features | Free version | Paid version |
|---|---|---|
| Monitoring of requests to websites | ✅ | ✅ |
| Request filtering | ❌ | ✅ |
| Setting up rules for filtering and monitoring | only global rules | ✅ |
| GateKeeper statistics and reports | ✅ | ✅ |
GateKeeper limits
Maximum number of sites in the ispmanager panel for which filtering is available:
- paid version ordered from a third-party provider — 10
- paid version ordered from ispmanager — up to 1,000 depending on the number of sites included in the license
Monitoring is available for an unlimited number of websites in both paid and free versions.
GateKeeper module requirements
To operate the GateKeeper module, you will require the ispmanager panel and a server with GateKeeper installed.
Ispmanager panel: version 6.137 or higher.
Server for GateKeeper installation:
- 'clean' server, i.e. without any additional software
- Operating system: Debian 12 or higher
Ordering GateKeeper
To use both paid or free versions of GateKeeper, you will need to place an order first. Ordering of GateKeeper is available through your ispmanager client area or in the control panel interface.
- Log in to your ispmanager account. If you do not have an ispmanager account, please create one.
- In the client area menu, go to Licenses → Ispmanager modules section.
- Click
 Order.
 In the list, find Blackwall Protection for the paid module or Blackwall Protection FREE for the free module and click Order.
- Specify the ispmanager license ID for which the Blackwall module is being purchased .
- Specify the number of websites to filter. This option is only available for the paid module version.
- Select a payment period.
- If necessary, activate license autorenewal.
- Click Pay for the paid module and Activate for the free module.
- Log in to the control panel with an administrator-level account or above.
- Go to the Modules section.
- Find Blackwall in the list of modules.
- Click Buy.
You will be redirected to your ispmanager client area to place the order.
After the order is completed, install the module.
Installing GateKeeper
To work with GateKeeper, you will need to install the following:
- GateKeeper module in the panel
- GateKeeper API server on a separate server
Module in the ispmanager panel
- Log in to the control panel with an administrator-level account or above.
- Go to the Modules section.
- Find Blackwall in the list of modules.
- Click Install.
GateKeeper API server
- Connect to the server via SSH to install GateKeeper.
Import the Blackwall Digital Package Signature Key:
apt-get update && apt install -y sudo curl gpg ca-certificates lsb-release apt-utils apt-transport-https
curl -fsSL https://repo.botguard.net/botguard.gpg | gpg --dearmor > /usr/share/keyrings/botguard.gpg
Add the Blackwall test repository to the list of your system's repositories:
echo "deb [signed-by=/usr/share/keyrings/botguard.gpg] https://repo.botguard.net/test/debian $(lsb_release -cs) gatekeeper" | tee /etc/apt/sources.list.d/botguard-gatekeeper.listOr use an operational repository:
echo "deb [signed-by=/usr/share/keyrings/botguard.gpg] https://repo.botguard.net/debian $(lsb_release -cs) gatekeeper" | tee /etc/apt/sources.list.d/botguard-gatekeeper.listInstall the latest version of Blackwall GateKeeper:
apt updateapt install botguard-gatekeeperWhen the installer prompts you to save the current iptables rules and the ipset list to files, select "No":


Restart the server to apply changes to the operating system:
reboot
After installation, configure the module in the panel.
Setting up connection to GateKeeper
- Log in to the control panel with an administrator-level account or above.
- Go to the Modules section.
- Find Blackwall in the list of modules.
Click
 Edit.
Edit.
- In the Blackwall GateKeeper API settings block, fill in the GateKeeper API server connection parameters. Required fields are marked with asterisks.
- Blackwall GateKeeper API key* — API key for connecting to GateKeeper. This field is available in case the module is ordered from a third-party provider.
- Blackwall GateKeeper API URL* — link to your GateKeeper API server, by default: http://SERVER_IP_ADDRESS.
- Purchase link — a link to order a paid version of GateKeeper or purchase a defense solution for more domains. This link will be displayed to the user when malicious traffic to their sites is detected.
- Click Save.
After configuration is completed, enable the module for users and sites.
Enabling GateKeeper
For users
- Log in to your dashboard with a reseller-level account or above.
- Go to the Users section.
- Select one or more users.
- Click
 on the toolbar.
 - Go to the User settings. In the Limits section, in the Domains protected by Blackwall field, specify the number of sites that the user can add under Blackwall protection.
- Click Save.
For sites
- Log in to the panel with a user-level account or above.
- Go to the Sites section.
- Select one or more sites.
- Click on the toolbar.
- In the Optimization and DDoS protection block:
- check the box Enable Blackwall protection for the site
- in the Domain protection field, select the GateKeeper mode. The operation mode can be adjusted at any time.
- Monitoring only — all traffic will be analyzed, but no filtering will be applied, which means all requests will be allowed. The user will be able to view statistics and the GateKeeper report.
- Full protection — traffic will be analyzed and filtered. Only safe requests will be allowed through. Users will be able to view statistics and GateKeeper reports, as well as configure site rules and custom rules.
- Click Save.
When enabling GateKeeper:
- make sure DDoS protection and HTTP to HTTPS redirection are disabled for websites. With DDoS protection enabled, the Gatekeeper server may be blocked and redirection may cause loops.
- the IP addresses in the A and AAAA records of the website's domain in the ispmanager panel will be automatically replaced with the IP addresses of the server with GateKeeper.
If ispmanager does not manage your domain's DNS records, edit its A and AAAA records manually at your registrar.
Setting up GateKeeper rules
There are 3 levels of GateKeeper rules available:
- global rules — configured at the ispmanager server level and apply to all sites in the panel by default
- site rules — configured at the site level and override global rules
- custom rules — configured at the site level and override site rules
Global rules allow configuring requests actions based on a category Blackwall has assigned them to.
- Log in to the control panel with an administrator-level account or above.
- Go to the Modules section.
- Find Blackwall in the list of modules.
- Click Edit.
In the Global Blackwall GateKeeper settings block, specify the default action for each traffic category.
Traffic categories- Humans — traffic generated by humans
- Search engines — traffic generated by search engines
- Emulated humans — traffic generated by human emulating bots
- Security violators — traffic generated by malicious scripts
- Social networks — traffic generated by social network bots
- Cloud services — traffic generated by cloud service bots
- Content scrapers — traffic generated by content scrapers
- Suspicious behavior — suspicious traffic
Actions with traffic categories- Grant access — requests in this category will be allowed and redirected to the web server in ispmanager
- Deny access — requests in this category will be blocked
- Use CAPTCHA — requests in this category will be verified using CAPTCHA
- Click Save.
Blackwall developers recommend:
- allow traffic for the categories "Humans", "Search engines", "Social networks" and "Cloud services"
- block traffic for the categories "Emulated humans", "Security violators", "Content scraapers", and "Suspicious behavior"
By default, all requests are allowed.
Site rules allow configuring actions to site requests based on a category Blackwall has assigned them to.
Setting up site rules is available if full protection is enabled for the site.
- Log in to the panel with a user-level account or above.
- Go to the Sites section.
- Select a site.
- Click
 and select Blackwall traffic filtering rules.
 Specify an action for each traffic category.
Traffic categories- Humans — traffic generated by humans
- Search engines — traffic generated by search engines
- Emulated humans — traffic generated by human emulating bots
- Security violators — traffic generated by malicious scripts
- Social networks — traffic generated by social network bots
- Cloud services — traffic generated by cloud service bots
- Content scrapers — traffic generated by content scrapers
- Suspicious behavior — suspicious traffic
Actions with traffic categories- Grant access — requests in this category will be allowed and redirected to the web server in ispmanager
- Deny access — requests in this category will be blocked
- Use CAPTCHA — requests in this category will be verified using CAPTCHA
- Click Save.
Blackwall developers recommend:
- allow traffic for the categories "Humans", "Search engines", "Social networks" and "Cloud services"
- block traffic for the categories "Emulated humans", "Security violators", "Content scraapers", and "Suspicious behavior"
By default, global rules are used for sites.
Custom rules are used to fine-tune filtering of requests to a specific site based on various request parameters. Custom rules can be created if full protection is enabled for the site.
Once created, a rule cannot be edited; it can only be deleted and created once again.
- Log in to the panel with a user-level account or above.
- Go to the Sites section.
- Select a site.
- Click and select Custom filtering rules.
- In the form that opens, click
 Add.
Add. - Fill in the fields:
- Rule name — enter the name of the rule
- Add condition — сlick to add a condition to filter requests and configure it:
Field — parameter of incoming requests
Parameters- Domain — the subdomain of the current domain that received the request.
- URI — the relative address of the resource on the current site that received the request. For example, to add a rule for the resource address
https://www.example.net/some/path/resource.html, specify/some/path/resource.html. - HTTP method — the HTTP method used in the request.
- IP address — the IP address the request was made from.
- ASN — the ASN (autonomous system number) in numeric format without the "AS/ASN" part.
- ISP — internet service provider.
- Country — the international country code in two-letter format, e.g. "RU."
- User-Agent — the user agent which the request came through, such as Google Chrome or curl.
- Referrer URL — the URL which the user navigated to the site from.
- HTTP Header — the HTTP header of the request.
Condition — a logical condition that must be met for the parameter
Conditions- equals
- not equal
- contains
- does not contain
- is greater than
- is less than
- is any of
- matches expression
- Condition value — the value of the parameter that the request must match
Action — the action that will be performed if the request satisfies the condition
Actions with requests- Deny — the request will be blocked
- Allow — the request will be allowed
- CAPTCHA — a CAPTCHA check will be performed
- Redirect — the request will be redirected:
- Redirect path — specify the URL to which the request will be redirected
- Limit request rate — the request rate from the IP address from which the request was made will be limited:
- Number of requests — the maximum number of requests allowed from the IP address
- Interval — time interval:
- per minute
- per hour
- per day
- Click Create.
By default, newly created rules are disabled. To enable a rule, select it in the list and click ![]() on the toolbar.
on the toolbar.
GateKeeper admin panel
After enabling GateKeeper, some site settings, such as redirection and caching, can be managed in the GateKeeper admin panel. To configure settings:
Log in to the GateKeeper admin panel at https://DOMAIN_OR_IP-ADDRESS/.
DetailsDOMAIN_OR_IP-ADDRESS — the address of the server GateKeeper is installed to.
- Go to the Domains section.
- Select the website domain.
- Configure the settings:
- Redirect:
- Do not force subdomains redirect
- Force redirect from www subdomain to primary domain
- Force redirect from primary domain to www subdomain
- Upstreams:
- Use HTTPS for upstreams — connect to server With ispmanager via HTTPS. By default, the connection is made via HTTP. To connect via HTTPS for a domain, use the ispmanager panel or admin panel. GateKeeper must be issued an SSL certificate.
SSL certificates:
An SSL certificate can be issued for a website either through the control panel or through GateKeeper.
- Use free Let's Encrypt service to issue and keep certificates up to date (recommended)
- Use custom certificates — use an existing certificate. To upload a certificate, use the following buttons:
- Certificate File — upload a certificate file
- Private Key File — upload the certificate's private key
- Website options:
- Internet protocols:
- Enable HTTP/3 — use HTTP/3 protocol
- Force HTTPS — connect to GateKeeper-protected sites via HTTPS
- Enable Early Hints — send the browser an HTTP status code of 103, which allows it to preload critical resources (CSS, JavaScript , fonts) before receiving the main response from the server. This speeds up page rendering for users.
- Internet protocols:
- Content caching:
- Enable static resources caching
- Enable dynamic resources caching
- Security:
- Enable bot protection — enable GateKeeper's built-in WAF and bot management service to protect against known malicious bots, content scrapers, and automated attacks
- Mitigate DDoS attacks — enable DDoS protection by limiting the number of simultaneous requests and the number of requests per second to the site from a single IP address. Protection operates at the application (HTTP) level and is available if the Enable bot protection checkbox is checked.
- Advanced DDoS protection — enable DDoS protection by terminating and ignoring connections from the attacking IP address. Protection operates at the network level (TCP/IP) and is available if the Mitigate DDoS attacks checkbox is checked.
- Redirect:
- Click Save Changes.
The following site parameters are configurable through the ispmanager interface:
- IP address
- Web scripts in use
- SSL certificate
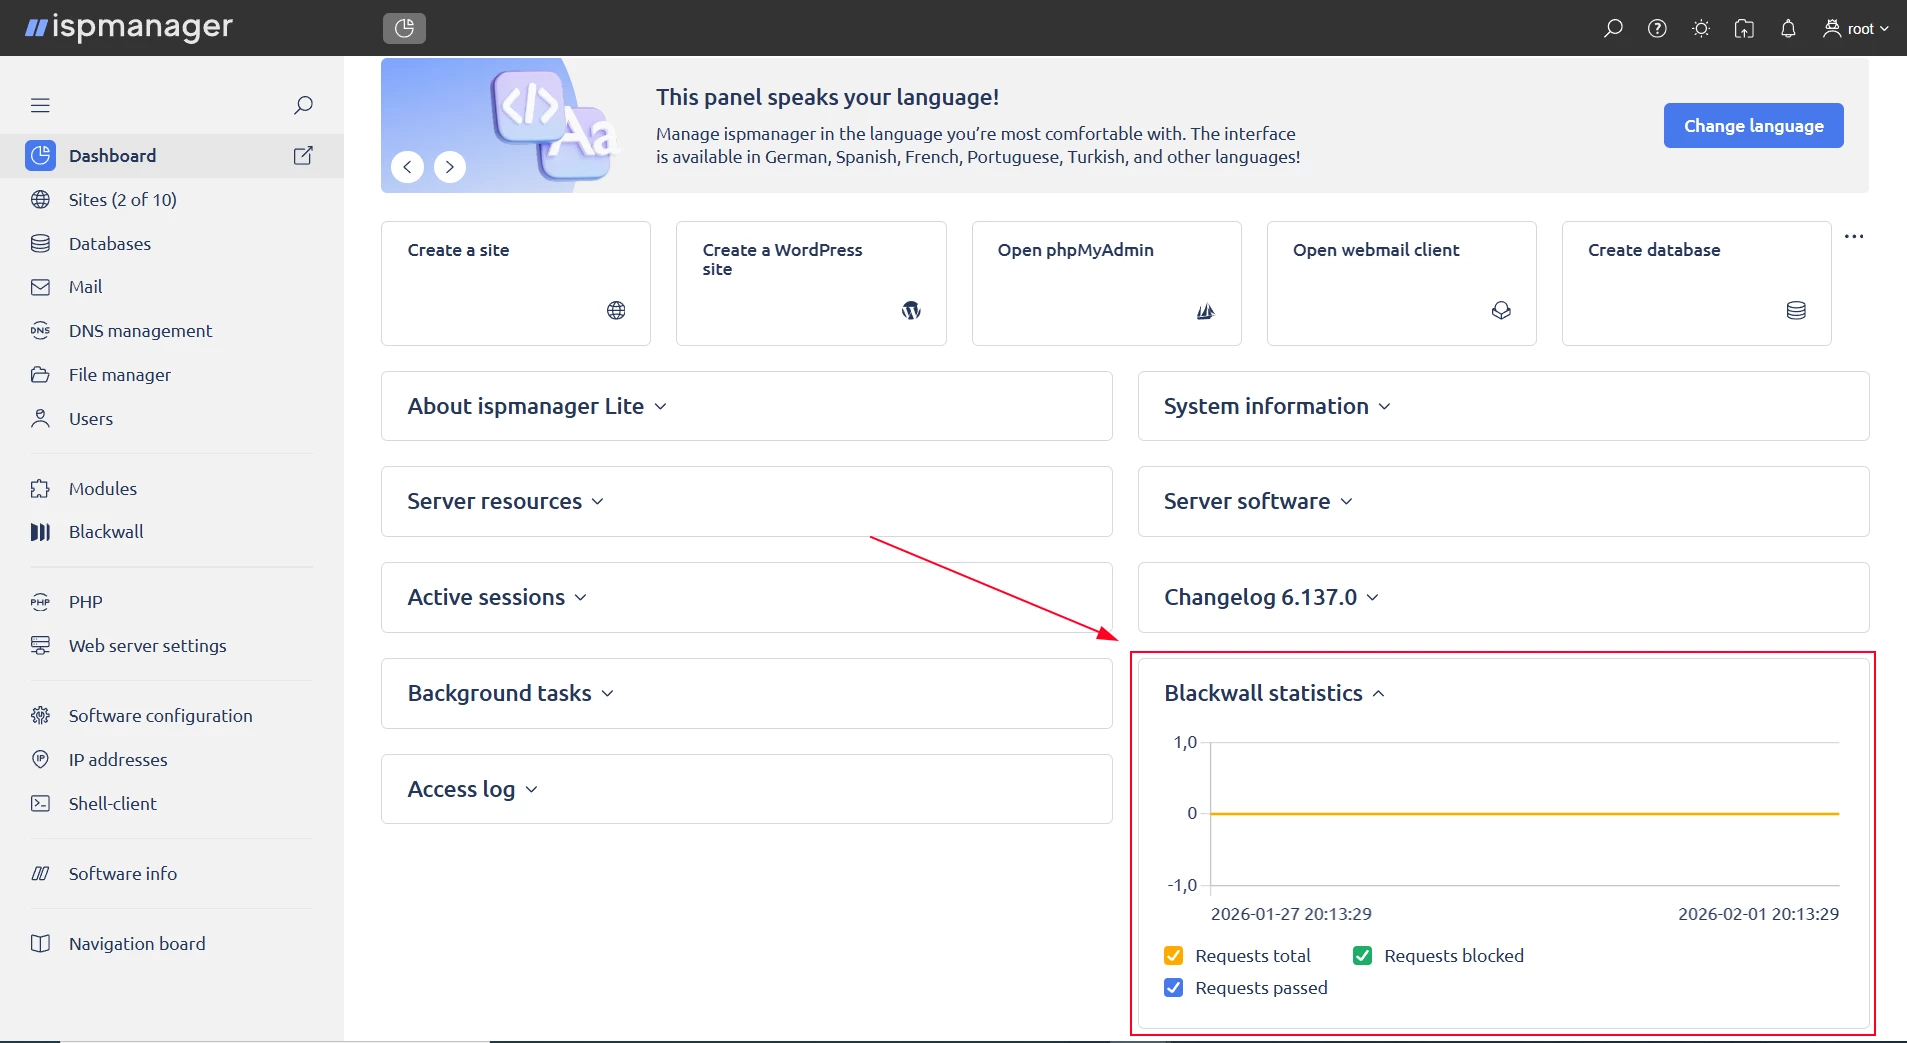
GateKeeper statistics
The statistics contain data on the number of requests to sites for which GateKeeper protection or monitoring is enabled, namely:
- total number of requests
- number of blocked requests
- number of allowed requests
Statistics allow you to analyze website traffic and decide whether it requires protection.
Statistics are available for a specific site and across all sites.
Depending on the access level, global statistics contain data on all sites with GateKeeper enabled :
- at the administrator level — all users in the ispmanager panel
- at the reseller level — all users of this reseller
- at the user level — across all sites of this user
To view statistics:
- Log in to the panel with a user-level account or above.
On the dashboard, find the Blackwall statistics block.
- Log in to the panel with a user-level account or above.
- Go to the Sites section.
- Select a site.
Click
and select Blackwall statistics for site.
GateKeeper report
The report contains detailed information about each request to the sites.
The report can be viewed:
- for all sites
- for a separate site
- Log in to the panel with a user-level account or above.
- Go to the Blackwall section in the left menu.
- Log in to the panel with a user-level account or above.
- Go to the Sites section.
- Select a site.
Click
and select Blackwall events for site.
The report contains the following fields:
- Site/Name — the site to which the request was made
- Date — date of request
- IP — the IP address from which the request came
- Provider Country — the country of the Internet provider
- User-Agent — the user agent through which the request was received
- Request type — category GateKeeper assigned the request to, such as "Content scrapers"
- Action — the action performed with the GateKeeper request
- License type — paid or free version of GateKeeper is used for the site
Disabling the GateKeeper license
If your paid GateKeeper license isn't renewed, a free license will be automatically activated. For sites in ispmanager that had full GateKeeper protection enabled, monitoring mode will be activated.
Removing GateKeeper
- Log in to the control panel with an administrator-level account or above.
- Go to the Modules section.
- Find Blackwall in the list of modules.
- Click
 .
. Confirm deletion.
Once the module is deleted, GateKeeper protection and monitoring for websites is disabled, information about websites in GateKeeper is deleted.
If DDoS protection and HTTP to HTTPS redirection were enabled for websites before GateKeeper was enabled, they will be enabled automatically.
After removing GateKeeper from ispmanager, point domains for which GateKeeper was enabled back to the IP address of the server running ispmanager.
GateKeeper configuration parameters
Blackwall GateKeeper configuration parameters are automatically written to the panel configuration file: /usr/local/mgr5/etc/ispmgr.conf:
| Parameter | Value | |
|---|---|---|
| Connection parameters | ||
| BlackwallAPIKey | GateKeeper API key | |
| BlackwallAPIURL | GateKeeper API server URL | |
| BlackwallUserId | GateKeeper user ID | |
| BlackwallServerId | GateKeeper API server ID | |
| Global settings | ||
| BLACKWALL_HUMANS_FILTER | filtering rule for humans | Possible values:
|
| BLACKWALL_SEARCH_ENGINES_FILTER | filtering rule for search engine bots | |
| BLACKWALL_EMULATED_HUMANS_FILTER | filter rule for bots that imitate humans | |
| BLACKWALL_SECURITY_VIOLATORS_FILTER | filtering rule for malicious scripts | |
| BLACKWALL_SOCIAL_NETWORK_FILTER | filtering rule for social network bots | |
| BLACKWALL_CLOUD_SERVICES_FILTER | filtering rule for cloud service bots | |
| BLACKWALL_CONTENT_SCRAPERS_FILTER | filter rule for content scraper bots | |
| BLACKWALL_SUSPICIOUS_BEHAVIOR_FILTER | filter rule for suspicious requests | |
GateKeeper databases
GateKeeper protection parameters are automatically written to the ispmanager database in the following tables:
bg_domain_assign— contains data about the sites which GateKeeper is enabled for and its operating mode. Fields:- webdomain — website
- protection_mode — GateKeeper mode
bg_domain_rules— Contains data about filtering rules that were set at the site level. Fields:- webdomain — website
- rule — rule for the site
- value — the value selected for the rule
dg_custom_rules— contains data about custom filtering rules. Fields:- webdomain — website
- name — the name of the rule
- active — rule status: enabled/disabled
- rules — the full rule in JSON
- rule_action — rule action