How to work with Docker
After adding a container to the panel: (see Add a container), when it is selected, the following buttons become available:
- Start – starts the container;
- Stop – stops the container;
- Delete – removes the container;
- Container settings– opens the container settings (see Container settings);
- Create an image – opens the container image creation form (see Create an image);
- Image management – the list of images created from containers (see Image management);
- Configuration file– opens the JSON-file of Docker configuration (see Configuration file).

Create an image
To create an image:
- Select the needed container from the list and click on Create an image.
- Fill in the form that opens:
- Image name(obligatory field);
- Image tag (obligatory field);
- Image author;
- Image comment;

- Click on Save.
Image management
To view and manage the created images click on Image management in the Containers form.
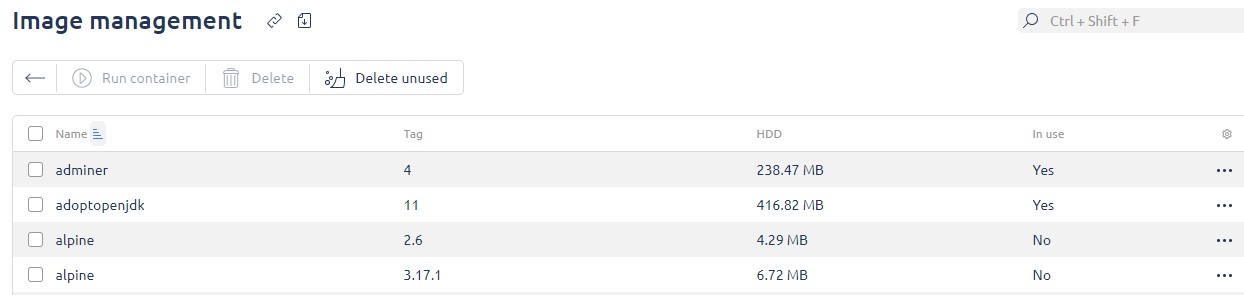
The form contains a list with all created images and information about them:
- Name;
- Tag;
- HDD;
- In use – the image status;
The following actions are also available:
- Run container– launches the container setup (see Container settings), which was used to create the image;
- Delete – removes the selected container image;
- Delete unused – removes all unused container images (all images that have No in the In use column)
Configuration file
To access the configuration click on Configuration file.

The system checks all the added configurations and, if the result is positive, will apply them.