Data import: for users
Before starting the import, please see the general information about import.
Preparing for import
The source panel
In case the import will be performed from a backup loaded from a computer, from a local archive/directory or via a URL, create a backup copy.
For more information on creating a backup copy, please see the documentation for your panel:
- Creating a backup in ispmanger 5
- Creating a backup in ispmanger 6
- Creating a backup in ispmanger business 6
Import is supported from backups in the TAR format.
The receiving panel
Before starting the import, make sure that:
there is enough disk space for the imported data
DetailsThe required disk space by default equals:
volume of imported data * 5 + 200 MBTo view free disk space in ispmanager:
- Log in to the ispmanager panel.
Go to the Dashboard
Disk information can be found in the Disk usage section.
the imported entities are not exceeding any limits
To view the limits- Log in to the ispmanager panel.
Go to the Dashboard
Disk information can be found in the Limits section.
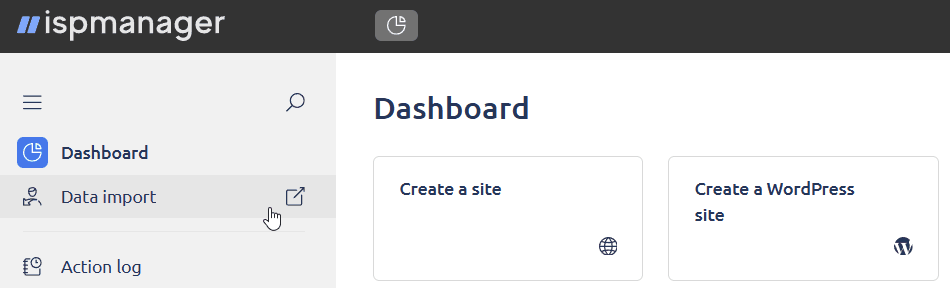
Data import process
- Log in to the ispmanager panel.
- Navigate to the Data import section.
Click New import and follow the instructions of the import wizard.
Step 1. Select the panel
Select the panel the data will be imported from:
- ispmanager 6
- ispmanager business 6
- ispmanager 5
- ispmanager 4
- cPanel
- Plesk
Click Next.
Step 2. Select the source
A backup copy can be loaded from the following sources:
A file will be loaded from the local computer. Not available for backups created in ispmanager 4.
Click Select file to open a dialog box for loading a file. You can only upload one file at a time.
The import will be performed from the selected file on the receiving server.
- Catalog tree — select a file or directory from your home directory
- Path to archive — specify the path to the selected archive on the server manually
The import will be performed from an archive accessible from a URL. Not available for backups created in ispmanager 4.
In the URL field, specify the address of the archive to import.
The import will be performed from an archive in a remote panel. A backup copy will be created automatically before the import starts. Not available for import from ispmanager 4, cPanel, and Plesk.
- Control panel URL — specify the ispmanager source panel address, typically in the format
https://DOMAIN_OR_IP:PORT/ispmg - Login — specify your username in the source panel
- Password — specify your password in the source panel
- Temporary password — if the source server uses two-step authentication, specify the six-digit code from the TOTP application
Click Next.
Step 3. Import parameters
Specify the import parameters:
- Select users — will only contain your username.
- Data of existing users — how your imported data will be handled in case a user with the same name already exists in the receiving ispmanager panel:
replace existing — all existing entities and files will be replaced with the imported ones
DetailsAt this step, the field is available when importing:
- from an archive loaded from a computer/local directory/URL
- from ispmanager 5
- from a remote ispmanager 6 or ispmanager business 6 panel using a one-time password (two-factor authentication)
When importing from ispmanager 6, ispmanager business 6 from a remote panel without two-factor authentication, the field is available at the next step in the list of critical issues.
Click Next.
If the data is imported from a remote ispmanager 6 or ispmanager business 6 panel without two-factor authentication, you will be taken to Step 4.
Otherwise, the import will start immediately after Step 3.
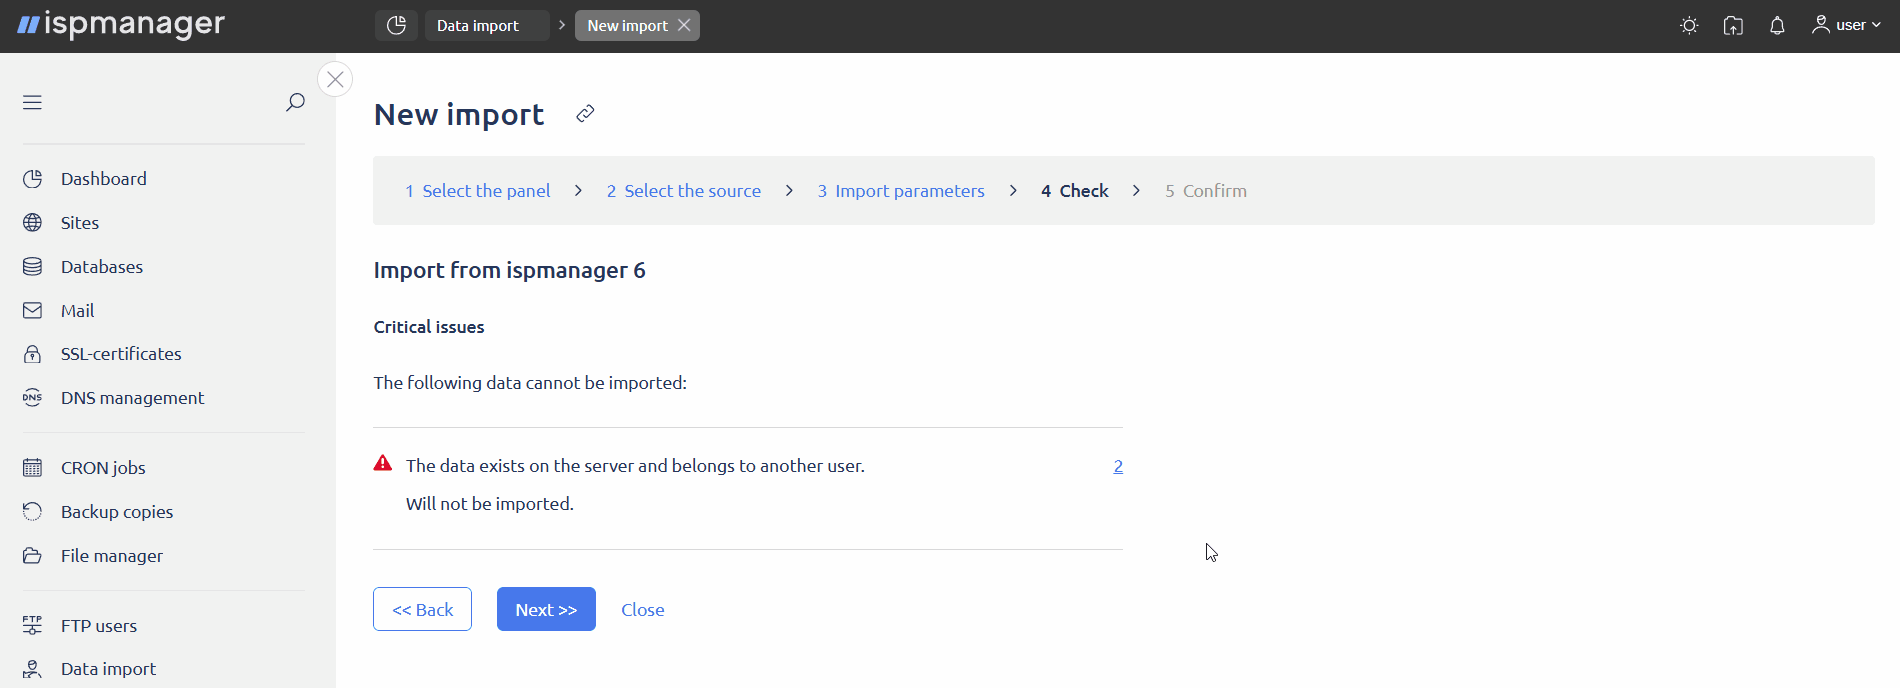
Step 4. Check
Steps 4 and 5 are available when importing from a remote ispmanager 6 or ispmanager business 6 panel.
The Check step automatically checks whether the software and settings in the source and destination panels match. In case of conflicts, lists of critical issues and warnings are generated. Entities and settings with critical issues will not be imported, and entities with warnings will be imported with changed settings.
To view a list of entities affected by an issue or warning, click the number next to it.
- Web server not found — there is no web server installed on the receiving server. Sites will not be imported.
- MySQL DBMS server not found — MySQL databases will not be imported.
- The data exists on the server — how your imported data will be handled in case a user with the same name already exists in the receiving ispmanager panel:
- Overwrite all entities and files — all existing entities and files will be replaced with the imported ones
- The data exists on the server and belongs to another user — entities with such names already exist in the receiving panel and will not be imported.
- The user's limit exceeded — entities that exceed the limit will not be imported.
- The user has limited access to functions — entities and settings that are missing the required access will not be imported.
- PostgreSQL database server not found — PostgreSQL databases will not be imported.
- FTP server not found — FTP users will not be imported.
- DNS server not found — domain names will not be imported.
- Mail server not found — mail domains, mailboxes and emails will not be imported.
- PHP mode not found — the sites will be imported with a different PHP mode
- X.X MySQL database server not found — the MySQL databases will be imported to the default database server
- PHP X.X not found — the sites will be imported with a different PHP version
- Python X.X not found — the sites using this version of Python will be imported with the default Python version, or without a handler if Python is missing
- Node.js not found — the sites using this handler will be imported without a handler
After reviewing the lists, click Next.
Step 5. Confirm
At the Confirm step, a list of imported entities is generated.
- Databases
- Database users
- Domain names
- Mailboxes
- Mail domains
- FTP users
- CRON jobs
- SSL certificates
- CSR requests
To start the import, click the Import button. This will launch a background process which will prepare the panel and start the import.
Notifications will be displayed when the import is started and completed.
Actions with import
| Cancel a running import | |
| Import log | |
| Delete a completed import. The import will be deleted along with the associated log |