Extended IP address management for server
Extended IP address management is only available in ispmanager host.
Usage
Extended IP address management is used for:
- allocating and removing IP addresses;
- distributing IP addresses by roles;
- restricting access to IP addresses among users.
Working with IP addresses involves managing an IP address database — a local one or a remote IPmanager 6.
IP address configuration
IP address list
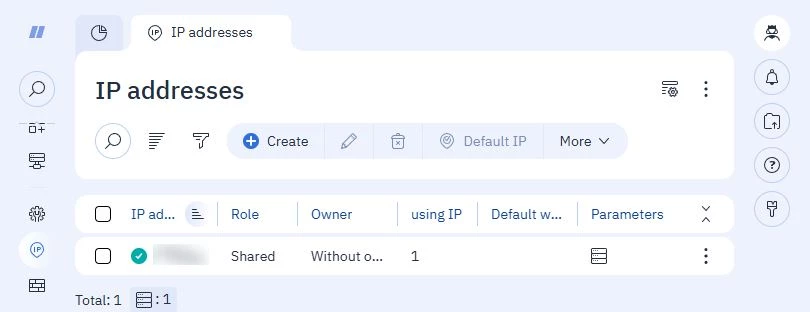
To open the list of IP addresses in the panel, navigate to the IP addresses menu section.
The IP address list contains the following columns:
- IP address — the name of the IP address;
- Role — the role of the IP address in the panel;
- Owner — the username of the IP address owner;
- Using IP — the number of websites and mail domains using the IP address;
- Default website — the site that opens by default when accessing the IP address;
- Parameters — parameters of the IP address, such as where the IP address was obtained from.
IP address roles
| Role name | Description |
|---|---|
| Shared | Can be used by any user created on the server |
| Assigned | Assigned to a specific user and unavailable to anyone other than that user |
| Mutual | Assigned to multiple users and unavailable to anyone other than the owners |
| Free | Unavailable to anyone and is not currently in use, allocated for future use |
| Reserved | Not assigned to any user, not in use, not allowed to be used in the control panel |
Creating an IP address
- Add a pool of addresses.
Go to the IP Addresses menu section and click Create.
- IP address allocation — indicates how the new IP address will be allocated. Selectable values:
- Automatically (IPv4) — allocate a new IP address automatically from the existing IPv4 network;
- Automatically (IPv6) — allocate a new IP address automatically from the existing IPv6 network, only available if an IPv6 network exists;
- From the subnet — allocate a new IP address automatically from the specified network;
- Allocate manually — allocate a specific IP address. If the address is already assigned or belongs to a network that is not available, an error will be returned.
- Subnet — subnet selection. Available when the From the subnet option is selected.
- IP address — specify a specific address. Available when the Allocate manually option is selected.
- Role — indicates which role the IP address will have.
- Owner — IP address owners when the Mutual role is selected and one owner when the Assigned role is selected.
- Comment — IP address comment.
Complete the required fields and click Create.
The IP address will be added to the database and to the network interface.
- IP address allocation — indicates how the new IP address will be allocated. Selectable values:
Assigned IP addresses are added to the beginning of the IP address drop-down list when the site is created.
Changing an IP address
- Go to the IP addresses section.
- Select the address to change.
- Click the Edit button on the toolbar.
- Role — dropdown list. Indicates which role the IP address will have;
- Owner — IP addresses owners when the Mutual role is selected and one owner when the Assigned role is selected;
- Comment — IP address comment.
Transferring entities to another IP address
- Log in to ispmanager with an administrator-level account or above.
- Go to the IP addresses section.
- Select an address and click
 Using IP on the toolbar.
 - Select entitties that need to be tranferred to another address and click
 on the toolbar.
 - In the form that opens in the New IP address field, select the address the entities will be transferred to. Entities can be transferred to a shared or assigned address of their owner. Transfer to an IP address assigned to another user or to a reserved IP address is not available.
- Save the changes.
For compatibility with the ispmanager business edition, the ipaddr.free function has also been implemented in ispmanager lite/pro/host for address transfer:
/usr/local/mgr5/sbin/mgrctl -m ispmgr ipaddr.free elid=X.X.X.X old_ip=X.X.X.X new_ip=Y.Y.Y.Y. sok=ok - elid and old_ip — old IP address
- new_ip — new IP address
Deleting an IP Address
- Go to the IP addresses section.
- Select the address to delete.
- Click the Delete button on the toolbar.
If the IP address is not used by websites or mail domains, it will be removed from the database and network interface.
If it is, an error will be returned.
Default IP address
To assign a default IP address that will be placed first in the list of IP addresses when creating a site:
- Go to the IP addresses section.
- Select the address to change.
- Click the Default IP button on the toolbar.
NAT
If your server is behind NAT, you can map internal IP addresses on the server to the corresponding external IP addresses. The external IP addresses will be displayed in the interface instead of the internal IP addresses. A/AAAA records of the existing domain names that use internal IP addresses will be automatically reassigned to external IP addresses.
For more information, see NAT configuration.
IP pools
Using the Pools of IP addresses button, you can specify individual IP address pools. Addresses will be allocated from these pools if integration with the IPmanager control panel is not configured.
If ispmanager is integrated with IPmanager, addresses will be issued by IPmanager automatically.
Adding a pool
- Click Pools of IP addresses on the toolbar.
- Click Add and specify:
- Pool of IP addresses — specify the IP address pool in the format network_address/network_mask, first_address-last_address, or as a specific address;
- Network mask — specify the network mask;
- Gateway — specify the gateway;
- IP address group — specify the type of IP addresses used by this panel.
Domain of special addresses
- Click Pools of IP addresses on the toolbar.
- Click the Domain of special addresses configuration button.
- Fill in the form:
- Domain name — domain to be added to the name of special addresses (gateway, broadcast, subnet).
Special IP addresses are reserved automatically when the range is created.
Integration with IPmanager
To configure integration with IPmanager:
- Navigate to the IP addresses section.
- Click the IPmanager button on the toolbar.
- Fill in the form:
- Ingration with IPmanager — this option defines the source of IP addresses in the control panel. If the option is active, addresses are allocated from IPmanager. If the option is disabled, the addresses are allocated from the IP address database of the ispmanager control panel;
- IPmanager URL — full URL address of the server with IPmanager;
- Username — user name for accessing IPmanager;
- Password — account password for integration with IPmanager.
IP address users
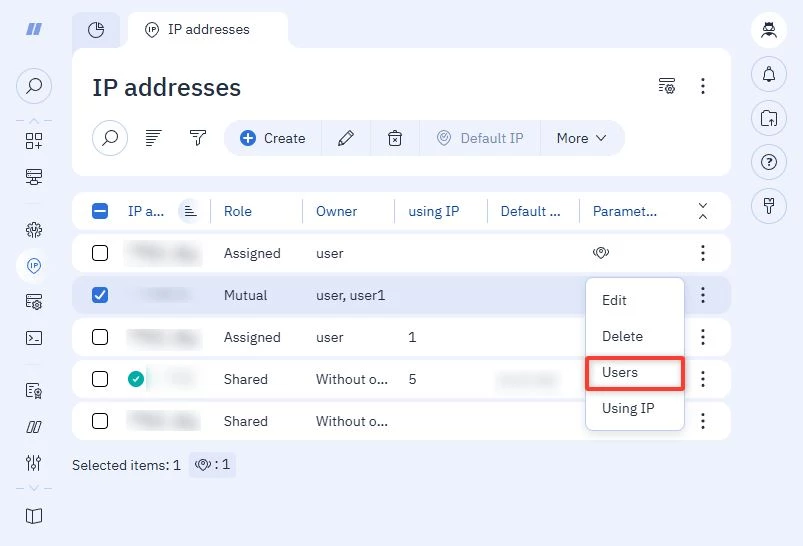
Enabling mutual access to an IP address
To enable or disable user access to a mutual address, select the Mutual IP address in the IP Address section and click Users in the dropdown menu on the right.
To allow the selected user access to the IP address, click Allow on the toolbar.
To disable access, click Deny.
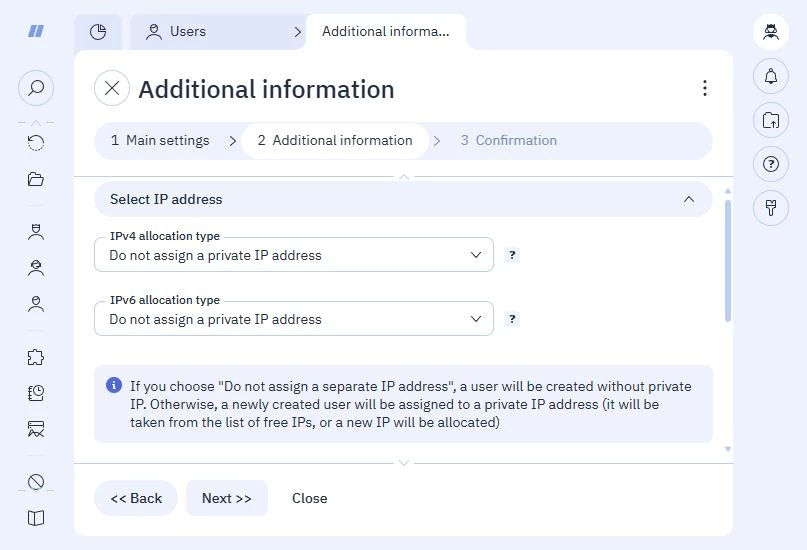
Creating a user
When creating a user, you can now assign a dedicated IP address to the user in the Select IP address block at the Additional Information step.
Deleting a user
When deleting a user, the private IP address is also deleted.
Binding to a user
IP address allocation to users is accounted for when creating the following entities:
- sites;
- mail domains;
- domain names.
Transferring IP address to another user
When a site is transferred to another user, an assigned IP address can only be transferred if it is not used by other entities that are not transferred. If an assigned IP address is used by other entities, it will not be transferred.
If the new user cannot access the mutual IP address that is being transferred, the address will not be transferred.