ImunifyAV
ImunifyAV is a website antivirus.
Installation of ImunifyAV is not available in the territory of the Russian Federation and the Republic of Belarus.
Licenses
A free version of the module is available in the panel with the following functions:
- unlimited checks
- detection of backdoors, web shells, spam scripts, trojans, misleading SEO, phishing pages and other malicious scripts
- checking domains and server IP-addresses for sanctions and blacklists of Google, Yandex, Roskomnadzor and other organizations
- support for all types of CMS written in PHP, including WordPress, Joomla!, Magento, Drupal, MODx, Bitrix, as well as static html-sites
Limitations
Not available in the current version of the ImunifyAV module:
- curing and removing infected files
- scanning of archives
Requirements
- Before installing the module, make sure that a public IP address is used on the server with the panel. ImunifyAV operation on a server behind NAT is not supported.
The alternate version of PHP 7.1 allows the use of the putenv and passthru functions.
DetailsTo test operability of functions:
- Navigate to the PHP section.
- Select the alternative PHP 7.1 version→
 Advanced settings.
 - Select the disable_functions variable in the table → click Edit.
- Make sure that there are no putenv and passthru values for the variable in the Value field.
- At least one user has been created before the module is installed for the first time.
Installation
- Authorize in the panel under an administrator level account or above.
- Go to the Modules section.
- Scroll down and find ImunifyAV → click Install.
- Wait for the installation to complete.
During the installation, the alternative version of PHP 7.1 and its extensions such as ioncube, posix, intl, json will be automatically installed. After installation, make sure that PHP settings meet the requirements.
Configuring the module
- Go to the ImunifyAV section.
- Accept the terms of the ImunifyAV License Agreement.
- On the toolbar, click
 Settings.
 - Select the desired options for scans:
- Quick-check — the antivirus will check only critical files with extensions ph*,htm*, js, txt, tpl to reduce server load and increase scanning speed
- Skip media files — option is available when express check is disabled. Select the checkbox not to scan media files
- Optimize by speed — select the checkbox to scan files from cache folders selectively. It speeds up the scanning process with the same level of malware detection
- Malware detection banner — select the checkbox to show a banner in ispmanager panel when malware is detected
- Max concurrent threads — set the maximum number of concurrently running threads. Optimal value: half of the number of available server kernels
- Scheduled scanning — set the interval of automatic website scanning
- Start at — select the time at which website scanning starts automatically
- Max allowed memory per scanning (Mb) — set the value of RAM usage per scanning thread
- Log level — specify the level of detail of messages registered in the log
/usr/local/mgr5/var/raisp_data/log - Scanning timeout — set the optimal time after which the site scanning will stop
- Check domain blacklisted status — select the checkbox if you want the antivirus to check if the site and server IP address are blacklisted
- Auto update antivirus databases — select the checkbox to keep the ImunifyAV bases up to date
- Notify admin via email — select the checkbox to send email notifications to the administrator when viruses are detected on websites after scheduled scans
- Notification email — specify the email address to which notifications about detected viruses will be sent
- Send using SMTP — select the checkbox to use an external SMTP server instead of the standard PHP
mail()function to send emails- SMTP server — specify the SMTP server name
- SMTP user — specify the mail user
- SMTP password — enter the mailbox password
- SMTP port — specify the connection port
- Enable SSL for SMTP — select the checkbox if the SMTP server requires an SSL connection. For example, when sending emails via smtp.yandex.ru
- Save the changes.
Scanning modes
Module has two scanning modes:
 By users — the selected user's directory and all sites in it are fully checked starting from
 /var/www/USERNAME/.Domain reputation is not checked.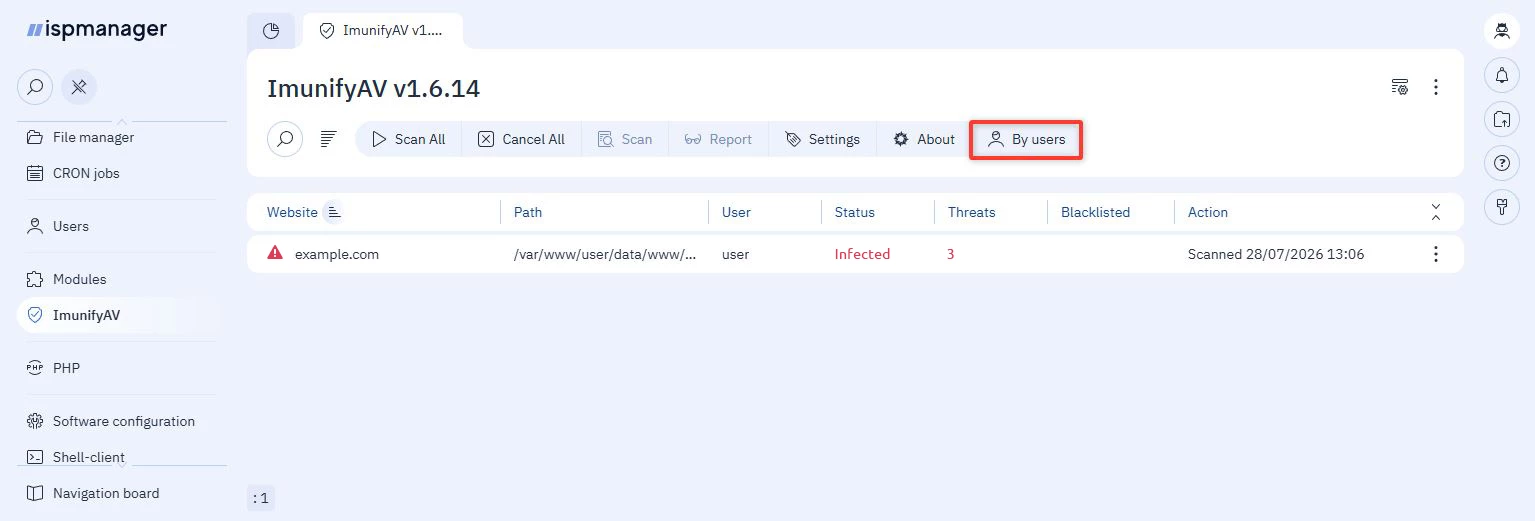
 By domains — the entire web domain directory and the blacklist reputation of domains are checked. Files located outside domain directories are not checked.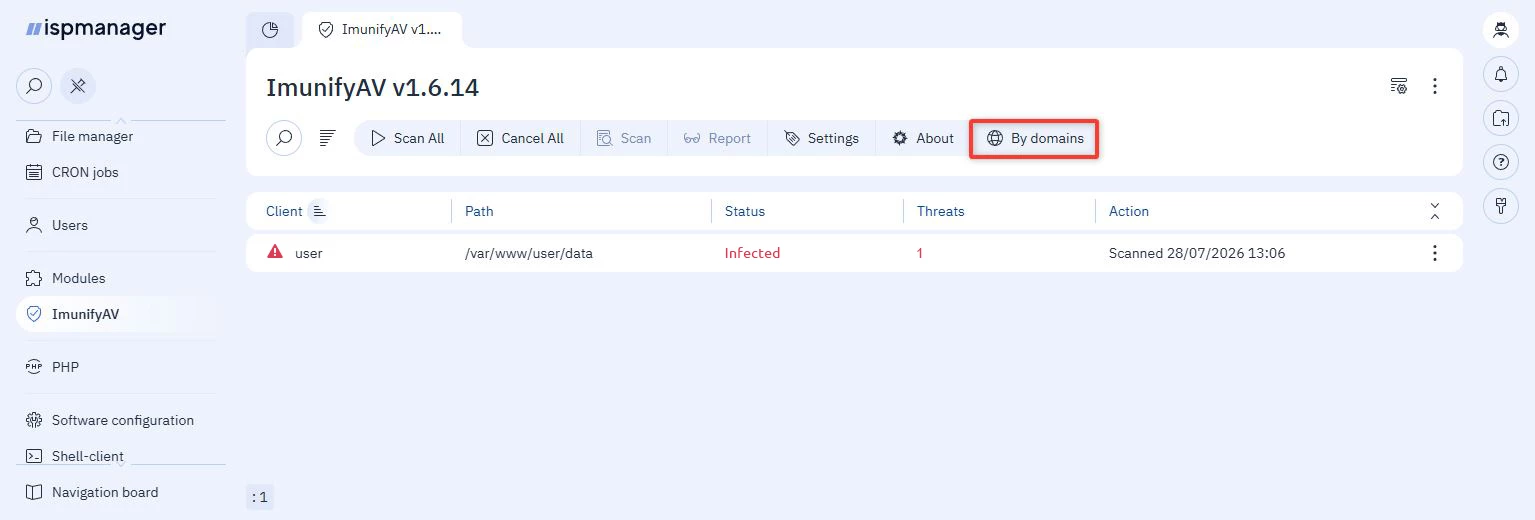
To start the scanning process:
- Authorize in the panel under an administrator level account or above.
- Go to the ImunifyAV section.
Click
 Scan all to check for malicious entities across all domains or users.
Or click Scan to check by the selected domain or user.
When malicious entities are detected, the status «Infected» is displayed for the infected domain or user.
Paid version
ImunifyAV licenses can not be purchased through ispmanager. You can buy a license from the official reseller.
The paid version is installed independently, through the server console and is not available for customization in the web interface of the panel.