Social network authorization
Enable authorization
Only a superuser (root) or administrator (admin) can enable social login for users and select the social networks the user can set authorization for.
- Log into the panel as a superuser or administrator.
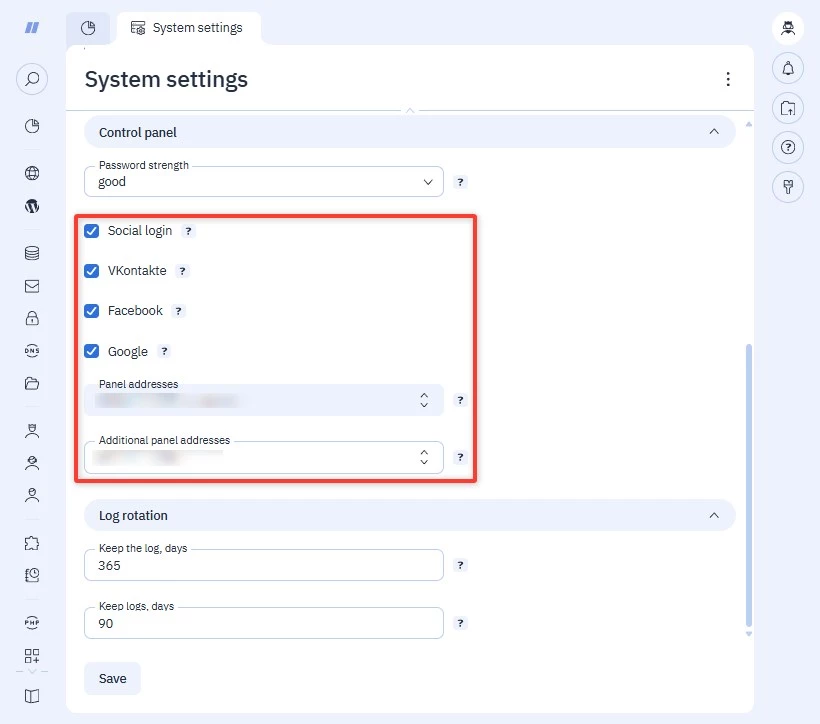
- In the Main menu choose Settings → System settings.
In the Control panel section check Social login and set its parameters:
- VKontakte, Facebook, Google — select social networks for authorization;
- Panel addresses — filled automatically with panel addresses;
- Additional panel addresses — add addresses manually if panel addresses were not filled automatically. This usually happens if you are using an Nginx proxy.
If the addresses are filled incorrectly, social login will not work and the following entry will appear in the panel log
/usr/local/mgr5/var/ispmgr.log:EXTINFO Server name example.com not trusted. Skip oauth redirect- Click Save.
Turn on authorization
Any user can turn on social network authorization.
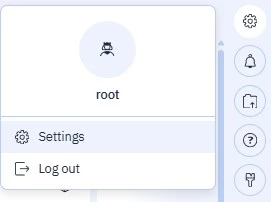
- From the drop-down menu in the upper right corner select Settings.
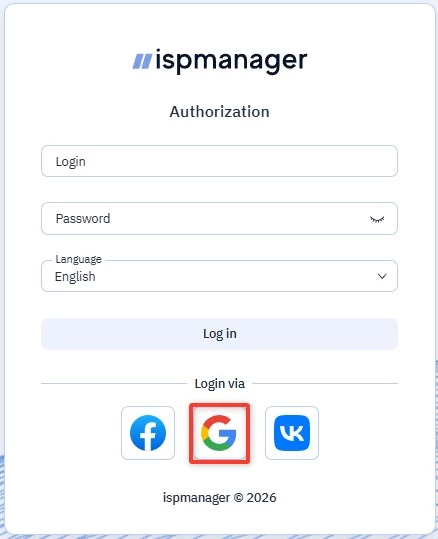
- Scroll down to the Social network authorization section and click on the social network you want to sign in with.
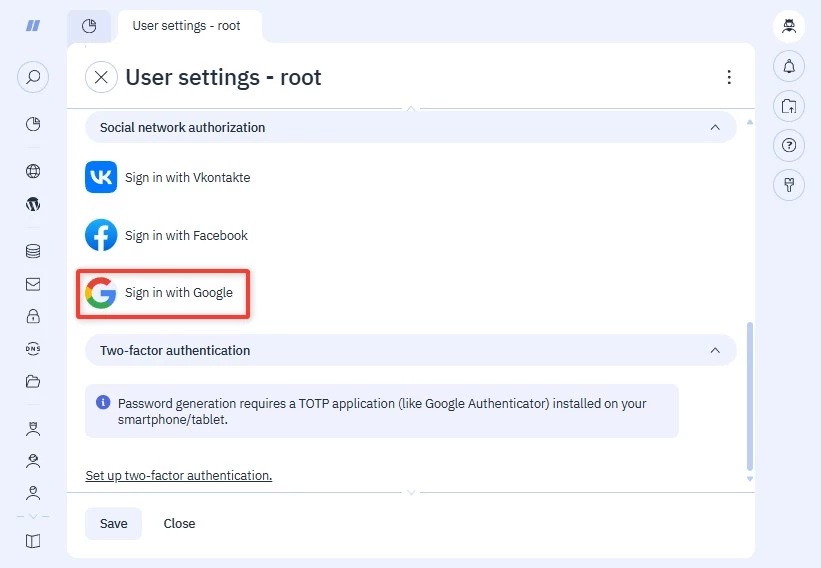
- A social network login page will open.
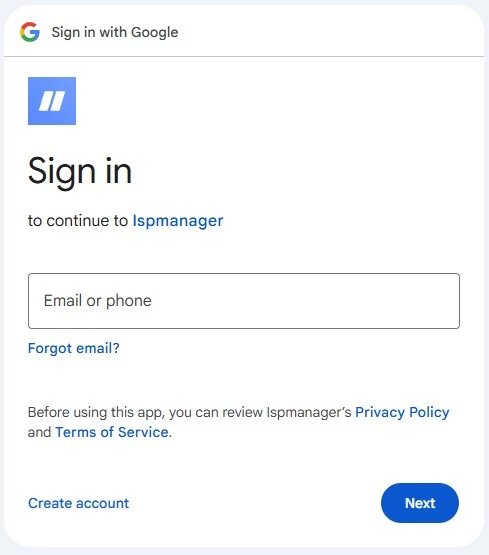
- After successful authorization, you will be returned to the panel. Next time you log in, just click on the social network icon on the panel authorization form.
Turn off authorization
- From the drop-down menu in the upper right corner select Settings.
- Scroll down to the Social network authorization section and uncheck the social network you want to turn off authorization for.
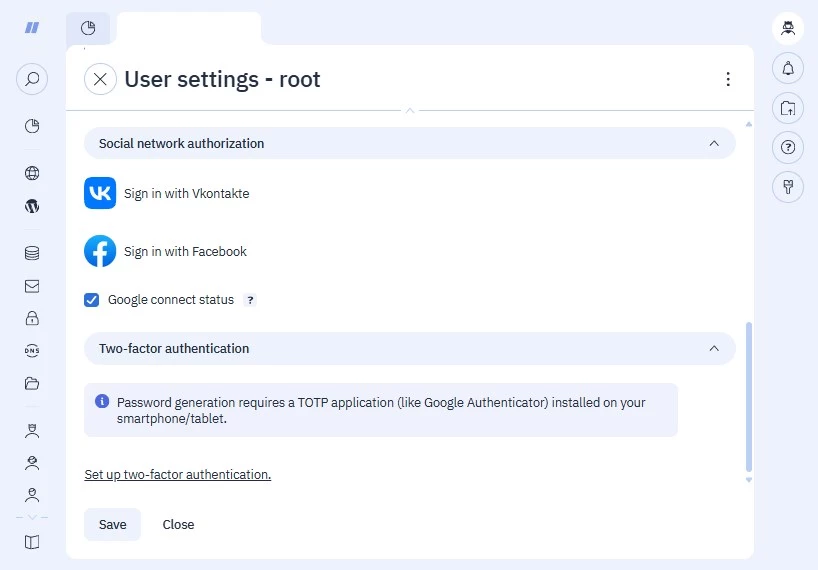
- Click Save.
It is also possible to disable authorization via a social network in its account settings.
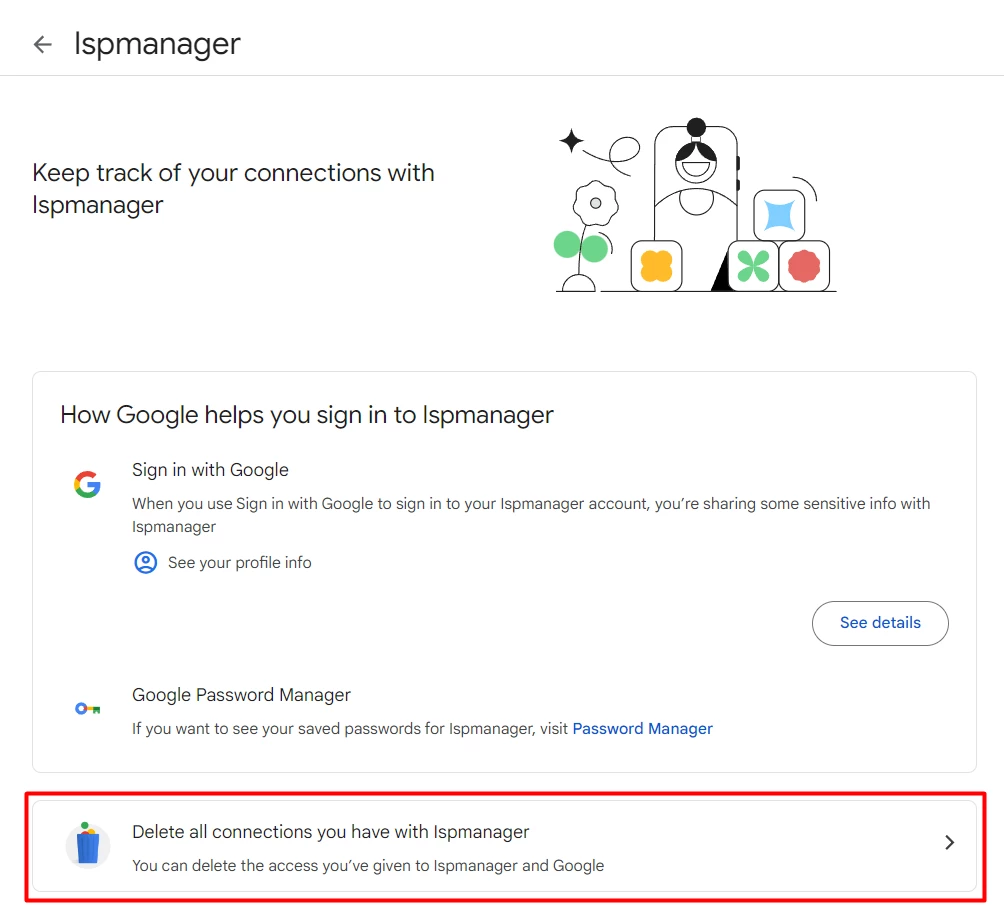
Disable Google authorization