Creating websites with AI WordPress
Requirements for AI WordPress website generation
- The user's limit on the number of available generations must be set to > 0. If the user belongs to a reseller, the number of available generations must be increased for the reseller first.
- The website's domain must be pointed to the server running the ispmanager panel or specified in the
.hostsfile on the local computer. - The user's limits and restrictions must be sufficient for creating a WordPress website.
- At least one version of PHP, 8.1 or higher, must be installed and enabled for users on the server.
- The following extensions must be installed and enabled for the PHP version:
pharcurlgdmbstringmysqlndopensslpcrexmlxmlreaderHow to check that extensions are installed and enabled- Log in to the control panel with an administrator-level account or above.
- Go to the PHP section.
- Select a version.
- On the toolbar, click
 Extensions.
 - Select the desired extension from the list and click
 on the toolbar to download and
  to enable it.
Adding site to panel
- Log in to the control panel with the desired account.
- Go to the Sites section.
On the dashboard, click Create a site → AI WordPress.
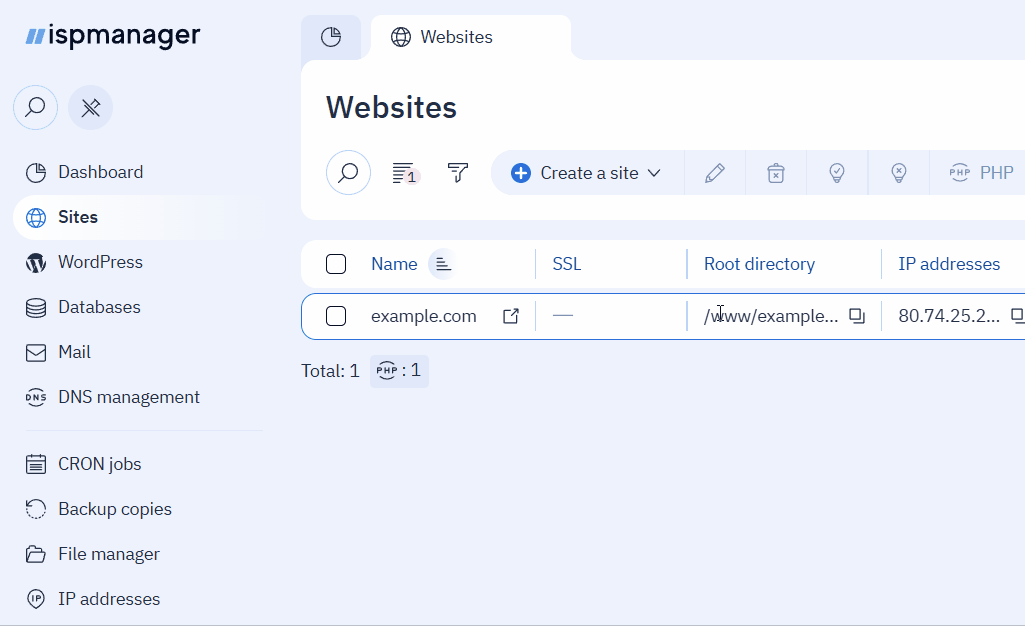
- In the form that opens, fill in the fields:
- Domain name — the site's domain name.
- User selection — the user who will own the site. This field is available for reseller-level accounts and above.
- Click Create.
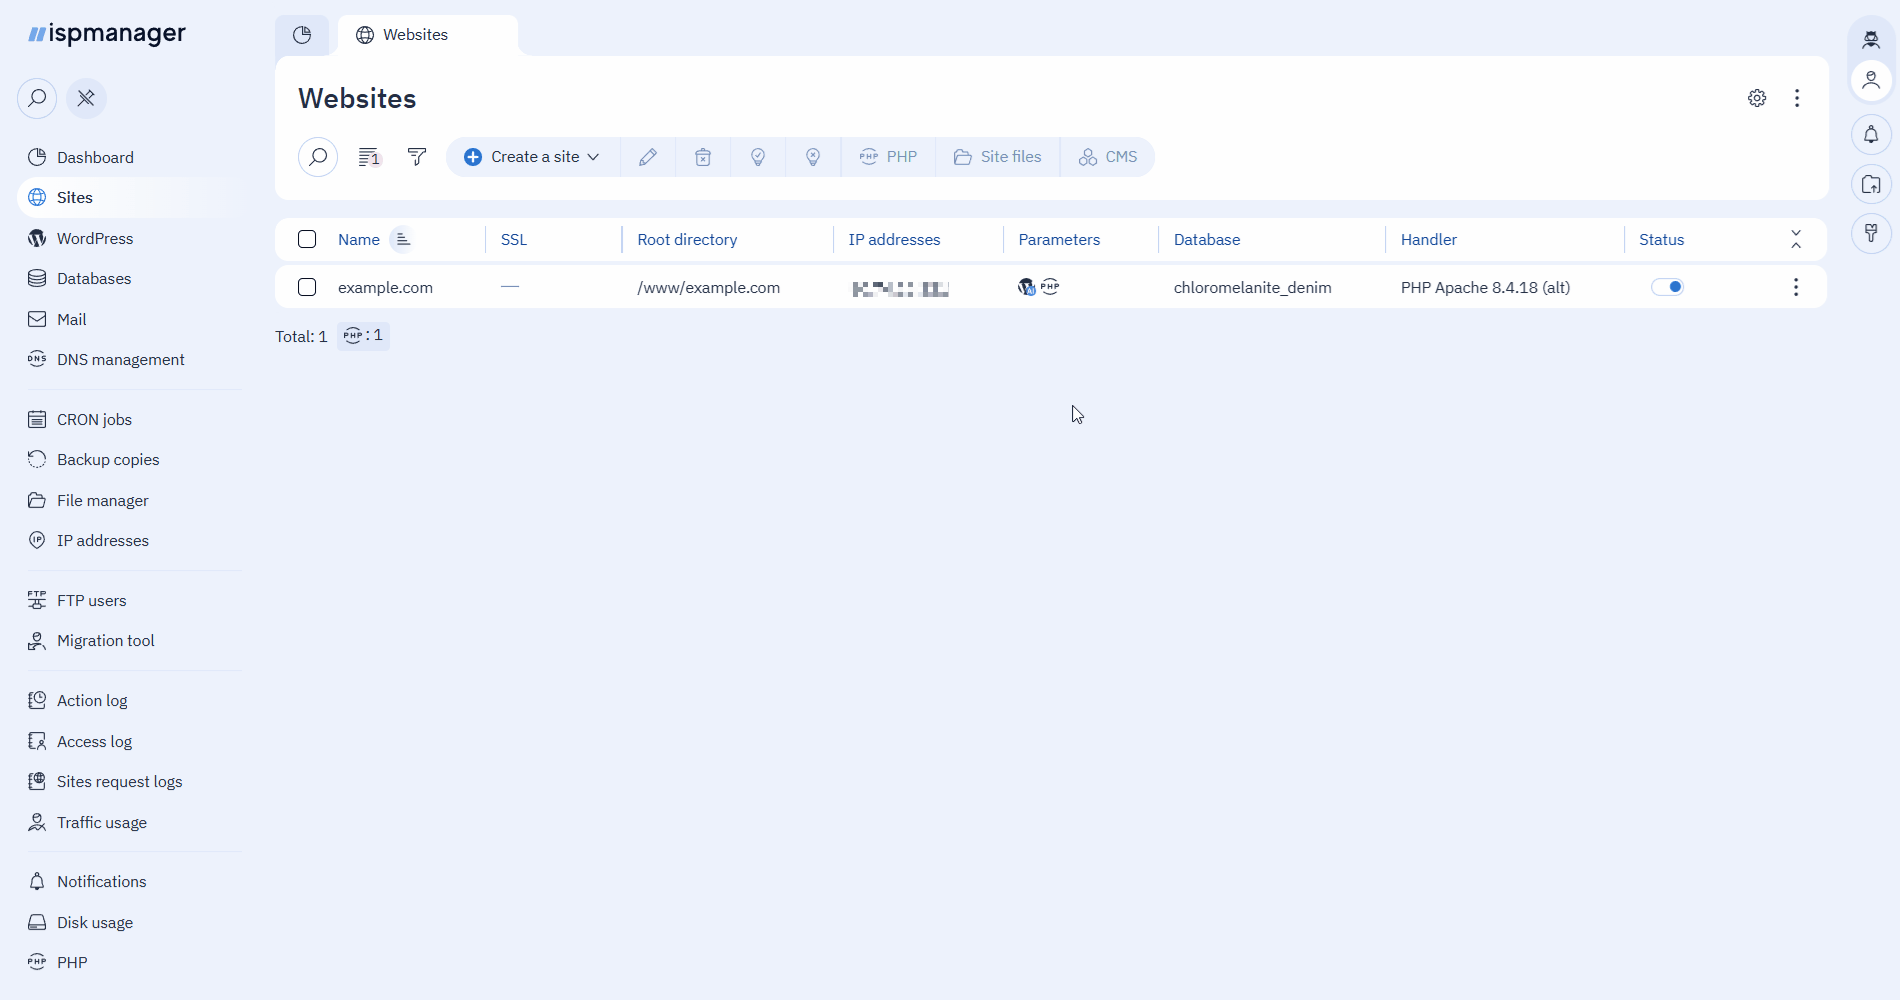
This will create a site entity, install WordPress with the ispmanager auto login plugin for automatic WordPress login and the WordPress AI Assistant plugin for the ispmanager AI Assistant, issue a Let's Encrypt certificate, enable HTTP to HTTPS redirection, and create a database.
Then the Go to AI Assistant button will appear. Click it to start generating site content immediately, or return to content generation later.
- Go to the Sites section.
- Select a site and click
 next to it.
 Click Resume Previous Session or Start Over.
Сontent generation
The AI Assistant will open in a new tab. The AI Assistant interface and the WordPress admin panel will be in the same language as the panel.
- Go to the WordPress admin panel at
https://YOUR_SITE/wp-admin. - Log in using your WordPress credentials for the site from the panel:
- Click
 next to the desired site.
 - In the context menu, select WordPress.
- In the form that opens, copy the login information from the WordPress access block.
- Click
- In the WordPress admin panel, go to Settings in the left menu.
- In the Site Language field, select your language.
- Save the changes.
Follow the steps below to specify your website description and parameters for the AI Assistant. The more precisely you fill out all the fields, the more relevant the generated content will be.
Once the process of site generation has started, it will be impossible to re-generate it.
Step 1. Let's Start
Specify the website's name, purpose, and language:
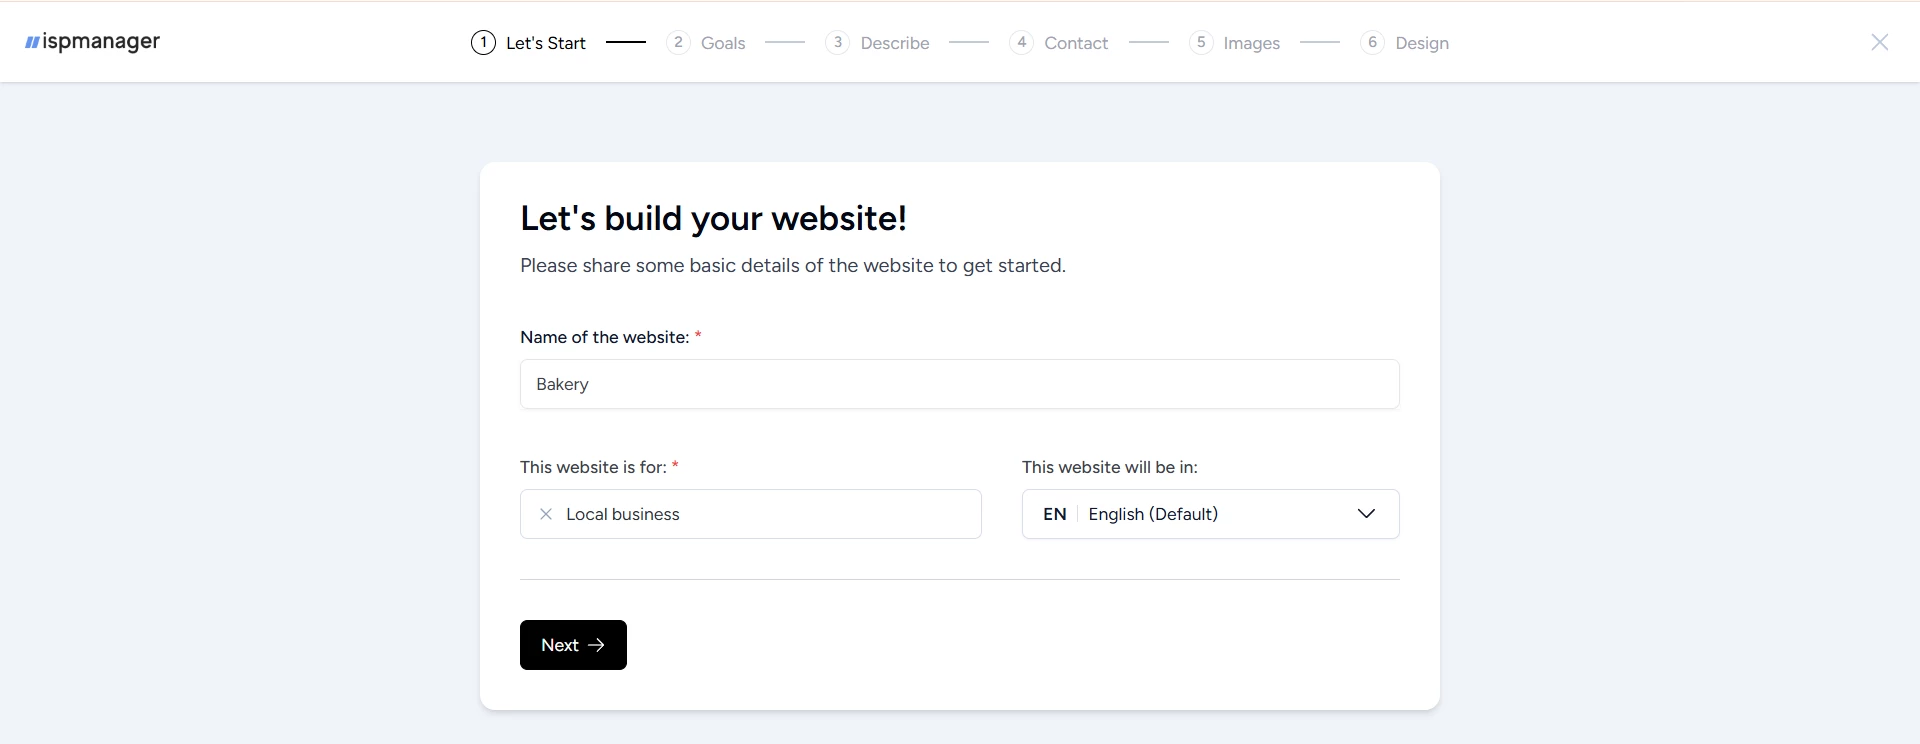
If a suitable purpose is not on the list, use the search function to find it.
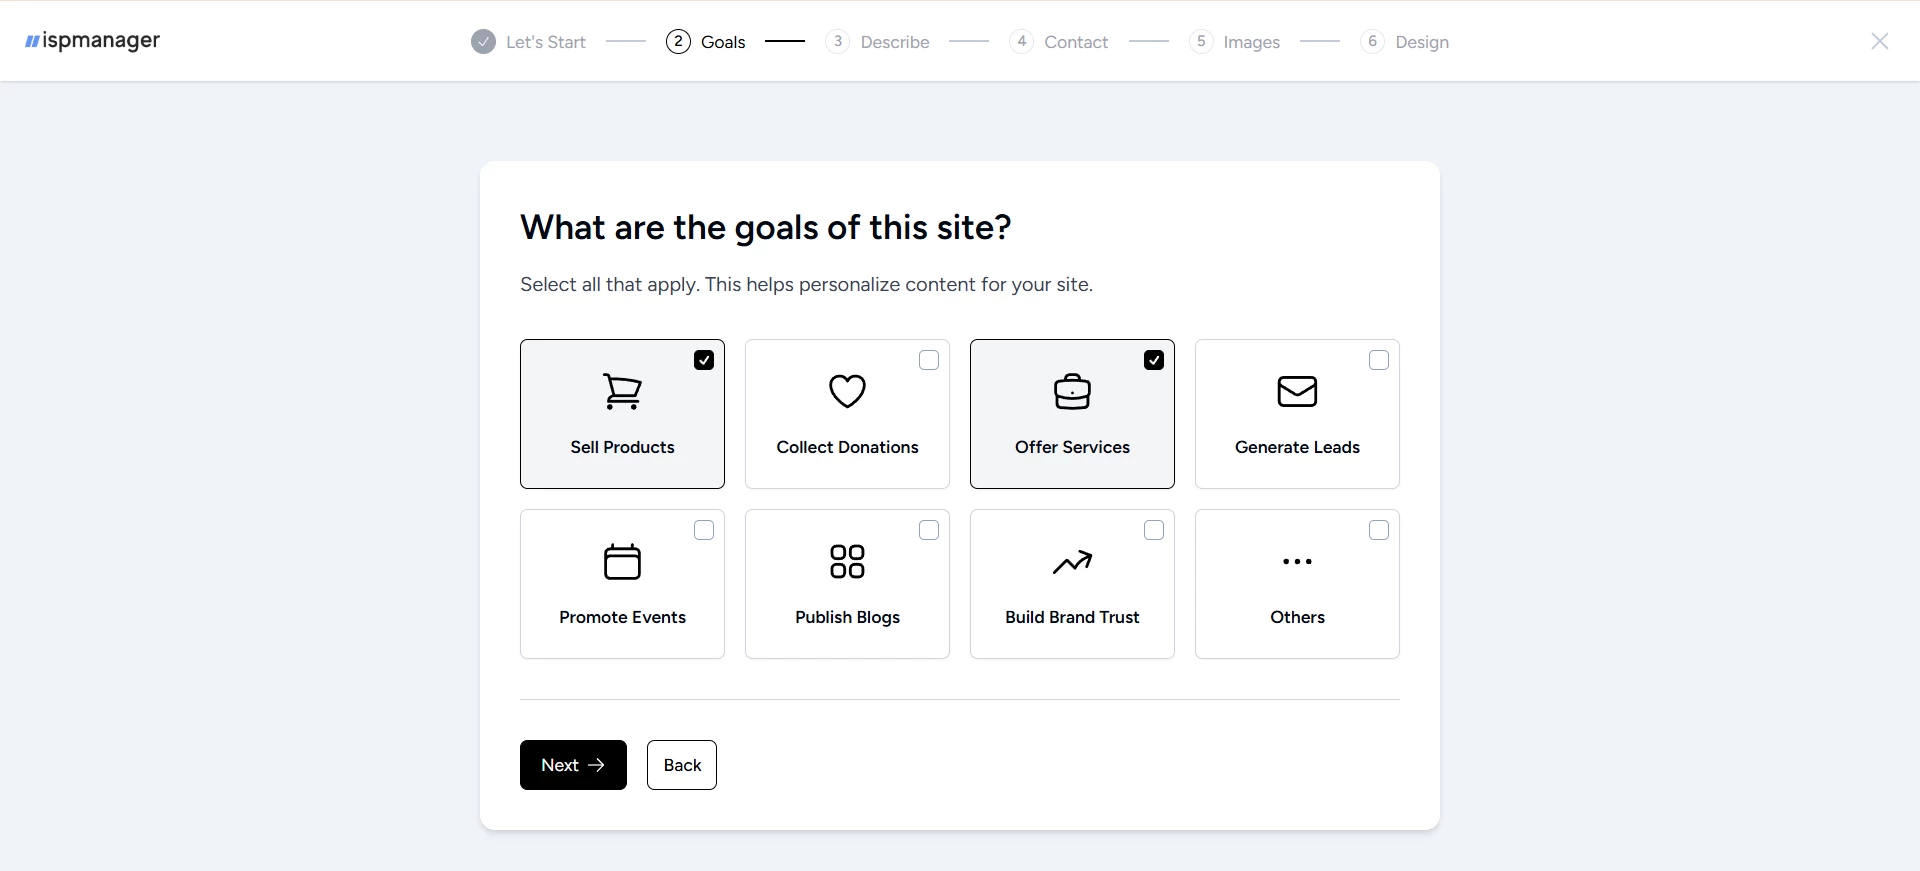
Step 2. Goals
Select one or more goals for the site:
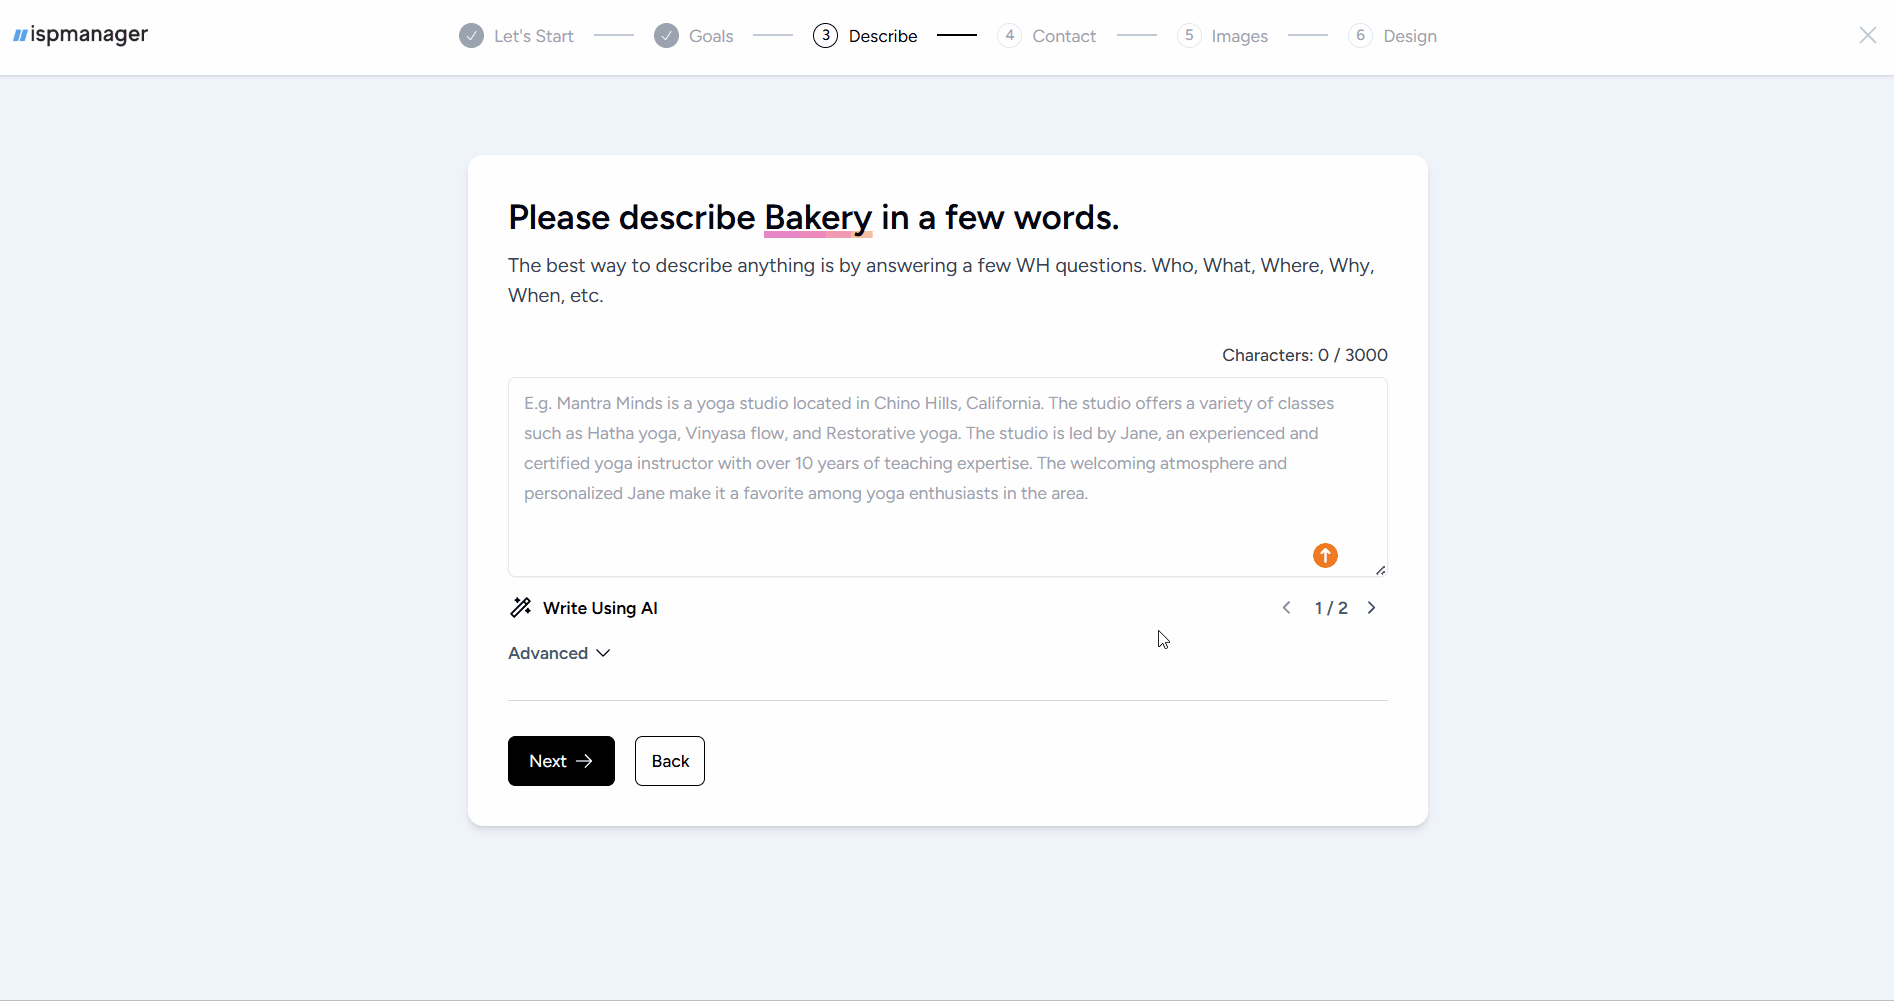
Step 3. Describe
Describe your website manually or generate a description with AI. To improve the accuracy of your text content and image selection, add keywords and tone of voice:
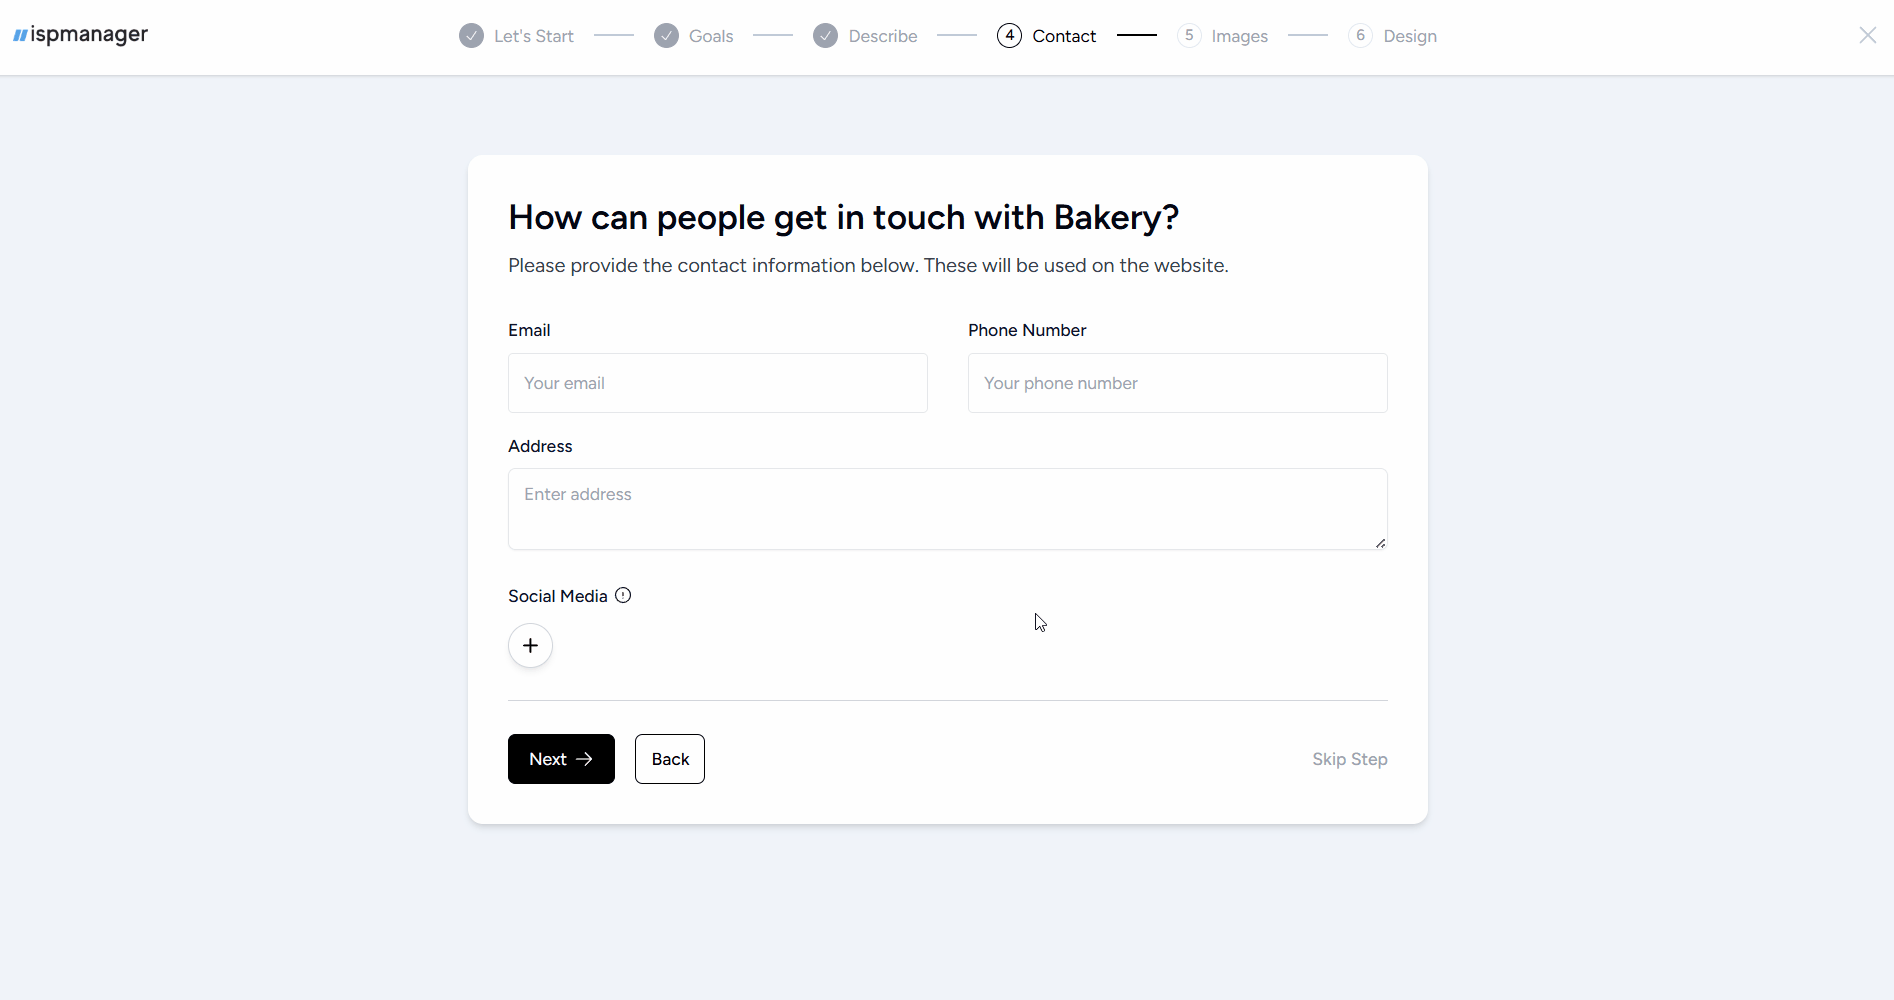
Step 4. Contact
Add your website contact information and social media links:
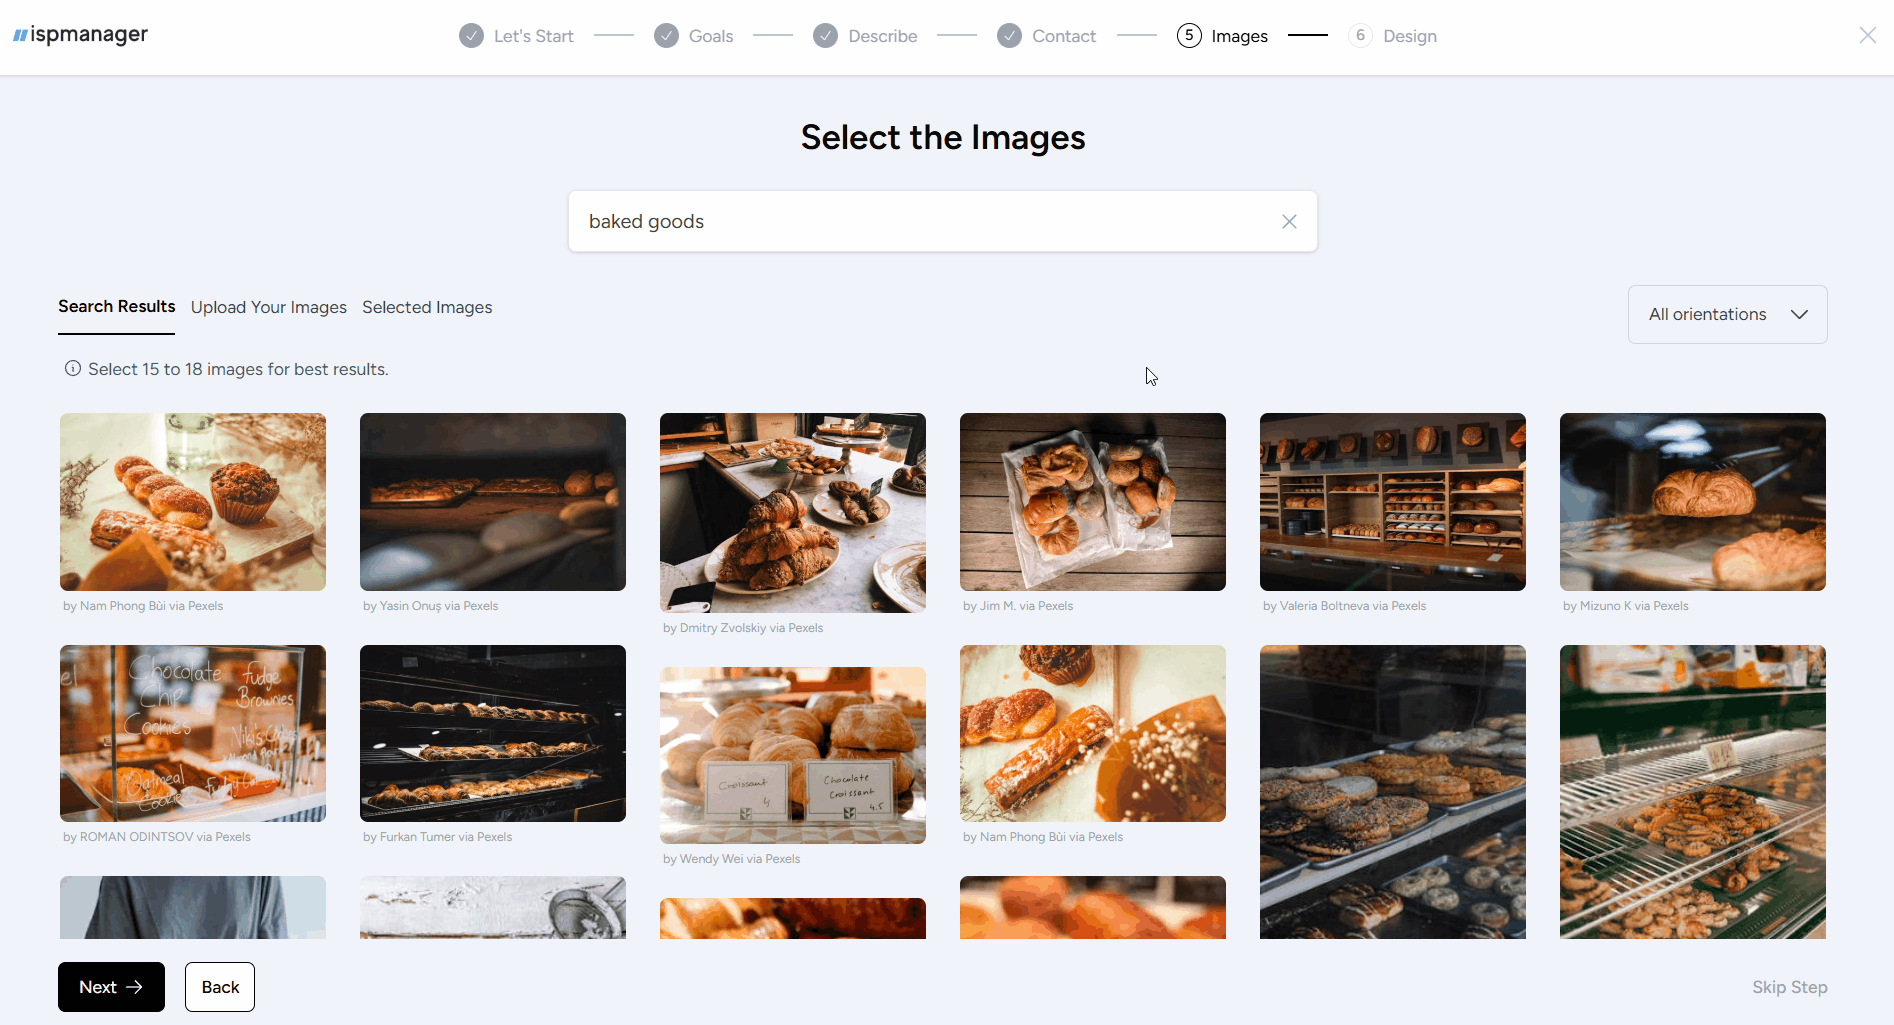
Step 5. Images
Choose from the images suggested by the assistant or upload your own. The images in the selection are stock images and are distributed royalty-free.
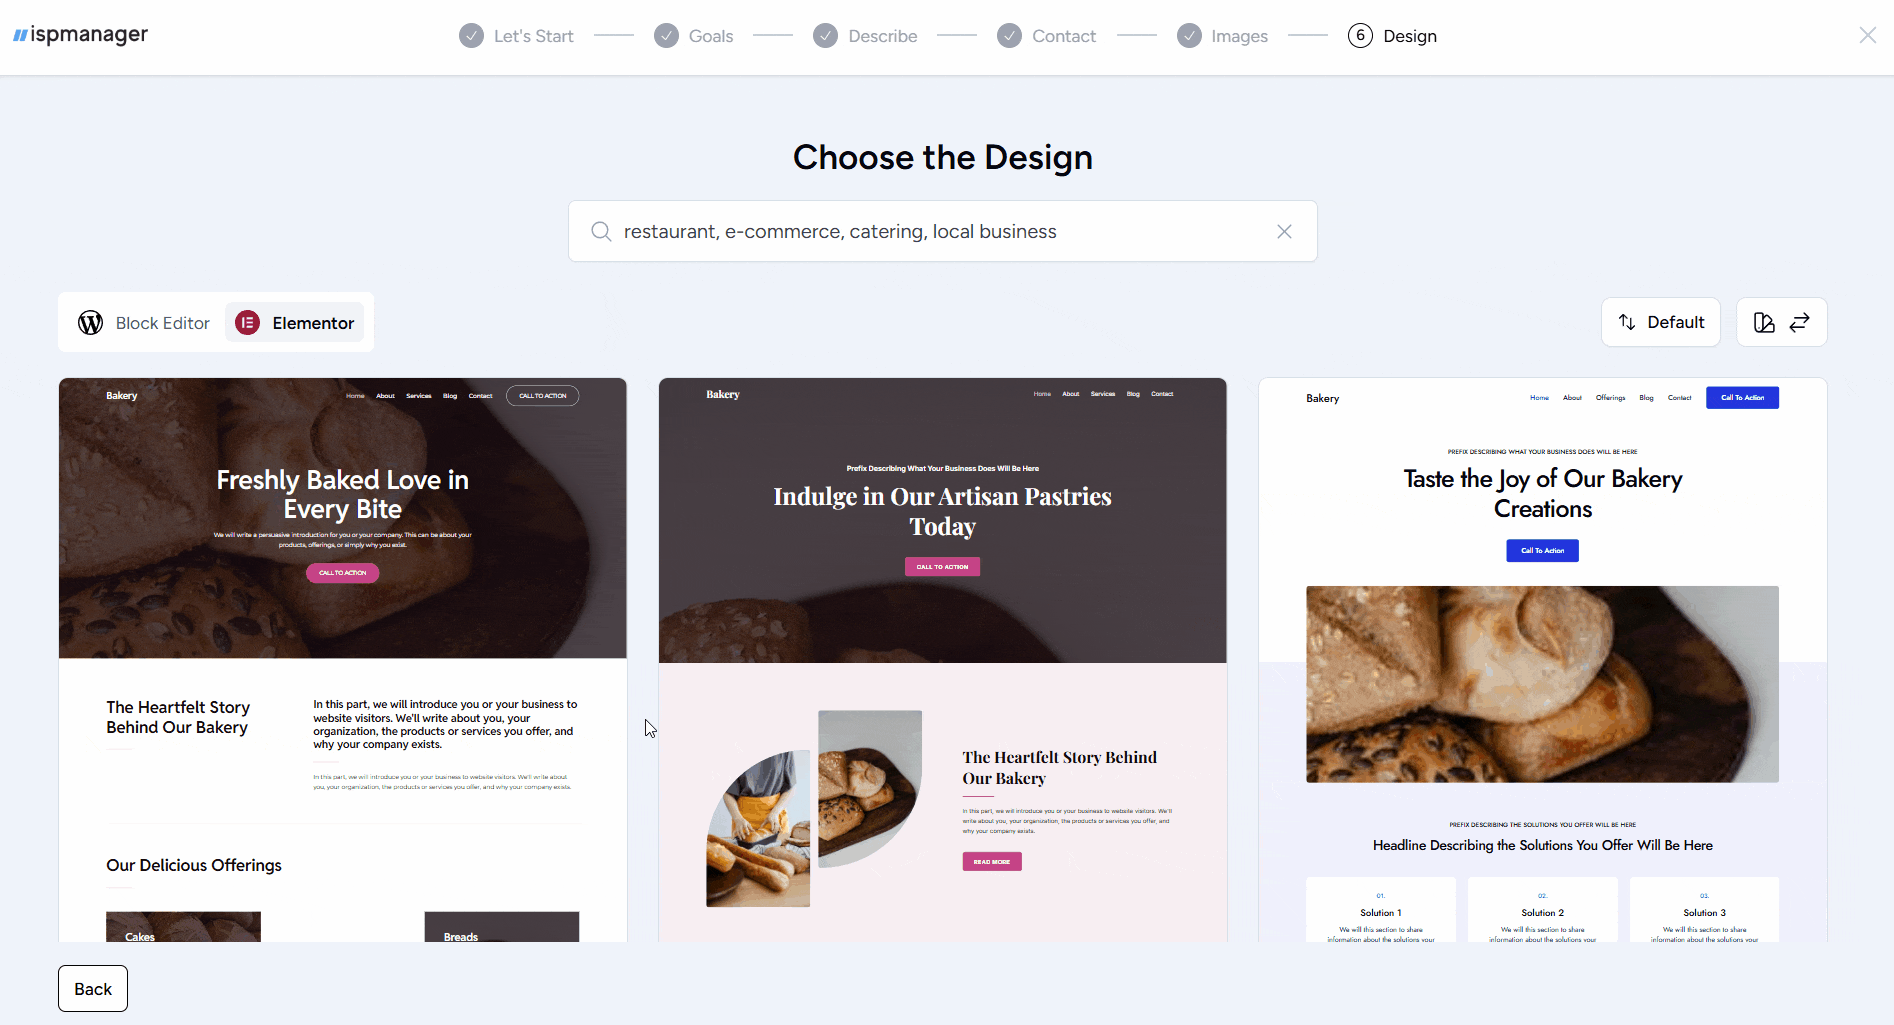
Step 6. Design
Choose a website editor — Block Editor or Elementor.
Block Editor is a lightweight built-in WordPress editor that is ideal for blogs and simple pages.
Elementor is a visual site builder available as a plugin that is ideal for complex landing pages and unique designs.
Select a website template. All templates are based on the Astra theme. For better results, use the search feature and filtering. To preview a website with a specific template in a browser, click ![]() .
.
Customize the appearance: add a logo, choose a color scheme, and select fonts.
At this step, you can also test how your website will look on different devices.
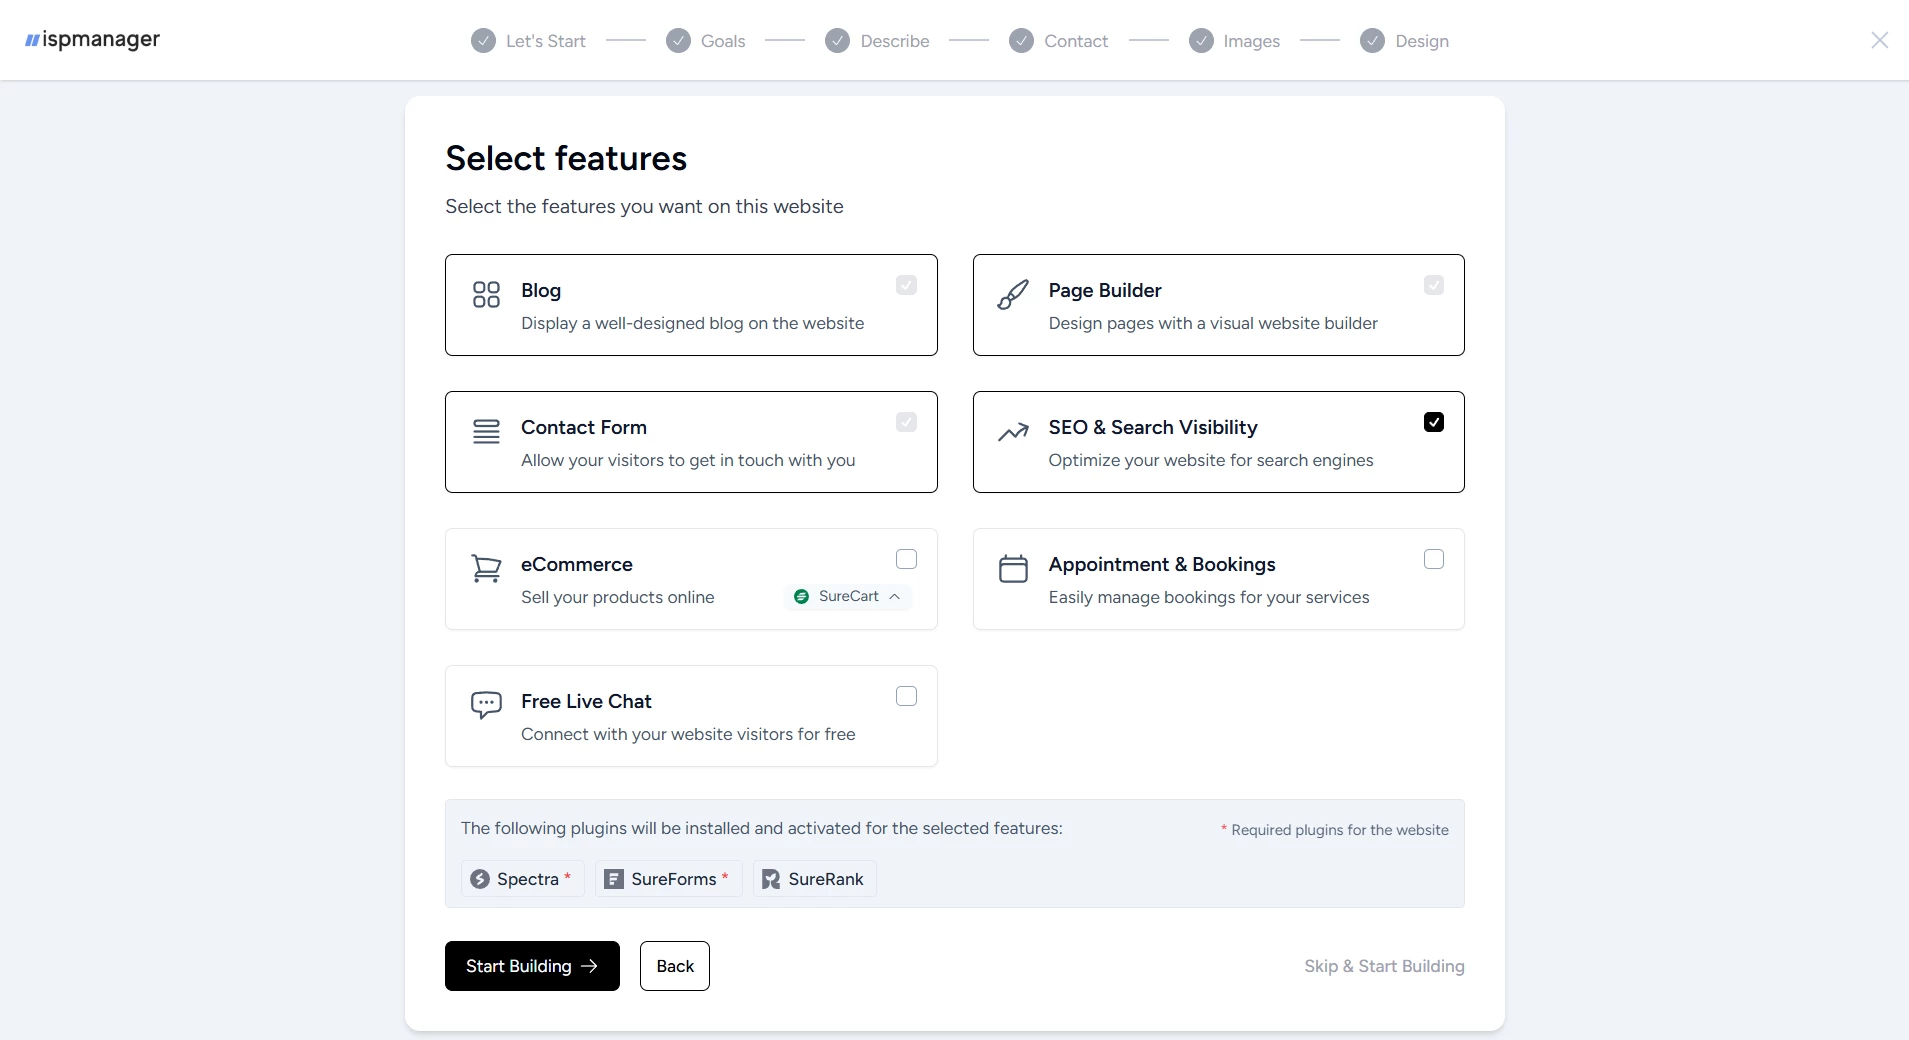
Select additional features for your website. Corresponding plugins will be installed automatically for the features you select.
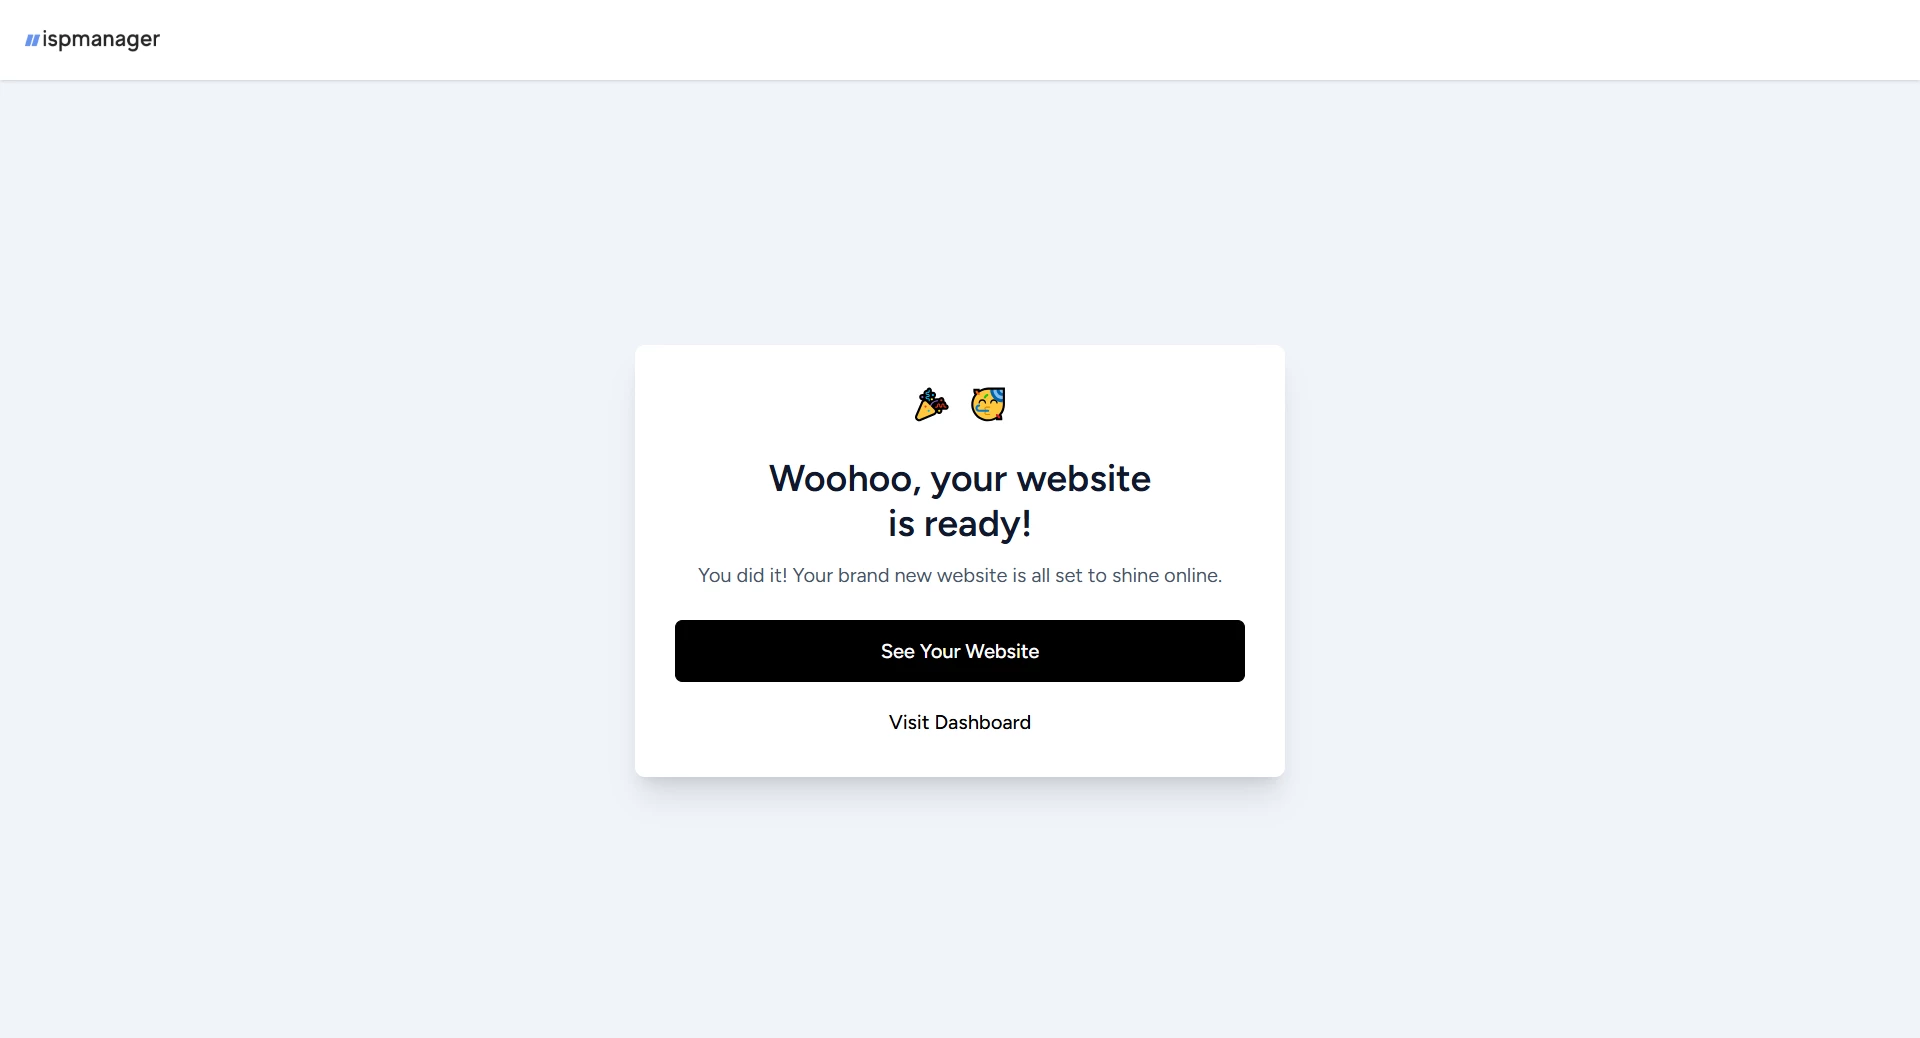
Run the site generation process. Once it starts, it will not be possible to stop or restart the generation process.
Final configuration
Once the generation is complete, open the site in the browser or go to your WordPress admin panel to adjust the site settings manually.