Website creation with 10Web
Below are the steps for creating a website with 10Web:
Step 1. Adding a website
The website is created in the panel, and the latest version of WordPress is automatically installed for the website.
Step 2. Generation
The user navigates to the AI Builder and describes their future website. The AI generates the website based on user prompts.
Step 3. Setup
The user can optionally edit the generated website using additional prompts, regenerate it, and/or manually configure it in the 10Web editor or WordPress admin panel.
Step 4. Publishing
The user publishes the resulting website, and it becomes available online.
Requirements
The AI Builder is not available for Apache Prefork + PHP as an Apache module configuration.
PHP
- At least one version of PHP 8.1 or higher must be installed and enabled for users on the server.
The PHP extensions listed below must be installed and enabled.
List of extensionscurljsonzipopensslmbstringdomxmlxmlreadersimplexmlgd,fileinfoiconvintlexifhashpcrezlib
How to check if extensions are installed and enabled- Log in to the control panel with an administrator-level account or above.
- Go to the PHP section.
- Select a version.
- On the toolbar, click
 Extensions.
 - Select the desired extension from the list. On the toolbar, click
 to download it and
  to enable it.
User permissions and limits
- User limits and permissions must be sufficient for creating a WordPress website.
- The number of websites available for creation with the AI Builder must be > 0. If the user belongs to a reseller, the limit value for the reseller must also be > 0.
- The user must have SSL access.
Domain
- The website's domain must point to the server running the ispmanager panel.
Step 1. Adding website
- Log in to the panel with the desired account.
- Go to the Sites section.
On the toolbar, click Create a website → AI Website Builder.
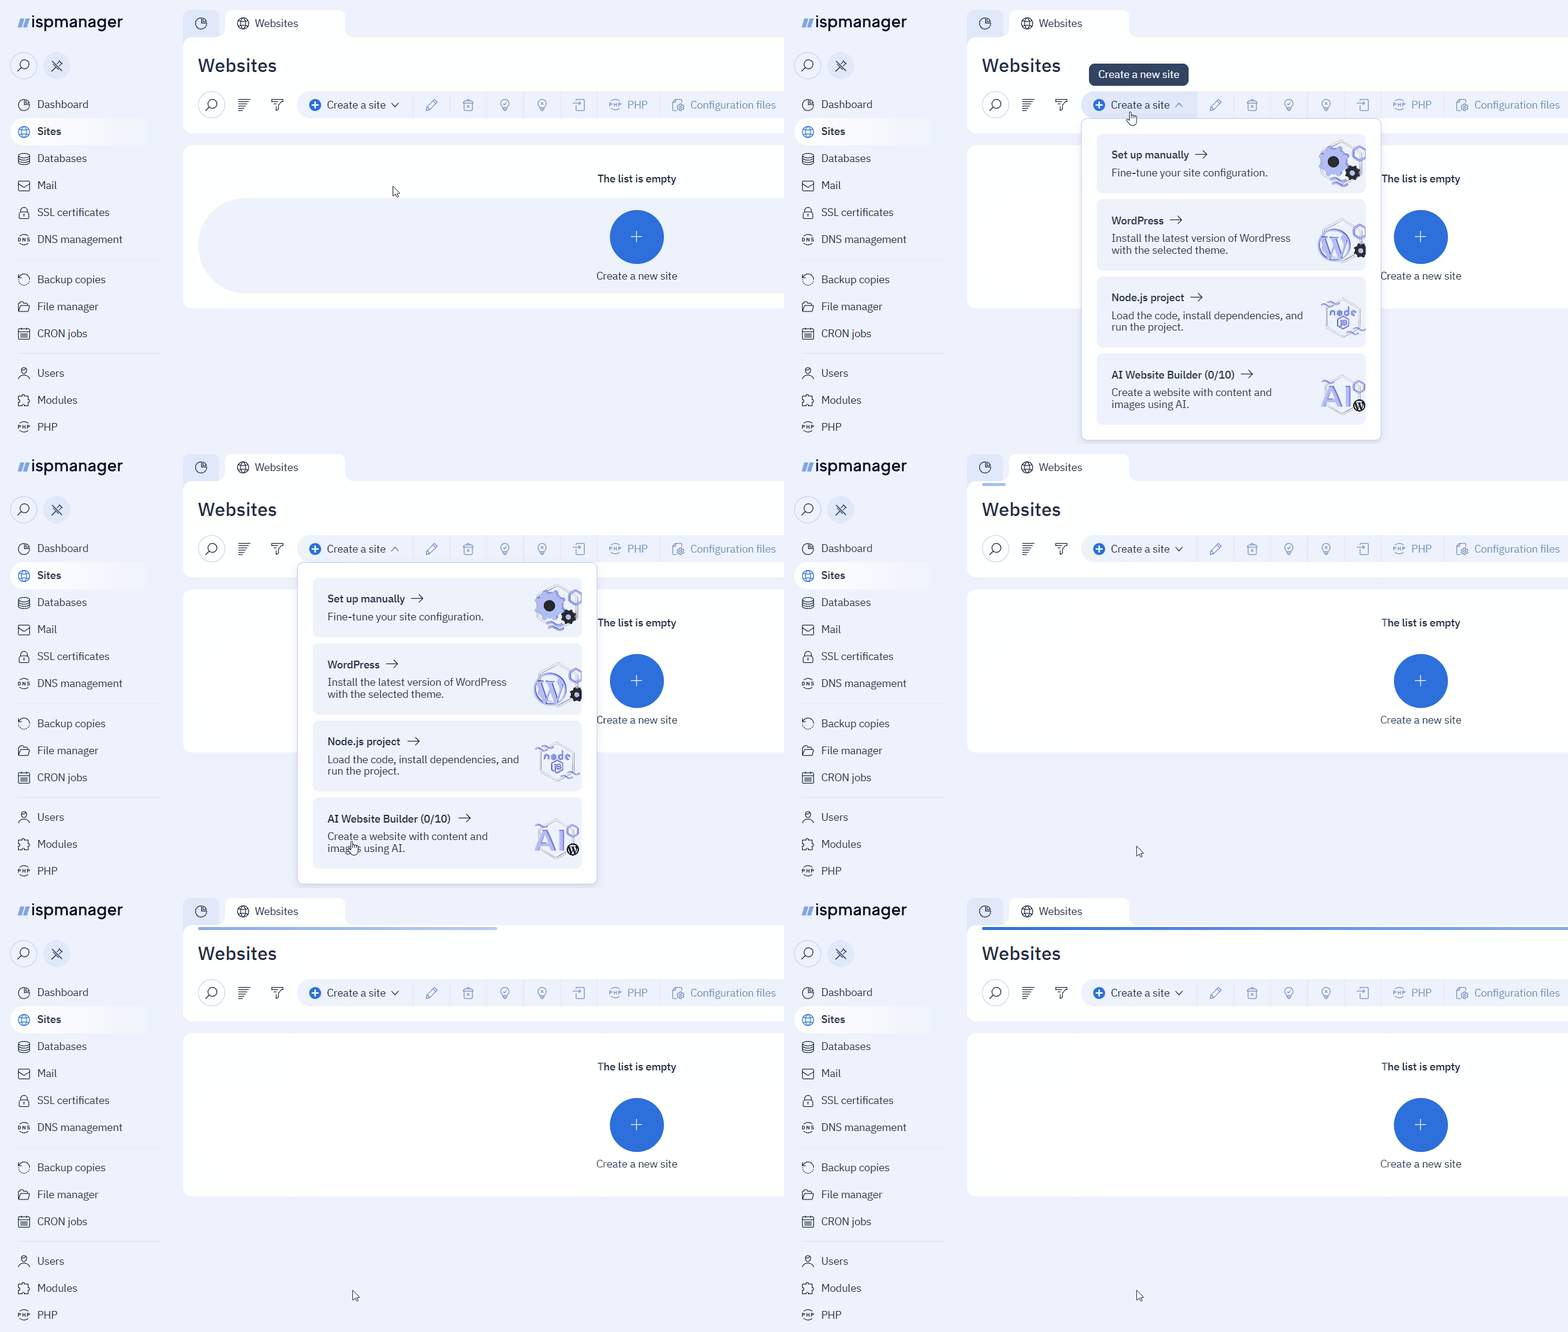
- In the form that opens, fill in the fields:
- Domain name — the website's domain name
- Select a user — the user who will own the website. This field is available for reseller-level accounts and above
- Default website — check the box to set the website as the default website
- Click Create.
The following will be automatically performed for the website:
- the WordPress plugins akismet, hello, and ispmanager auto login for automatic WordPress login will be installed
- the AI Website Builder theme will be installed
- a Let's Encrypt certificate will be issued and installed
- a database will be created
- protection against DDoS will be disabled. We recommend re-enabling it after the generation process is complete.
The Go to the AI Builder button will then appear. Click it to start generating content for your site immediately, or return to generation later.
Step 2. Generation
The AI builder will open in a new tab. Its interface will be in English, WordPress admin interface by default is in the same language as the ispmanager panel.
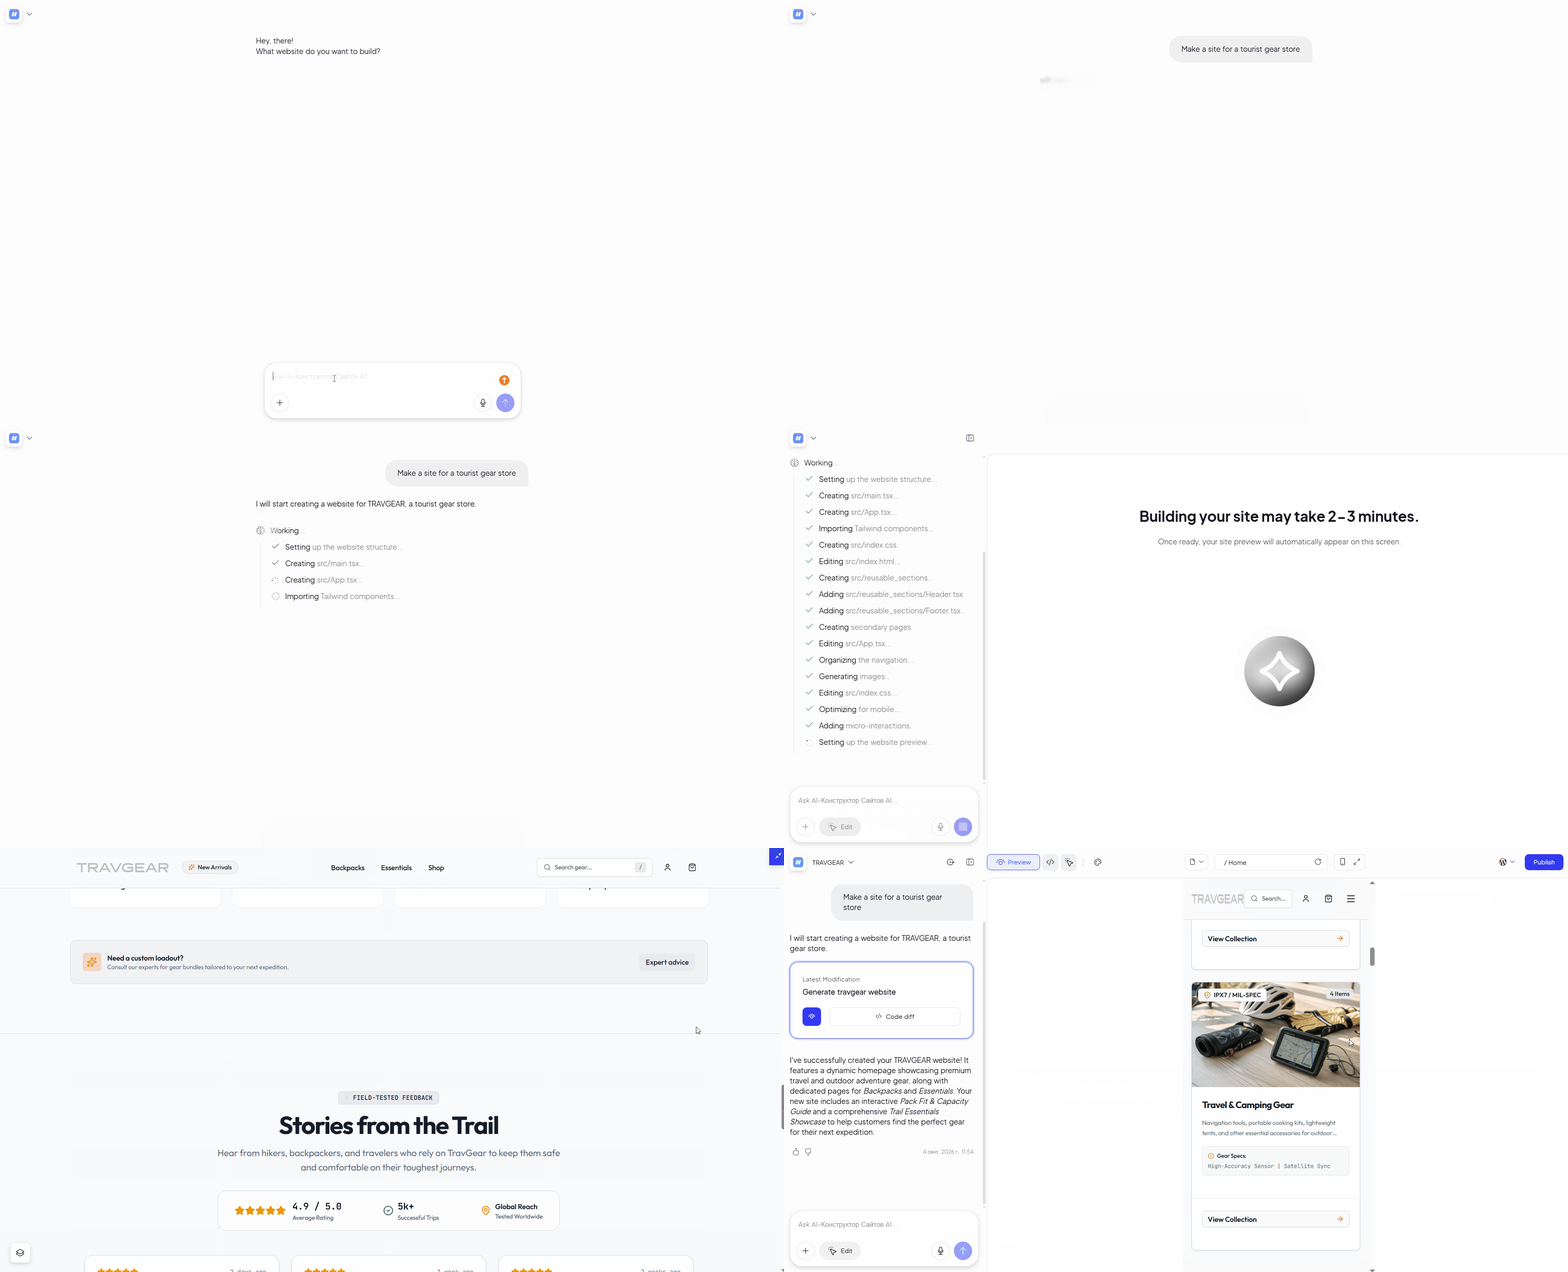
To generate content, describe your website idea in the chat. The more detailed your description, the more relevant the generated website will be.
Once generation is complete, a website preview page will open.
Step 3. Setup
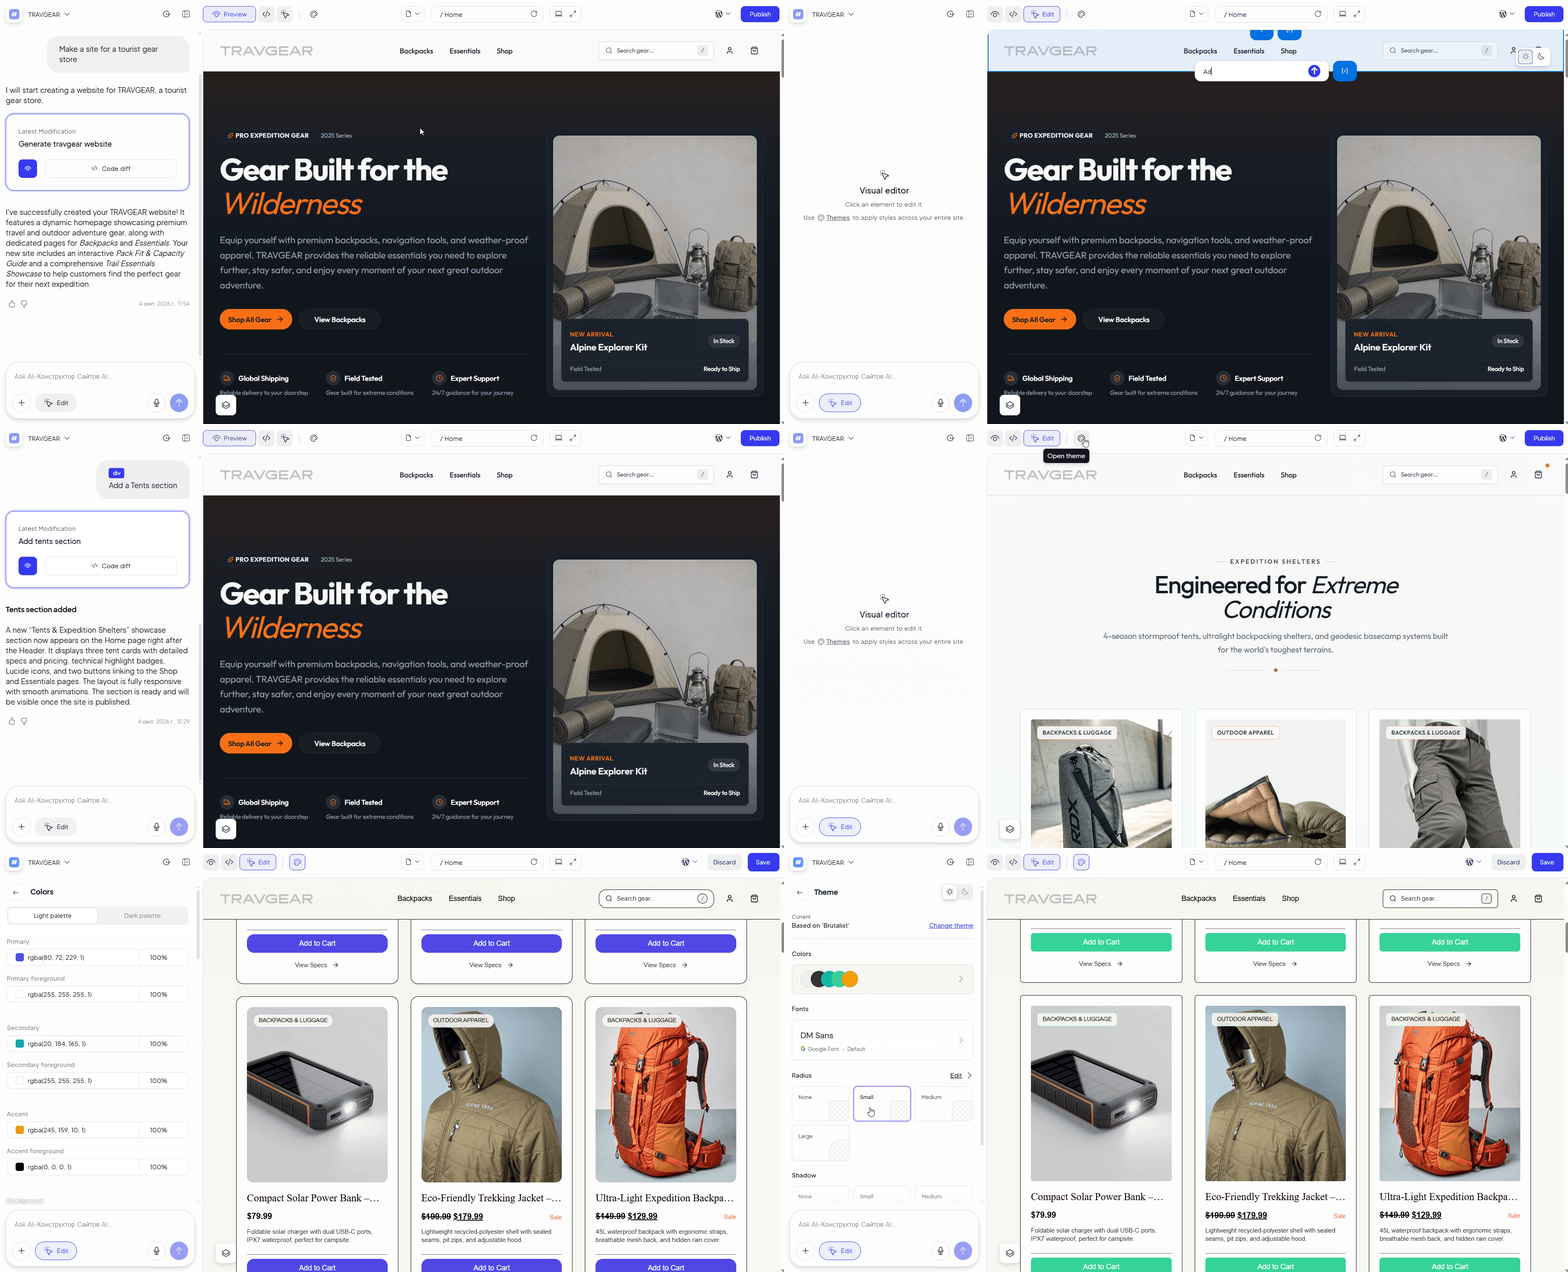
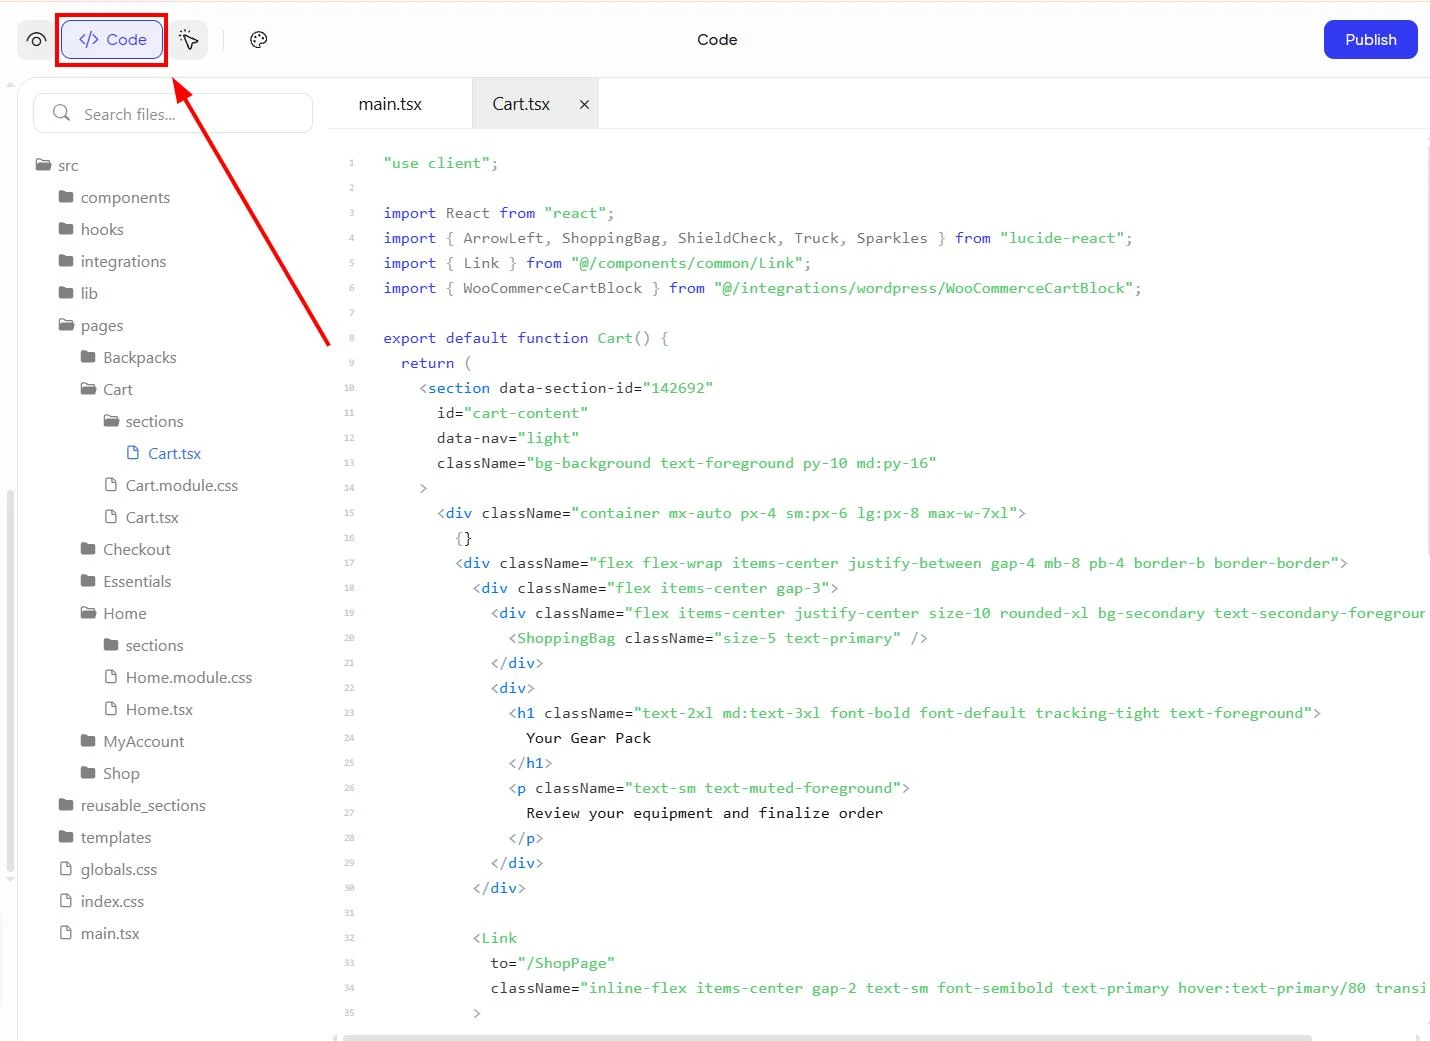
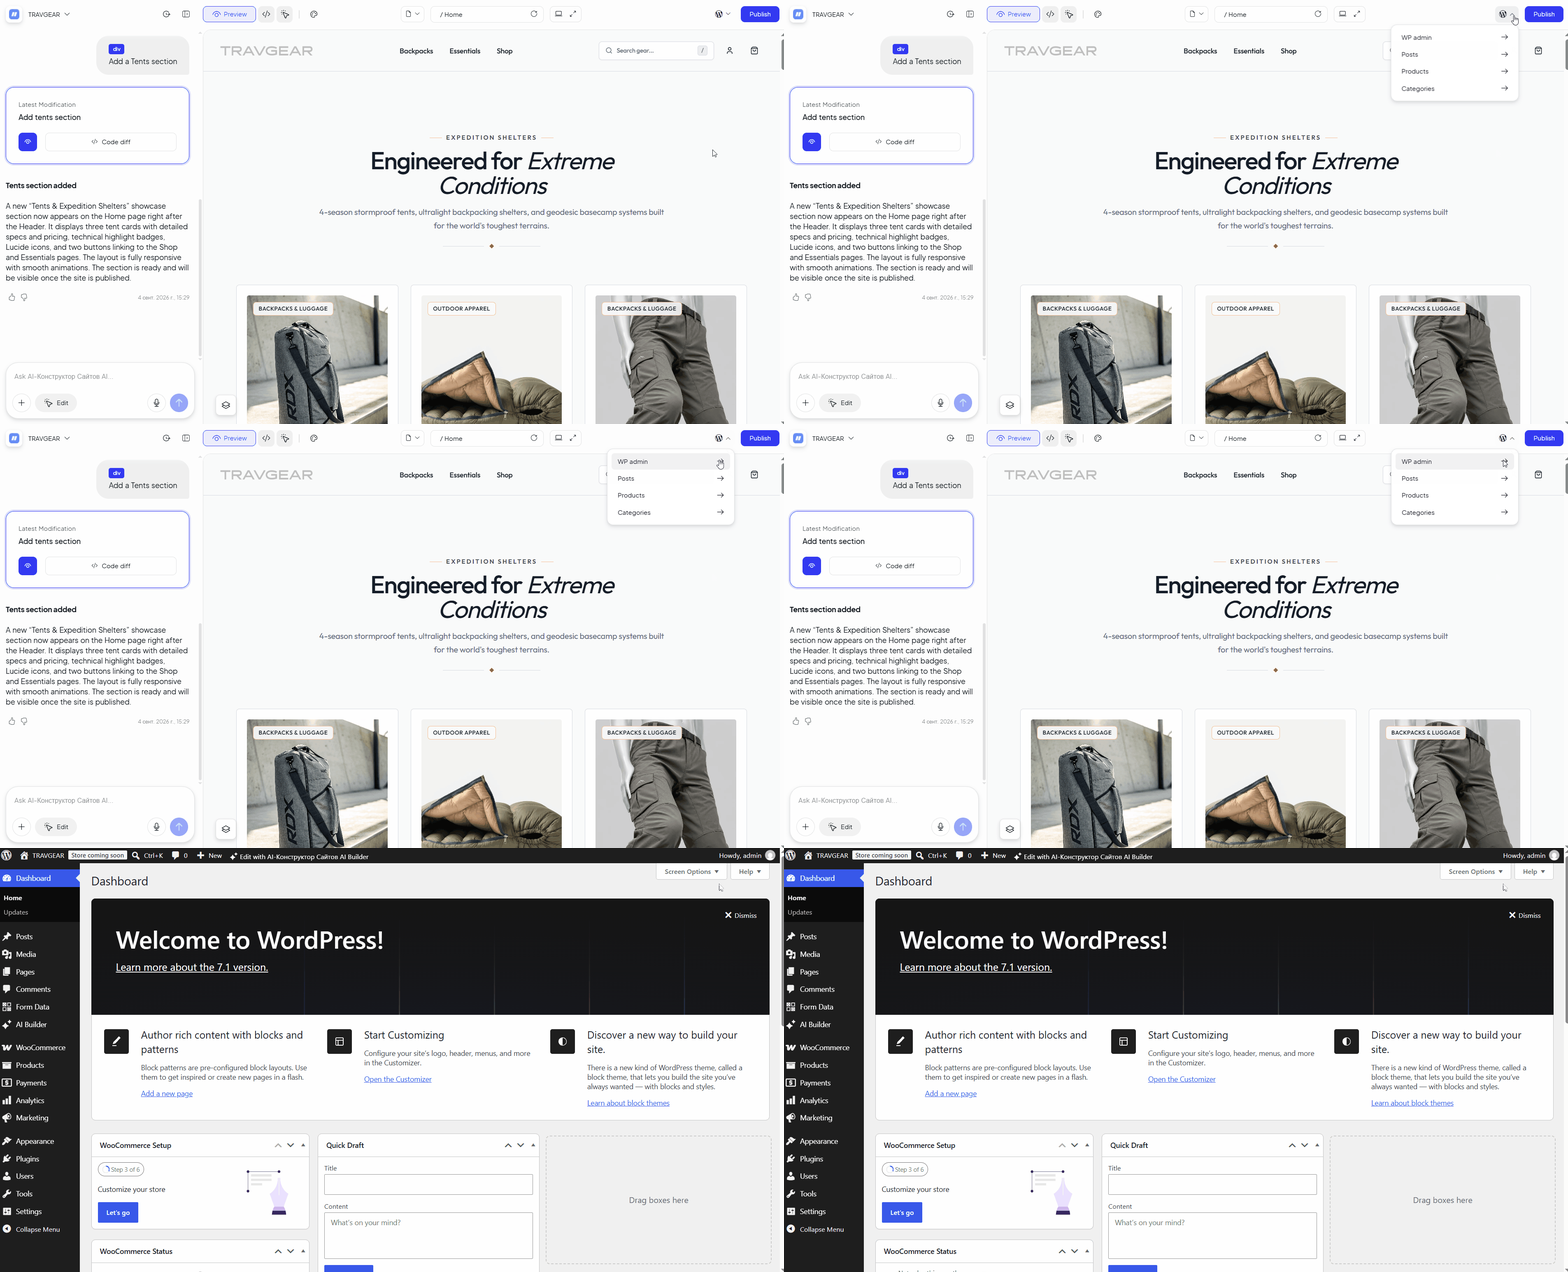
If you want to make changes to the site, describe them in the AI chat or configure them manually in the 10Web editor, source code, or WordPress admin panel. 50 AI prompts are available for editing for each generated site per month.
Step 4. Publishing
To make the generated content available on your website, publish it. To do this, click Publish in the upper right corner of the Builder.
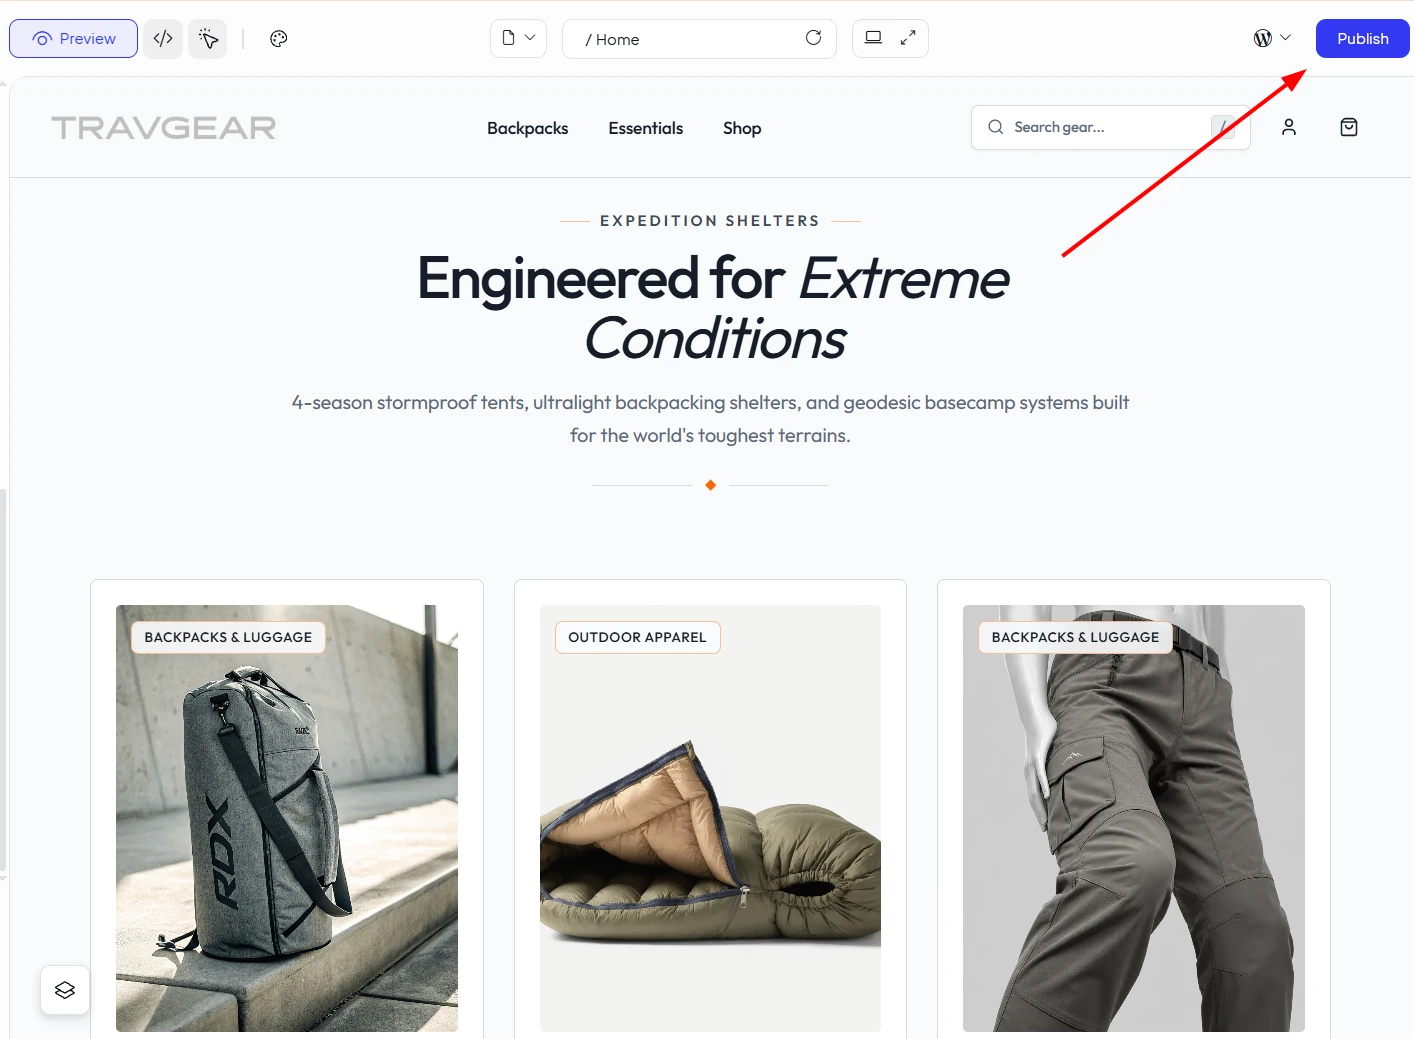
After publishing, you can still edit your website using the Builder or manually through the WordPress admin panel.
Accessing AI Builder
If you want to start generating a website later or edit an existing website, you can access the AI Builder as follows:
- Go to the Sites section.
Select a website and click
 next to it.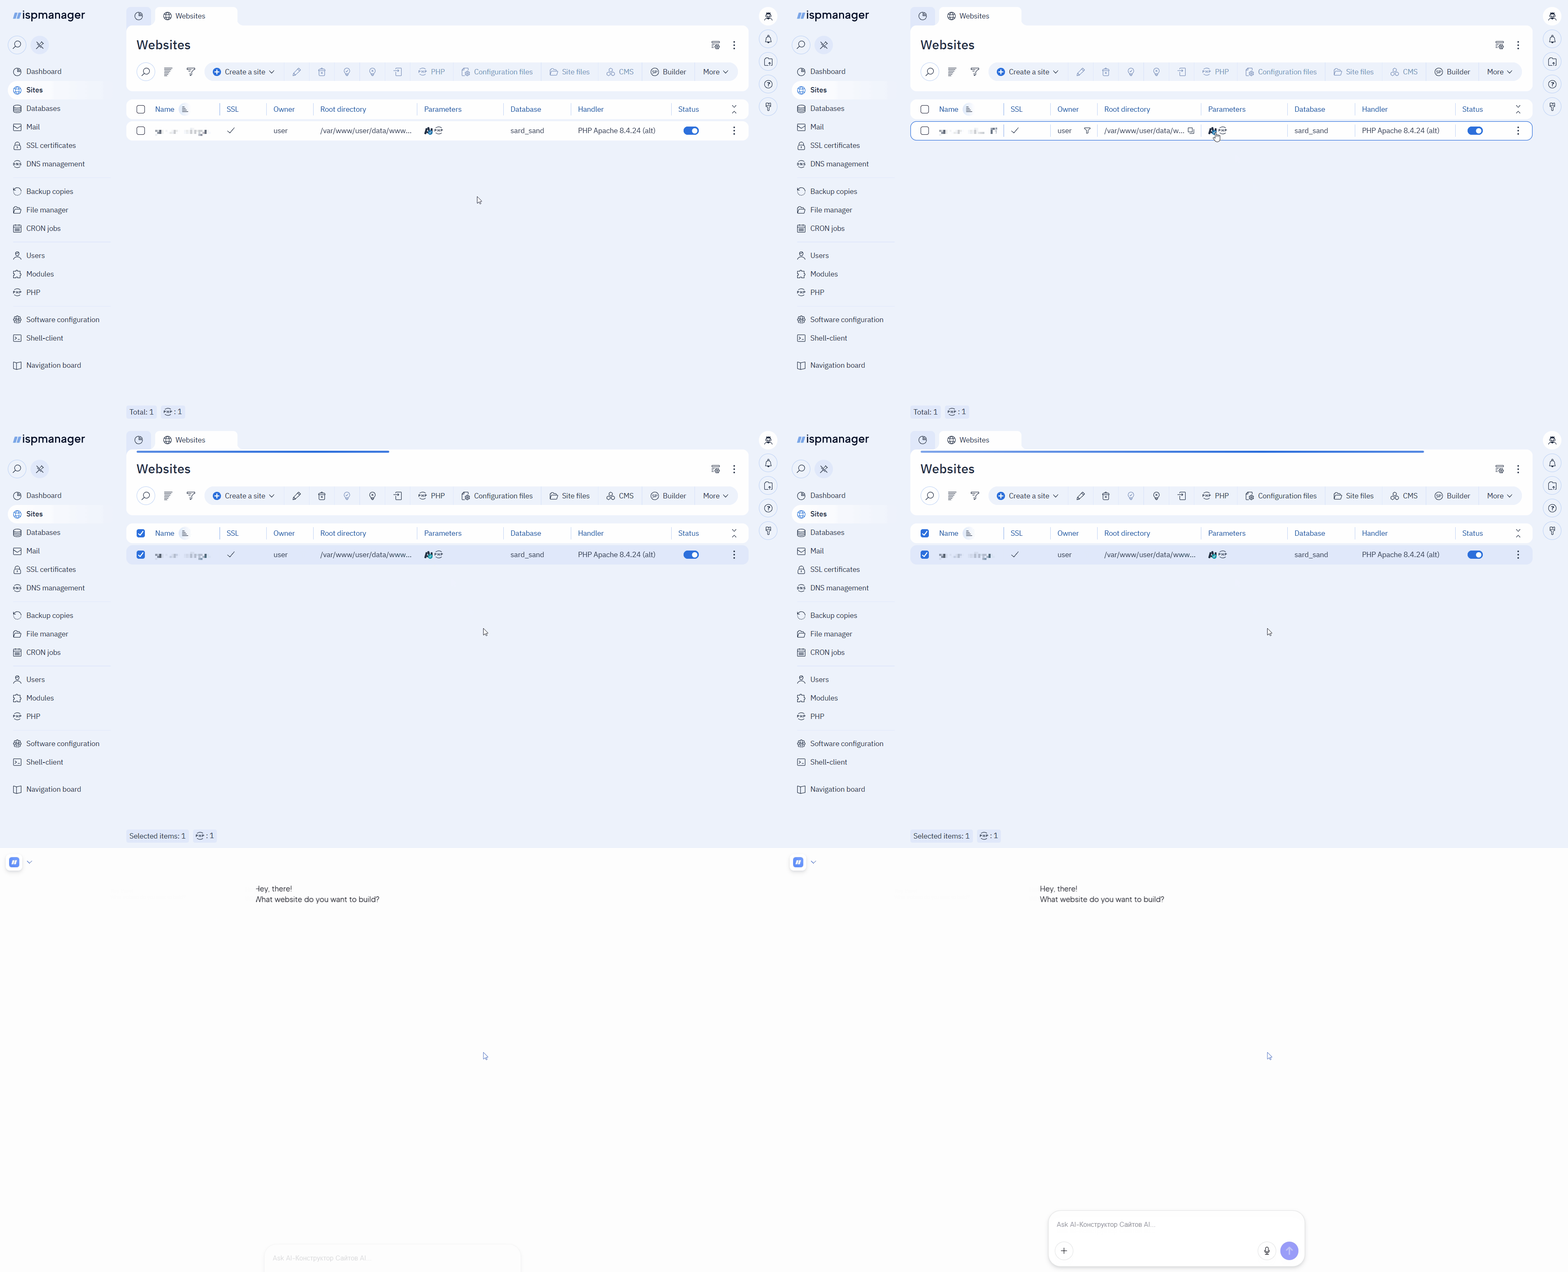
Regenerating website
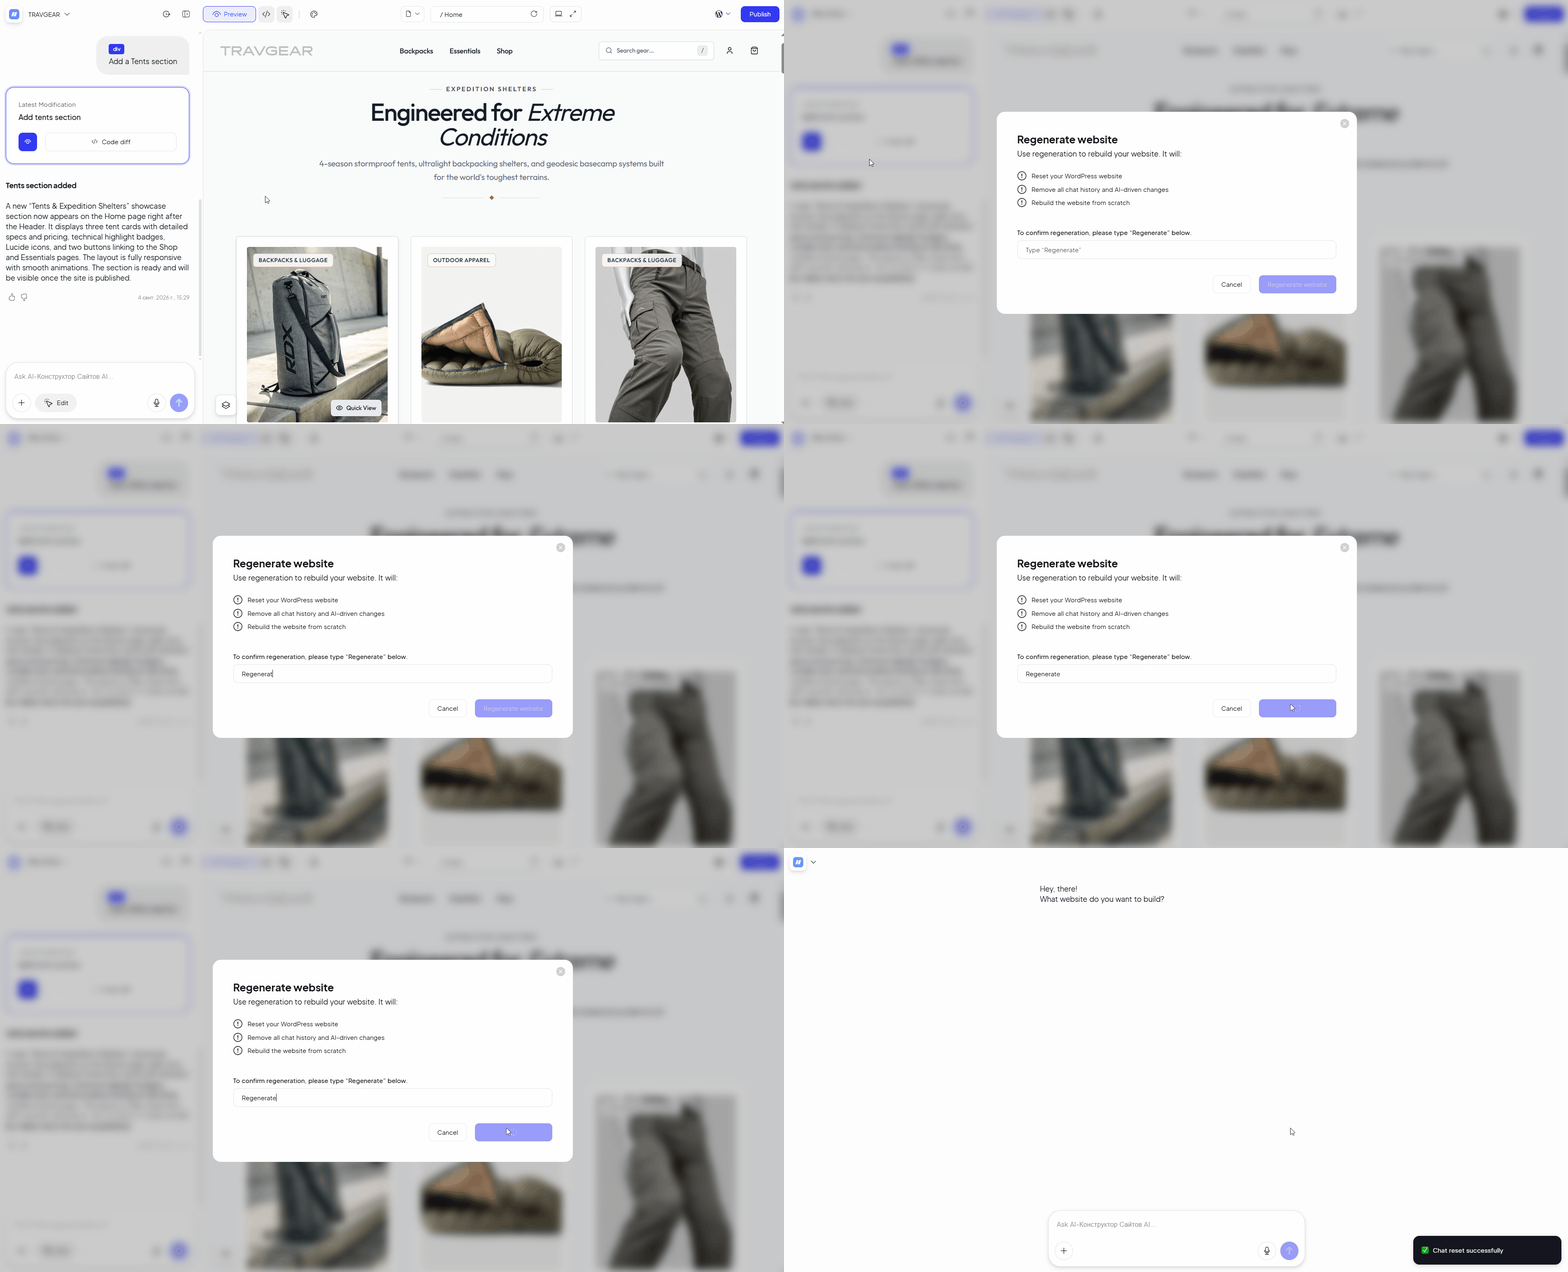
You can regenerate your website if needed. This will delete all previous content, WordPress themes and plugins, and any AI chat history. 5 AI prompts are available for regenerating for each generated site per month.
To regenerate your website:
- In the upper left corner, click the arrow next to the website name.
- Select Regenerate from the drop-down menu.
- In the form that opens, type "Regenerate" in the field.
Click Regenerate website.